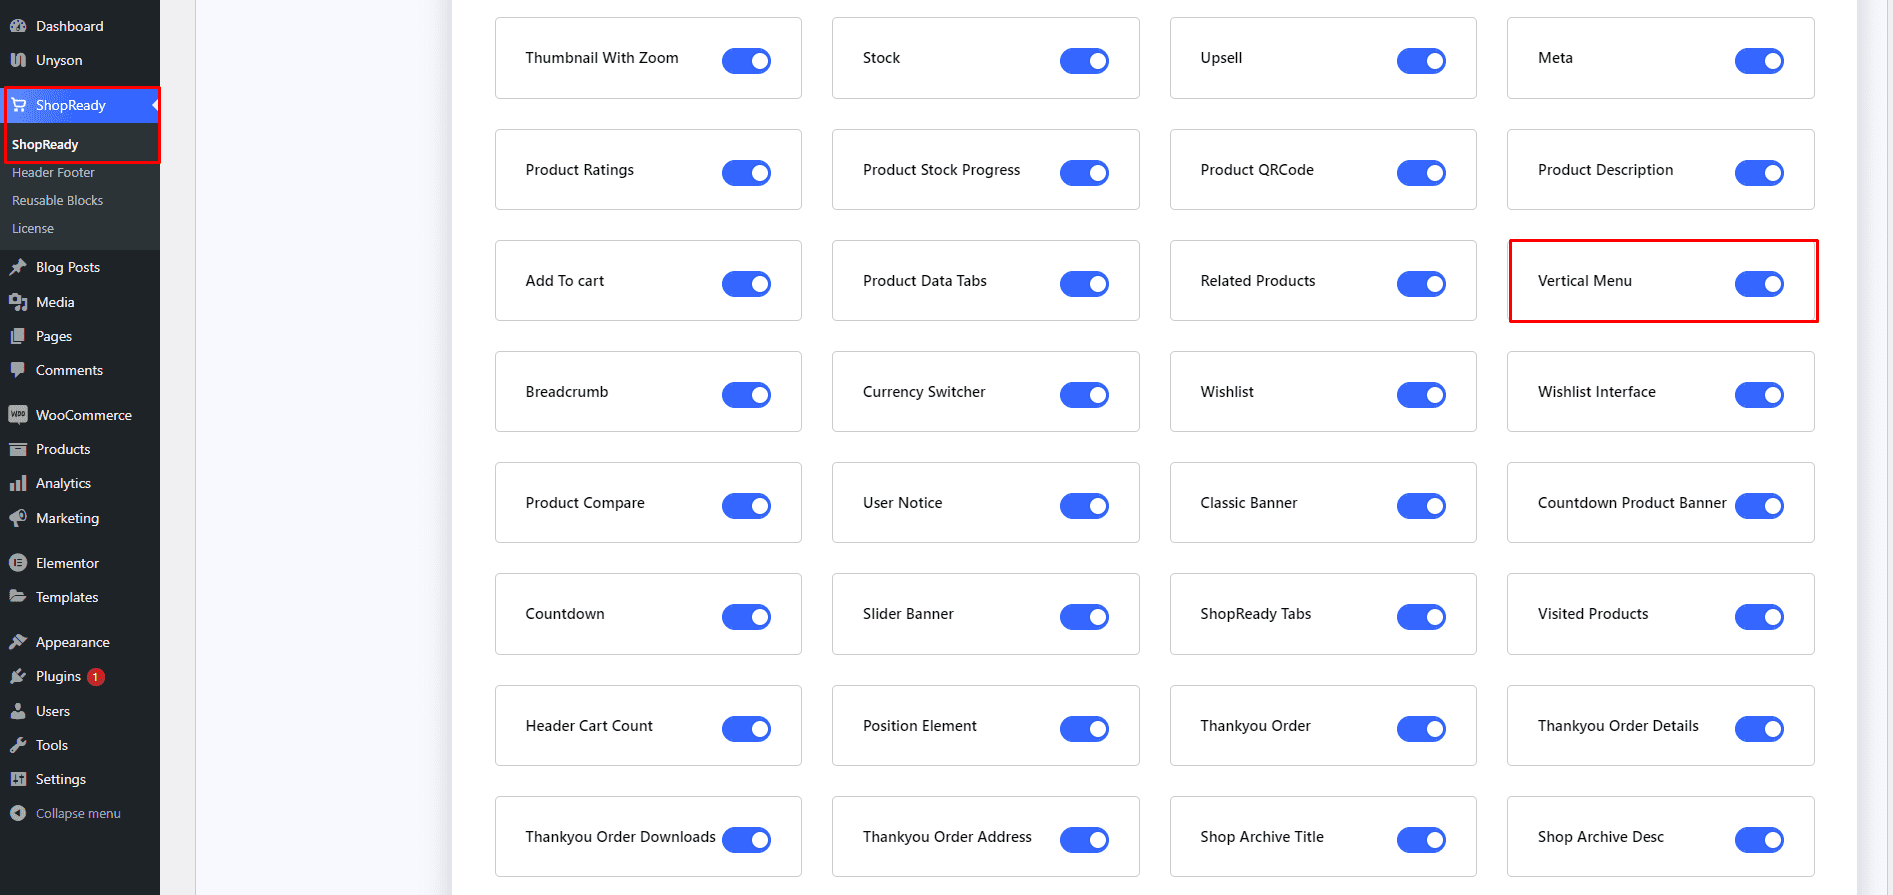
Enable the Vertical Menuwidget from the ShopReady dashboard and click on Save Changes.
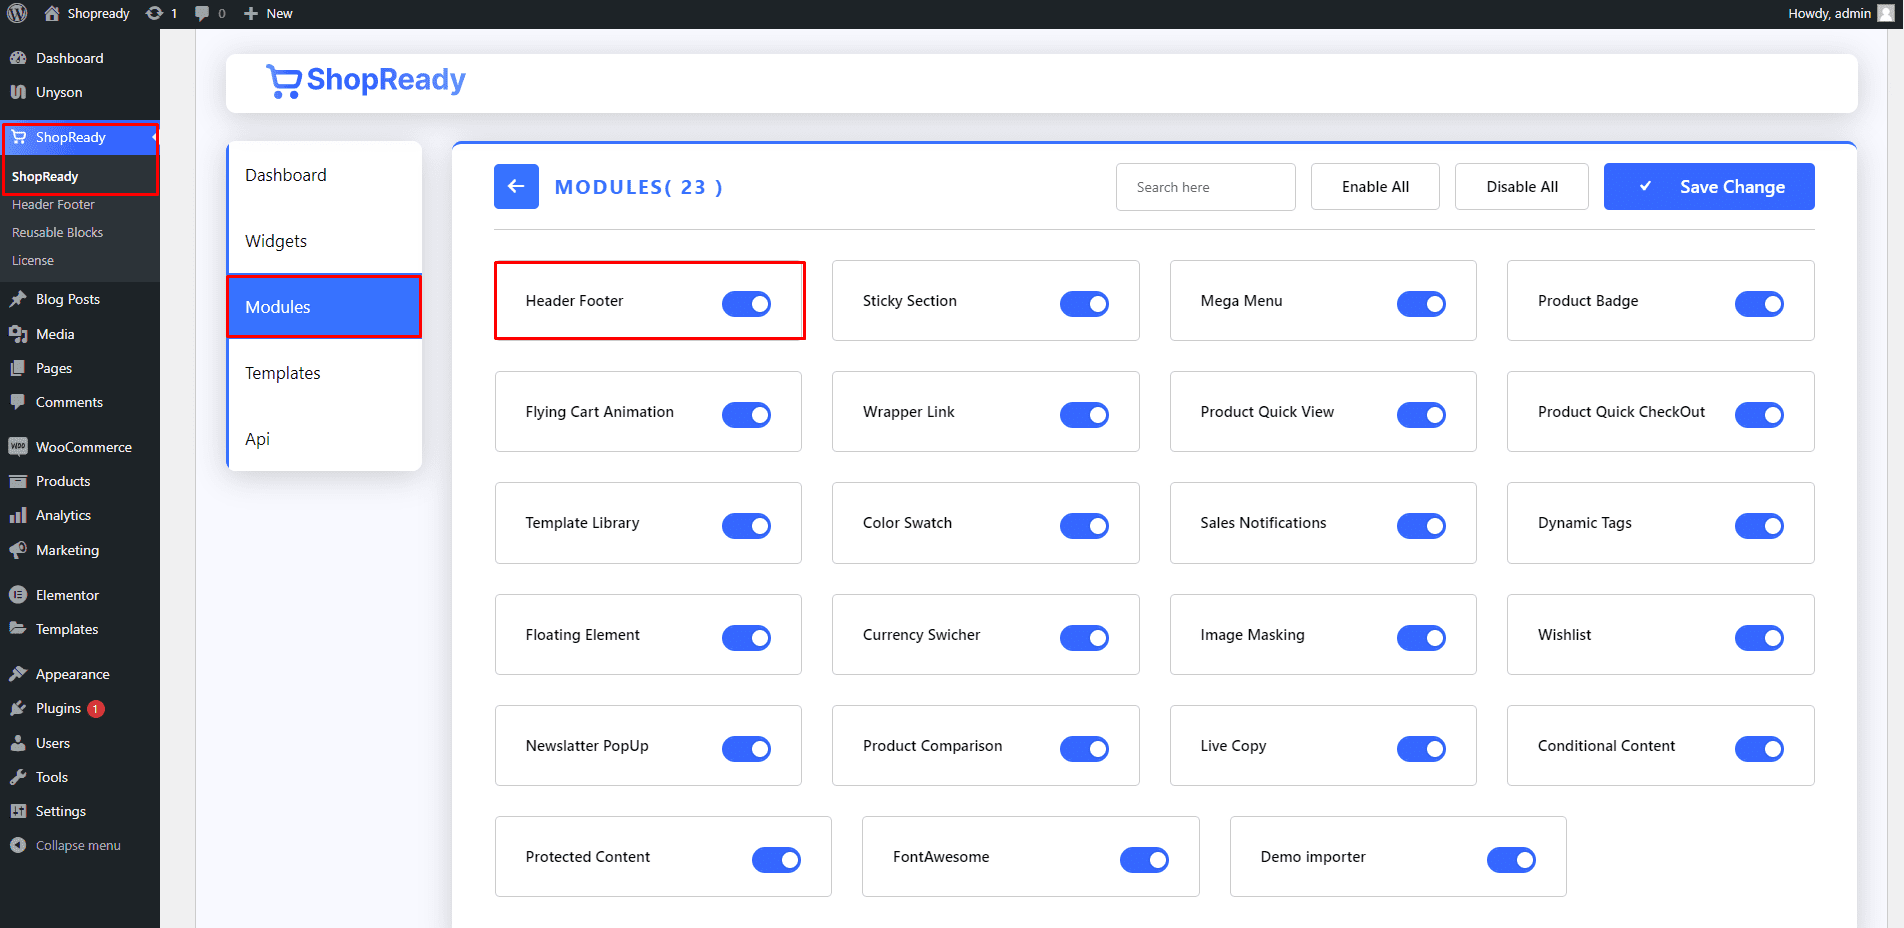
To use the Vertical Menu widget in the header section, you’ll need to enable the Header Footermodule from the ShopReady dashboard and click on Save Changes.
Step - 02:
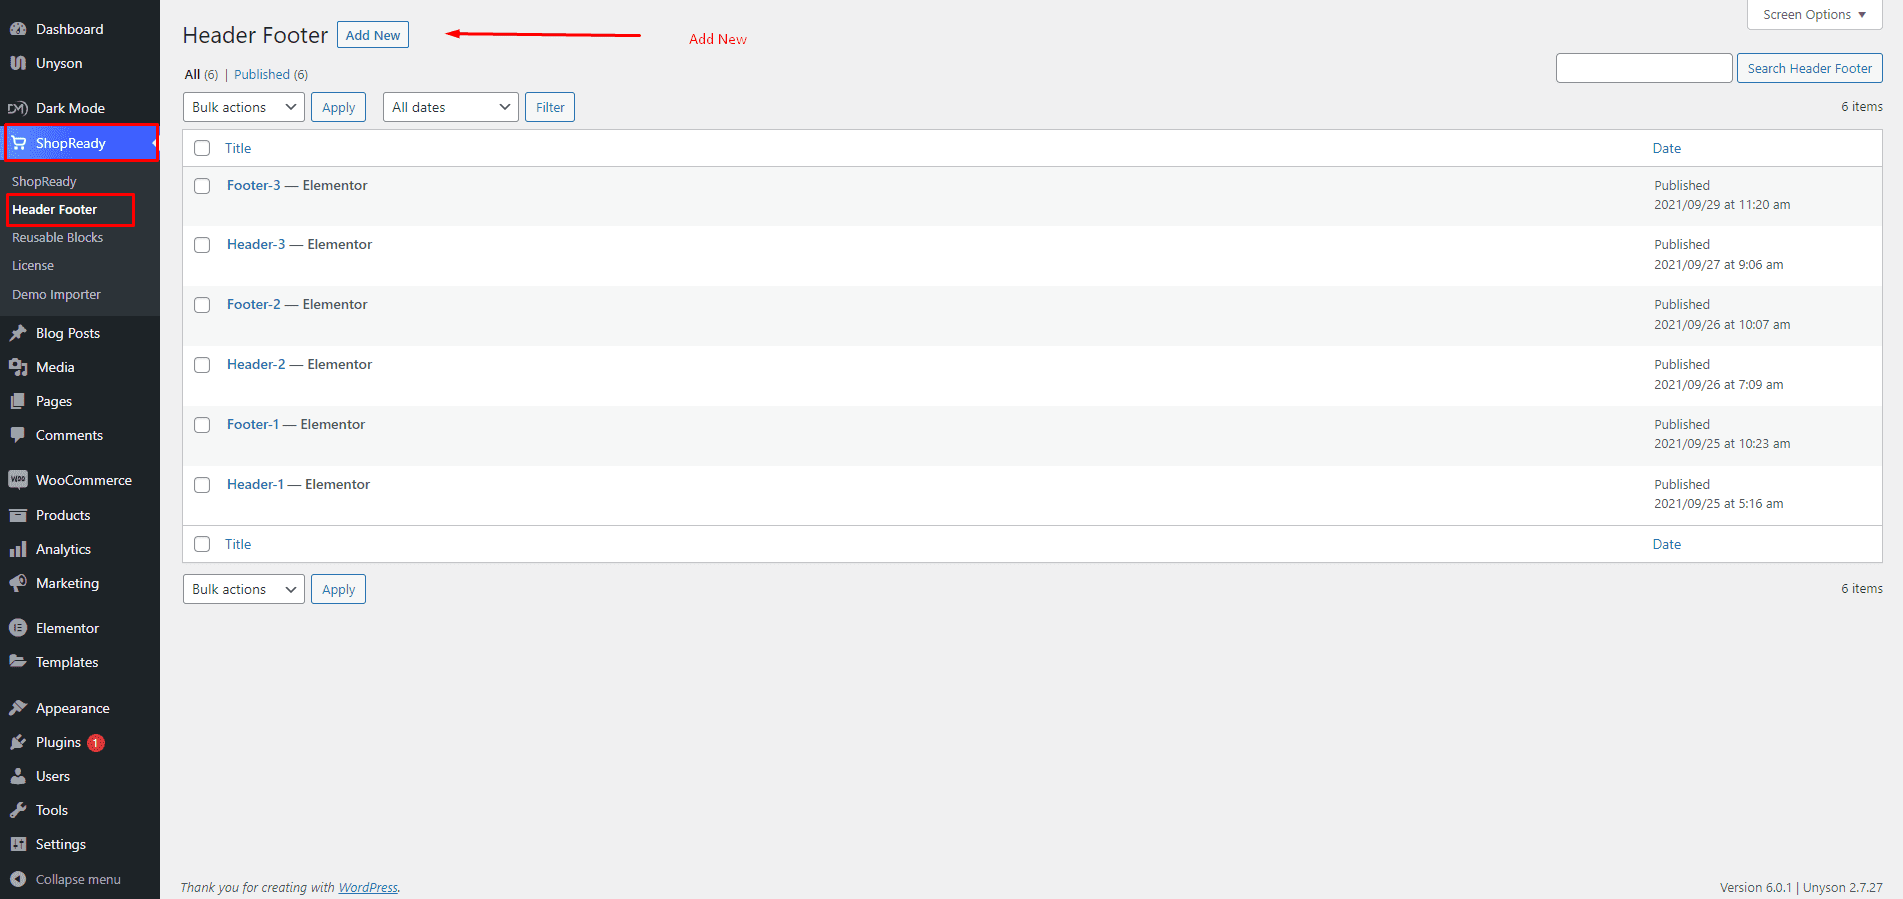
Start by creating a header section by going to theWordPress Dashboard > ShopReady > Header Footer > Add Newand giving it a title.
ClickEdit with Elementor and you’ll be redirected to the Elementor Editorscreen. From here, you’ll be able to customize your header section with all the necessary widgets and the Vertical Menuwidget.
Step - 03:
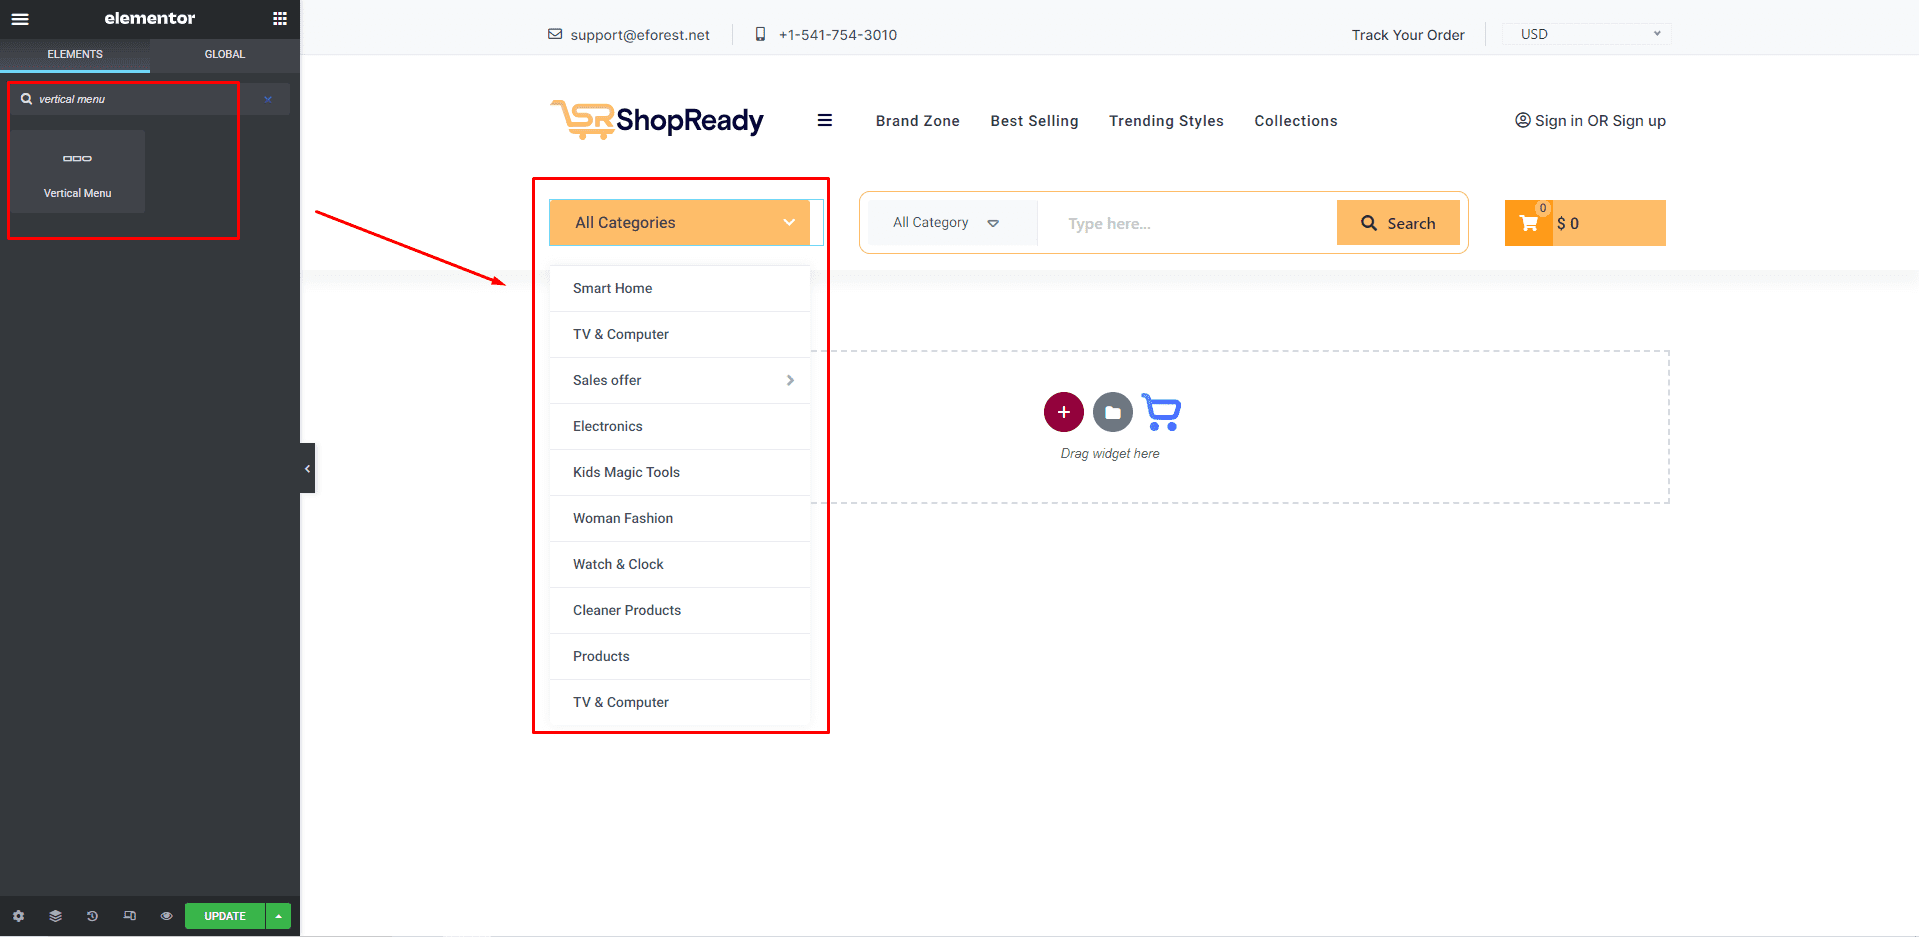
From the left-hand side, search for the ShopReady Vertical Menuwidget. And drop it in the header section.
Step - 04:
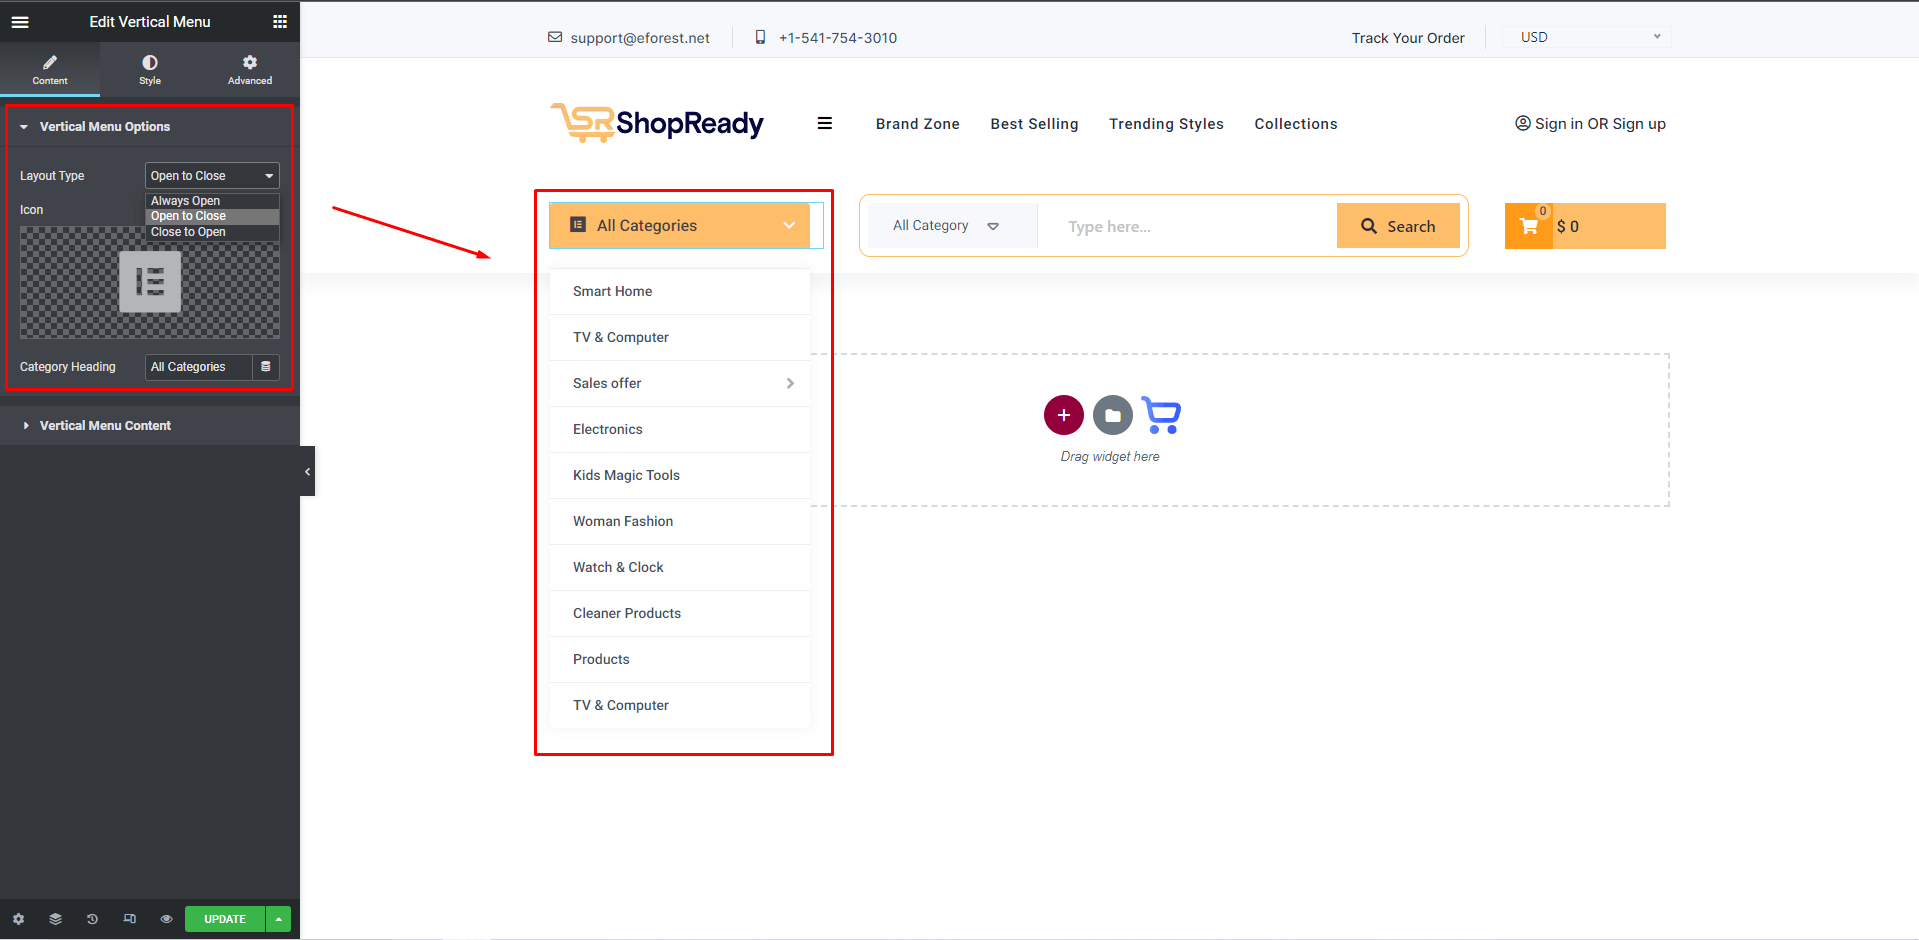
To customize the vertical menu, start by selecting the layout type from the Vertical Menu Optionsunder the Content tab. From here, you can also add a menu icon and change the menu header.
Step - 05:
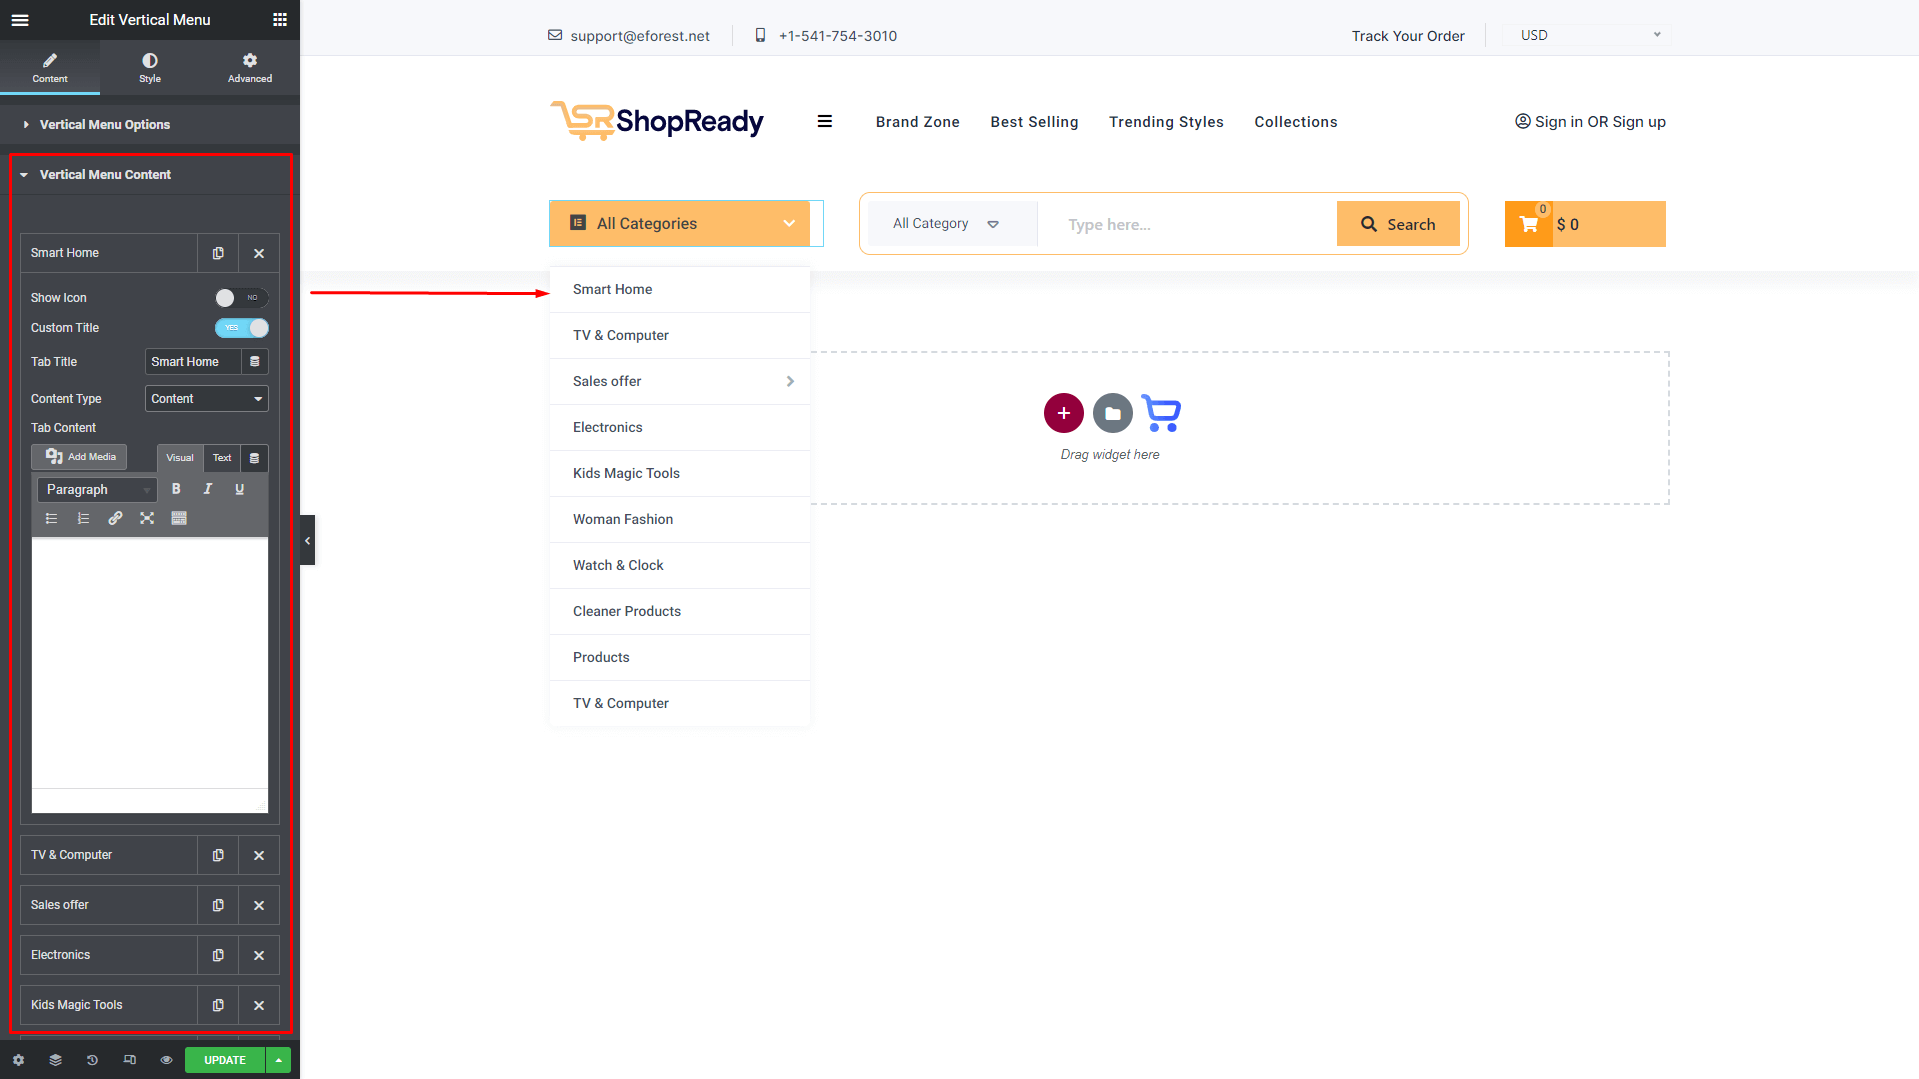
To edit what categories are displayed in the vertical menu, click on the Vertical Menu Contentoption under the Content tab. From here, you’ll be able to add or remove categories, edit category titles, and choose a category type between content and saved templates.
Step - 06:
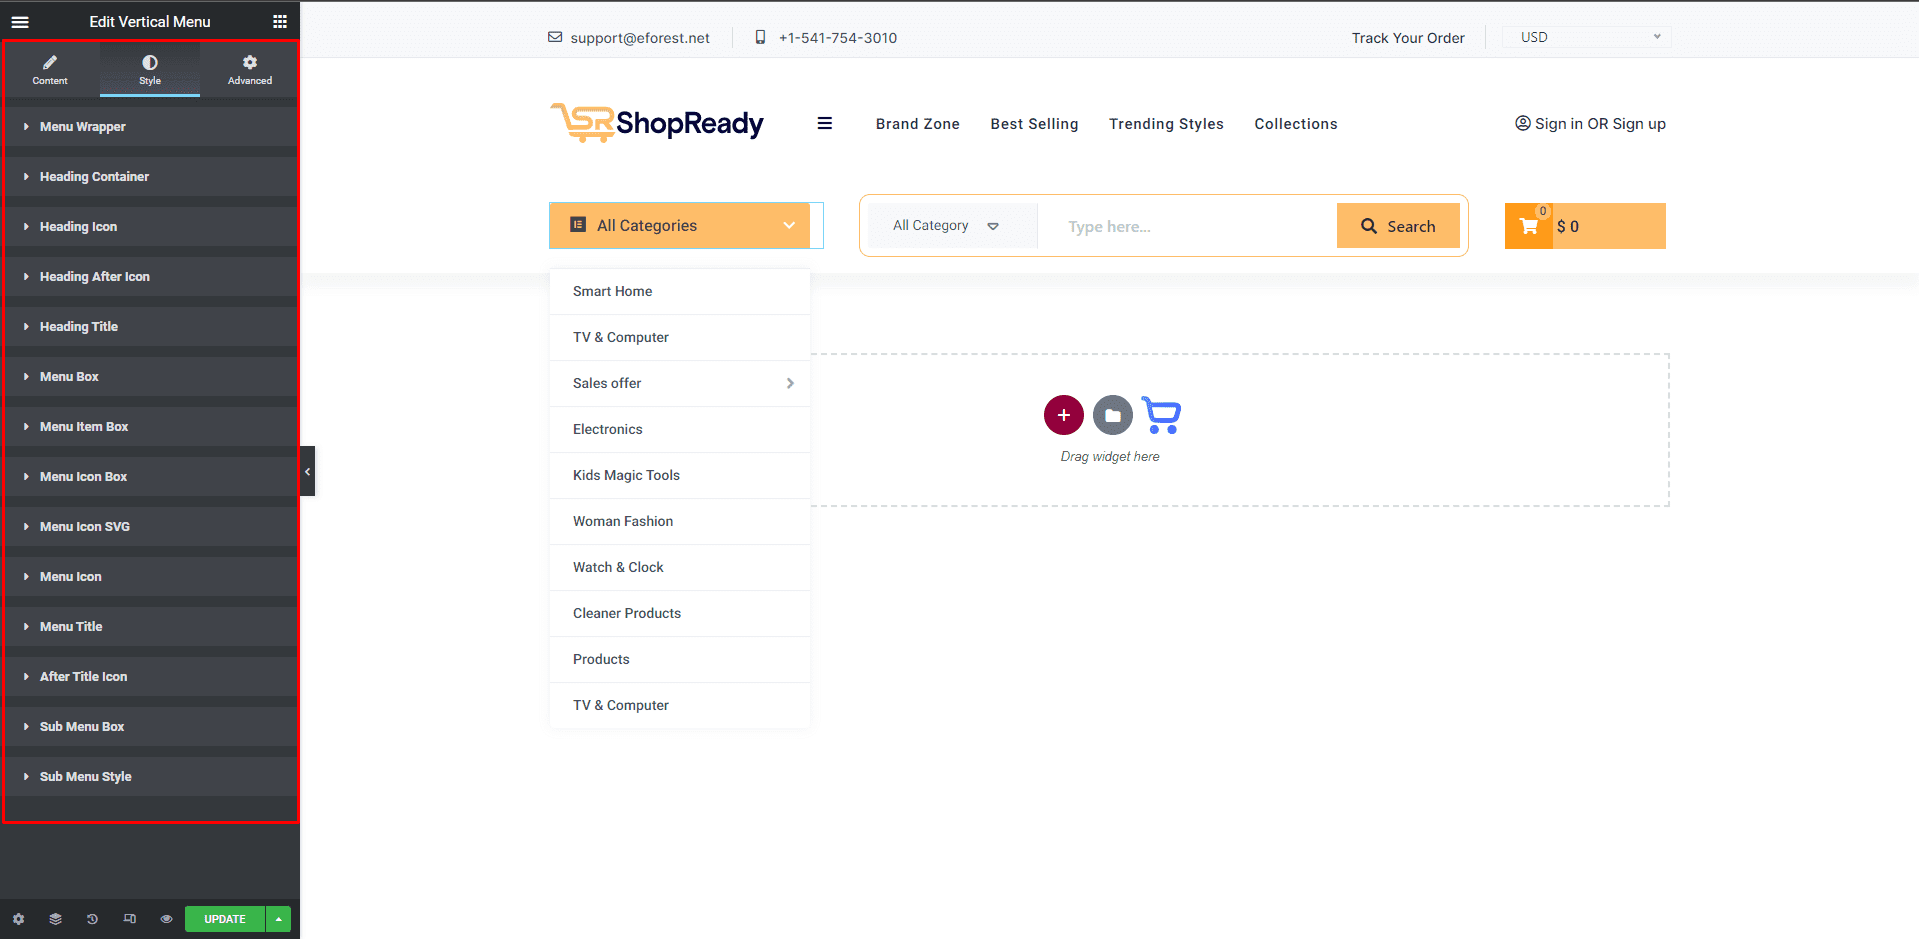
You can further customize the vertical menu; start by clicking on the Style tab. From here, you can change how the vertical category will appear by editing the style options for every menu and submenu.
When you’re done customizing your vertical menu, make sure to hit PUBLISH/ UPDATE to save your changes.