Enable theHeader Cart Count widget from the ShopReady dashboard and click on Save Changes.
Step - 02:
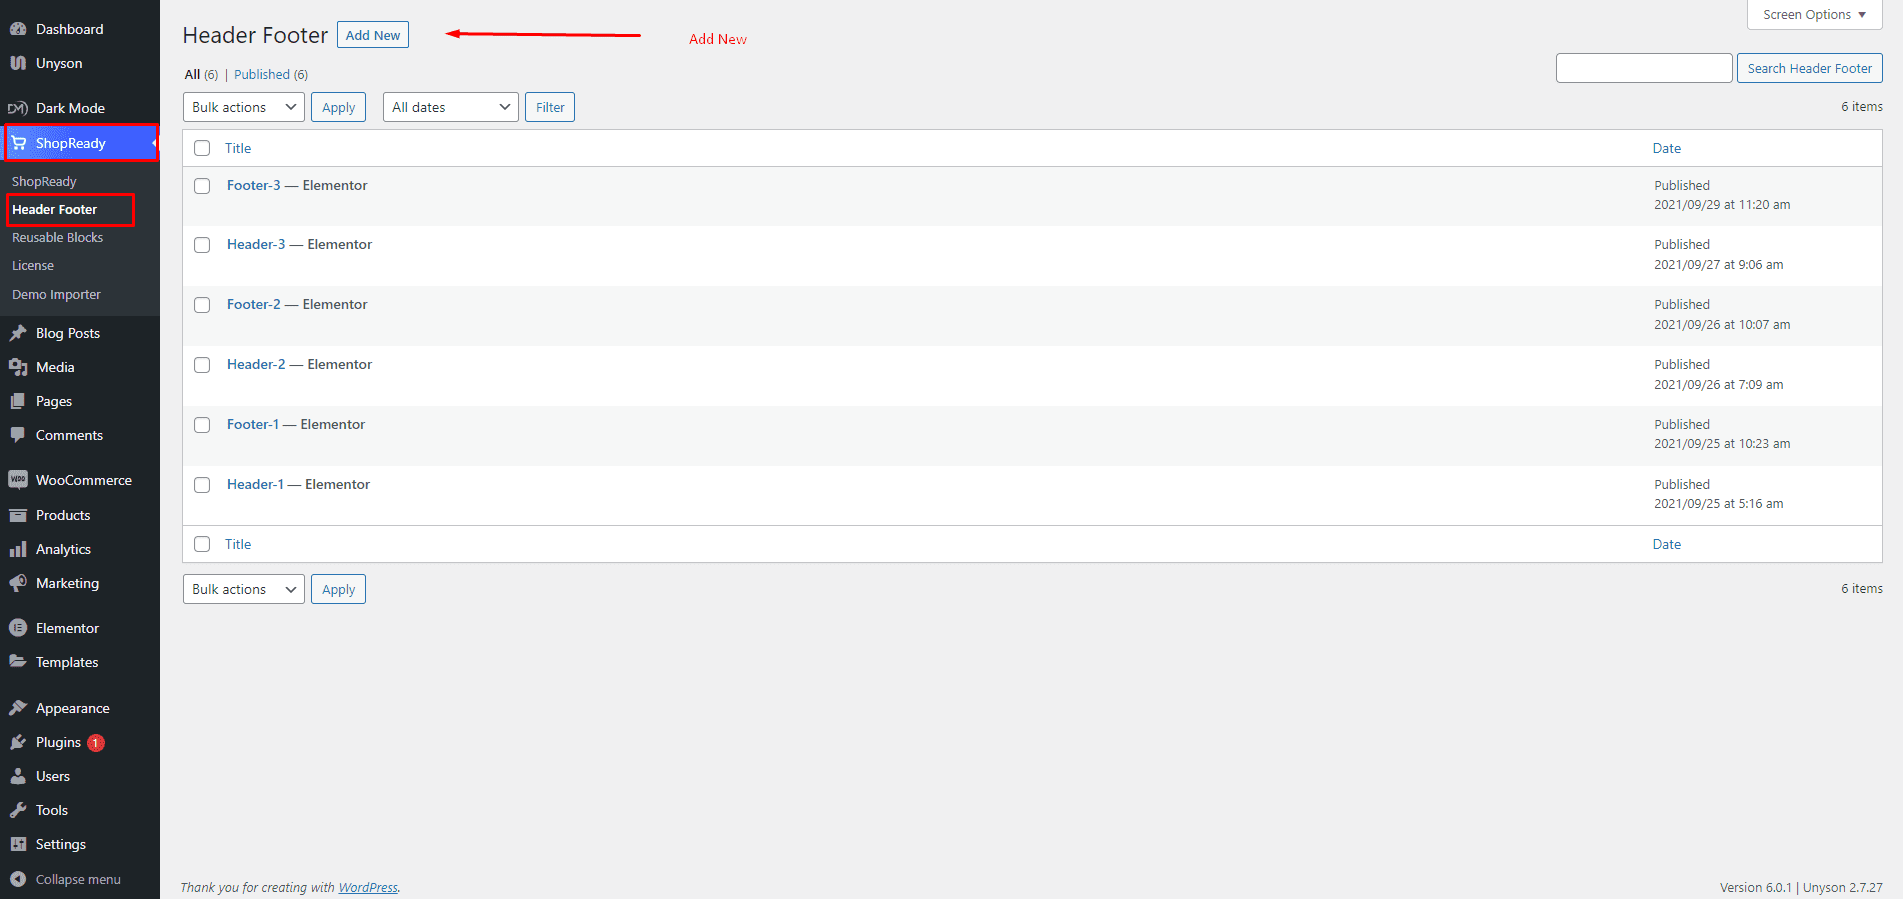
The first step is to create a header section by going to the WordPress Dashboard > ShopReady > Header Footer > Add New and giving it a title.
Click Edit with Elementor and you’ll be redirected to the Elementor Editor screen. From here, you’ll be able to customize your header section with all the necessary widgets and the Header Cart Count widget.
Step - 03:
From the left-hand side, search for the Header Cart Count widget and drop it onto the newly created header section.
Step - 04:
To select what type of pre-set content gets displayed on the cart counter, click on the Layout option under the Content tab. From the Style option, select the Popup Cart Counter and insert a Close Icon.
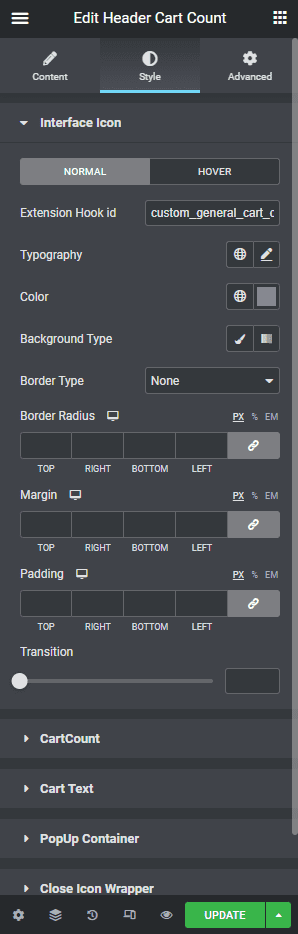
Click on the Styletab to customize how the Header Cart Count will look and feel. From here, customize each item with typography, color, padding, margin, etc.
When you’re done customizing your product grid section, make sure to hit PUBLISH/ UPDATE to save your changes.