Enable the Price Table widget from the ShopReady dashboard and click on Save Changes.
Step - 02:
Create a new page from the WordPress Dashboard > Pages > Add New. And then click on Edit with Elementor. Or click Edit with Elementor on an existing one.
From the left-hand side, search for the ShopReady Price Table widget. And drop it onto the newly created page. By default, it should look like this.
Step - 03:
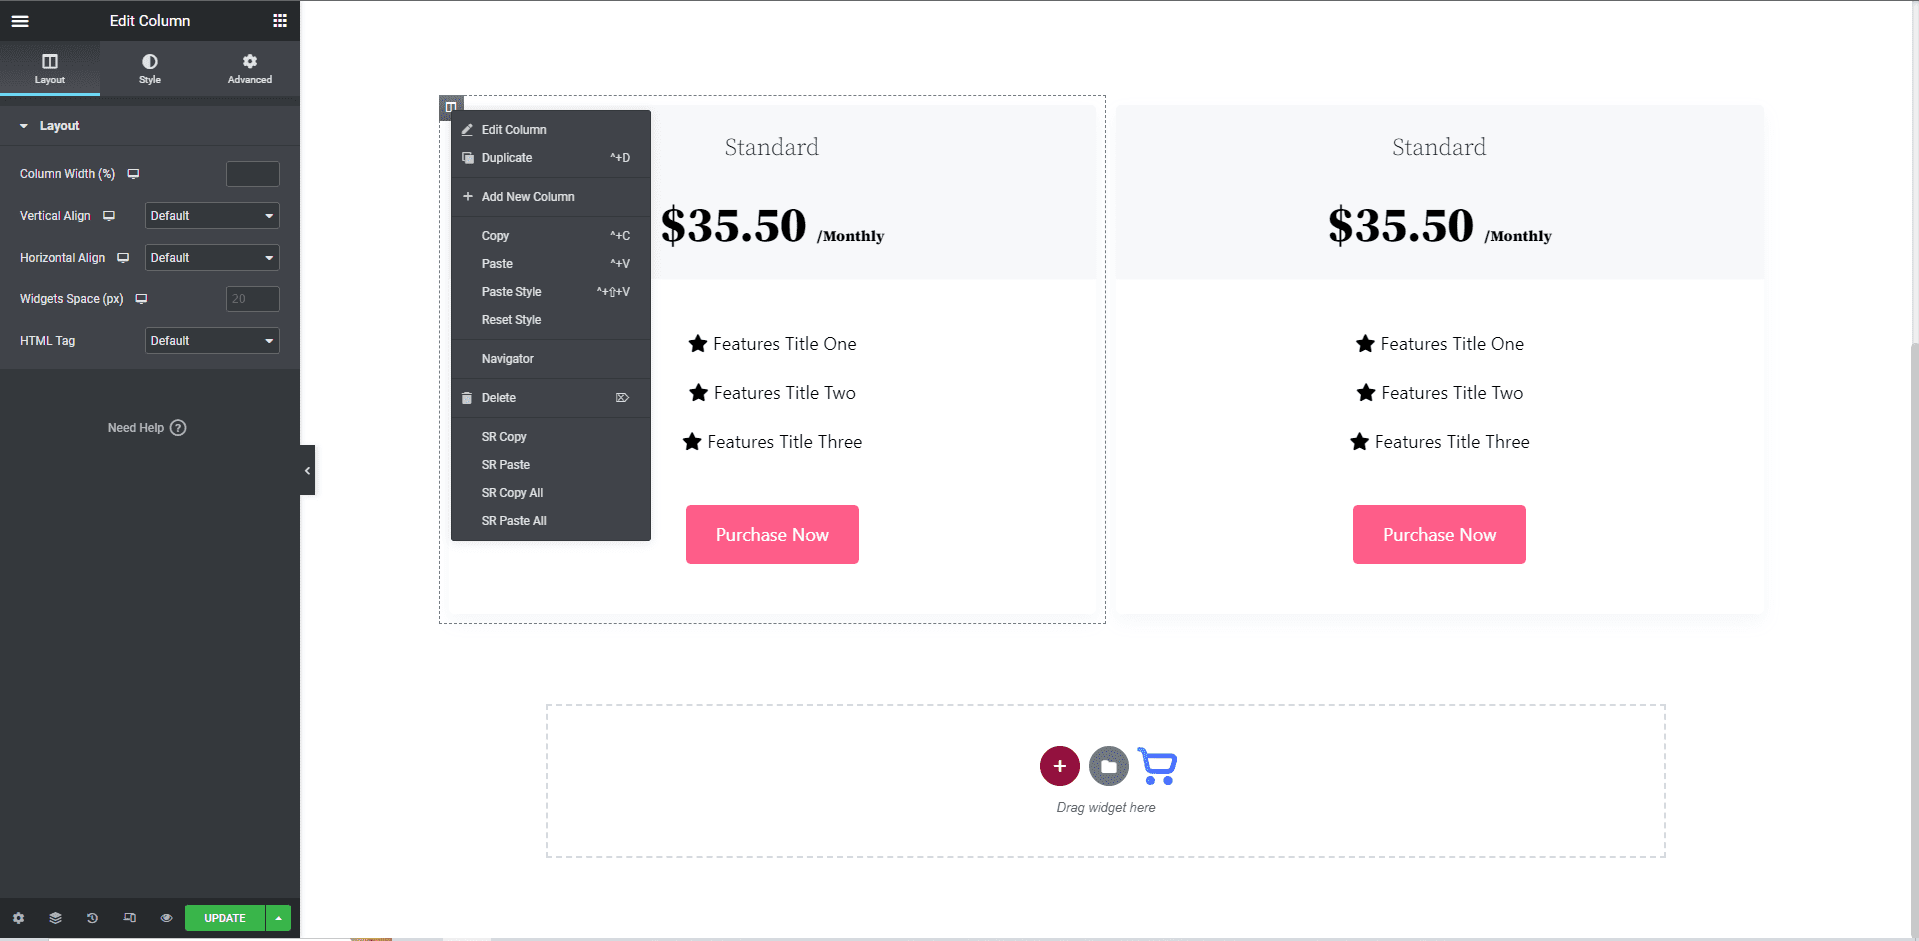
To start your price table, start by duplicating as many columns as you need. To duplicate the column, right-click on the column and click on the Duplicate button.
Step - 04:
From the layout option, you can select preset layouts for each price column.
Step - 05:
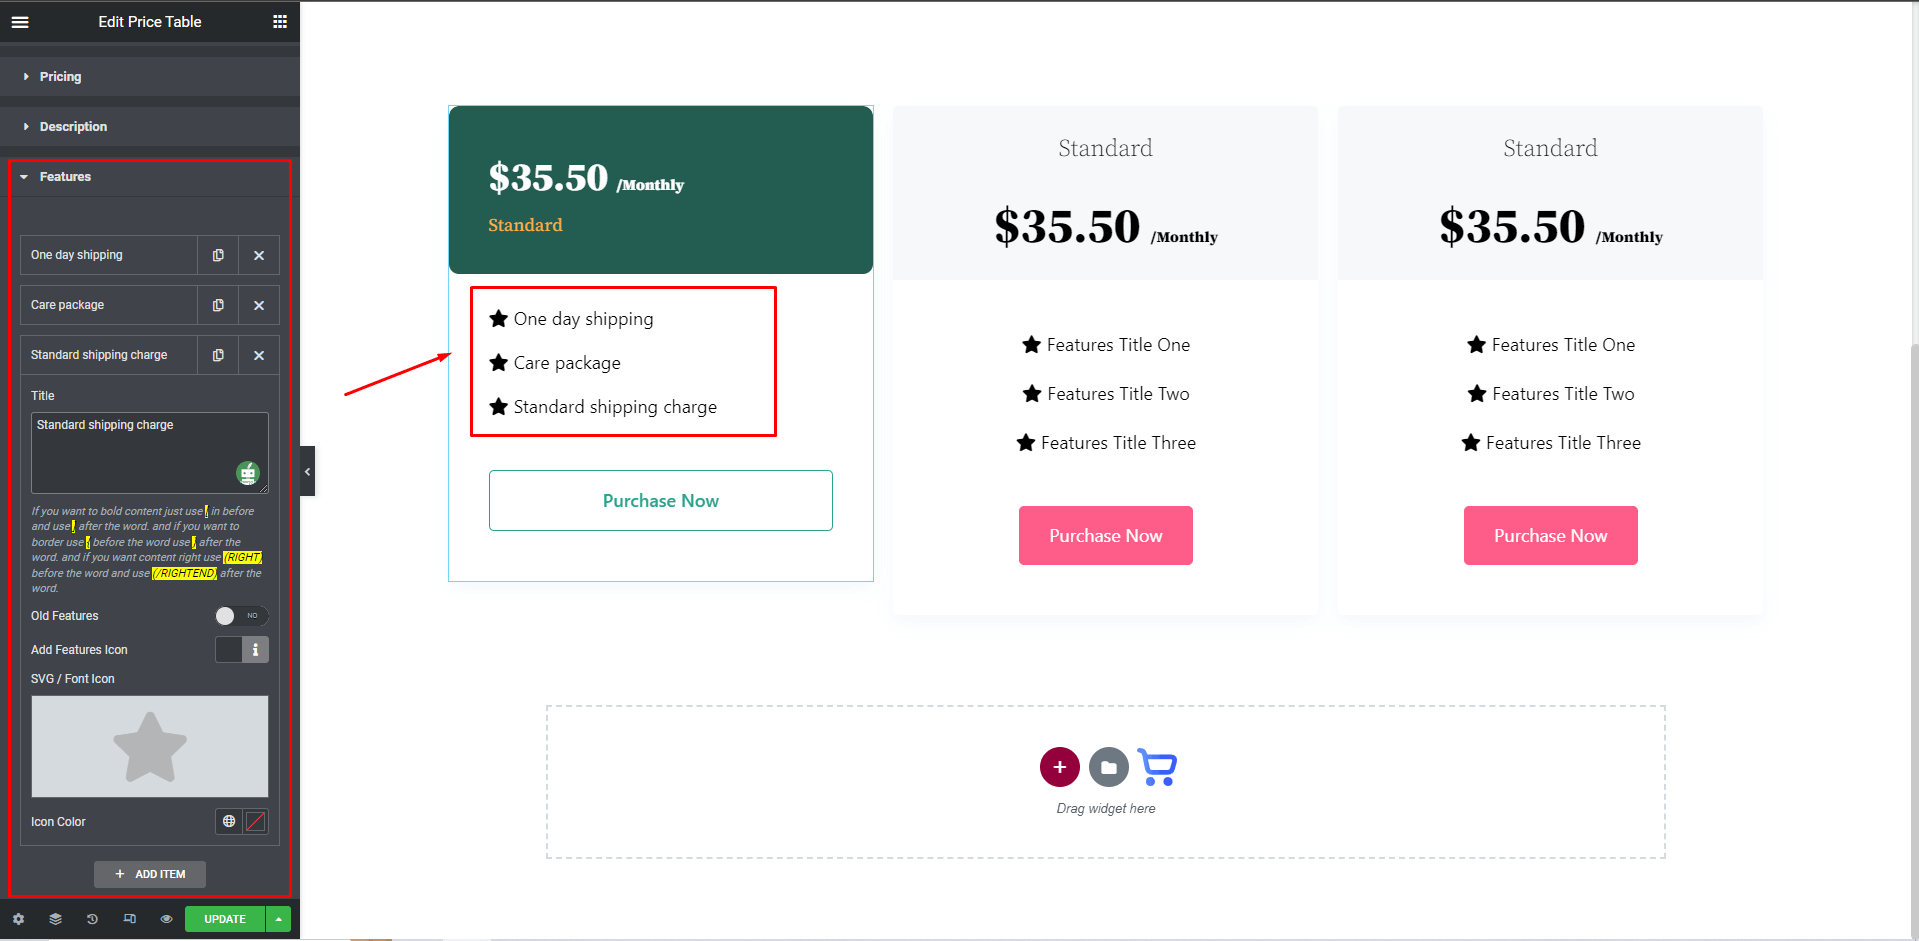
To edit the contents within each price column, simply click on each column and edit the features option. You can increase and decrease featured items and add unique icons to each item mentioned.
Step - 06:
You also have the option to add custom pricing and discounts from the Pricing option under the Content tab.
When you’re done customizing your product grid section, make sure to hit PUBLISH/ UPDATE to save your changes.