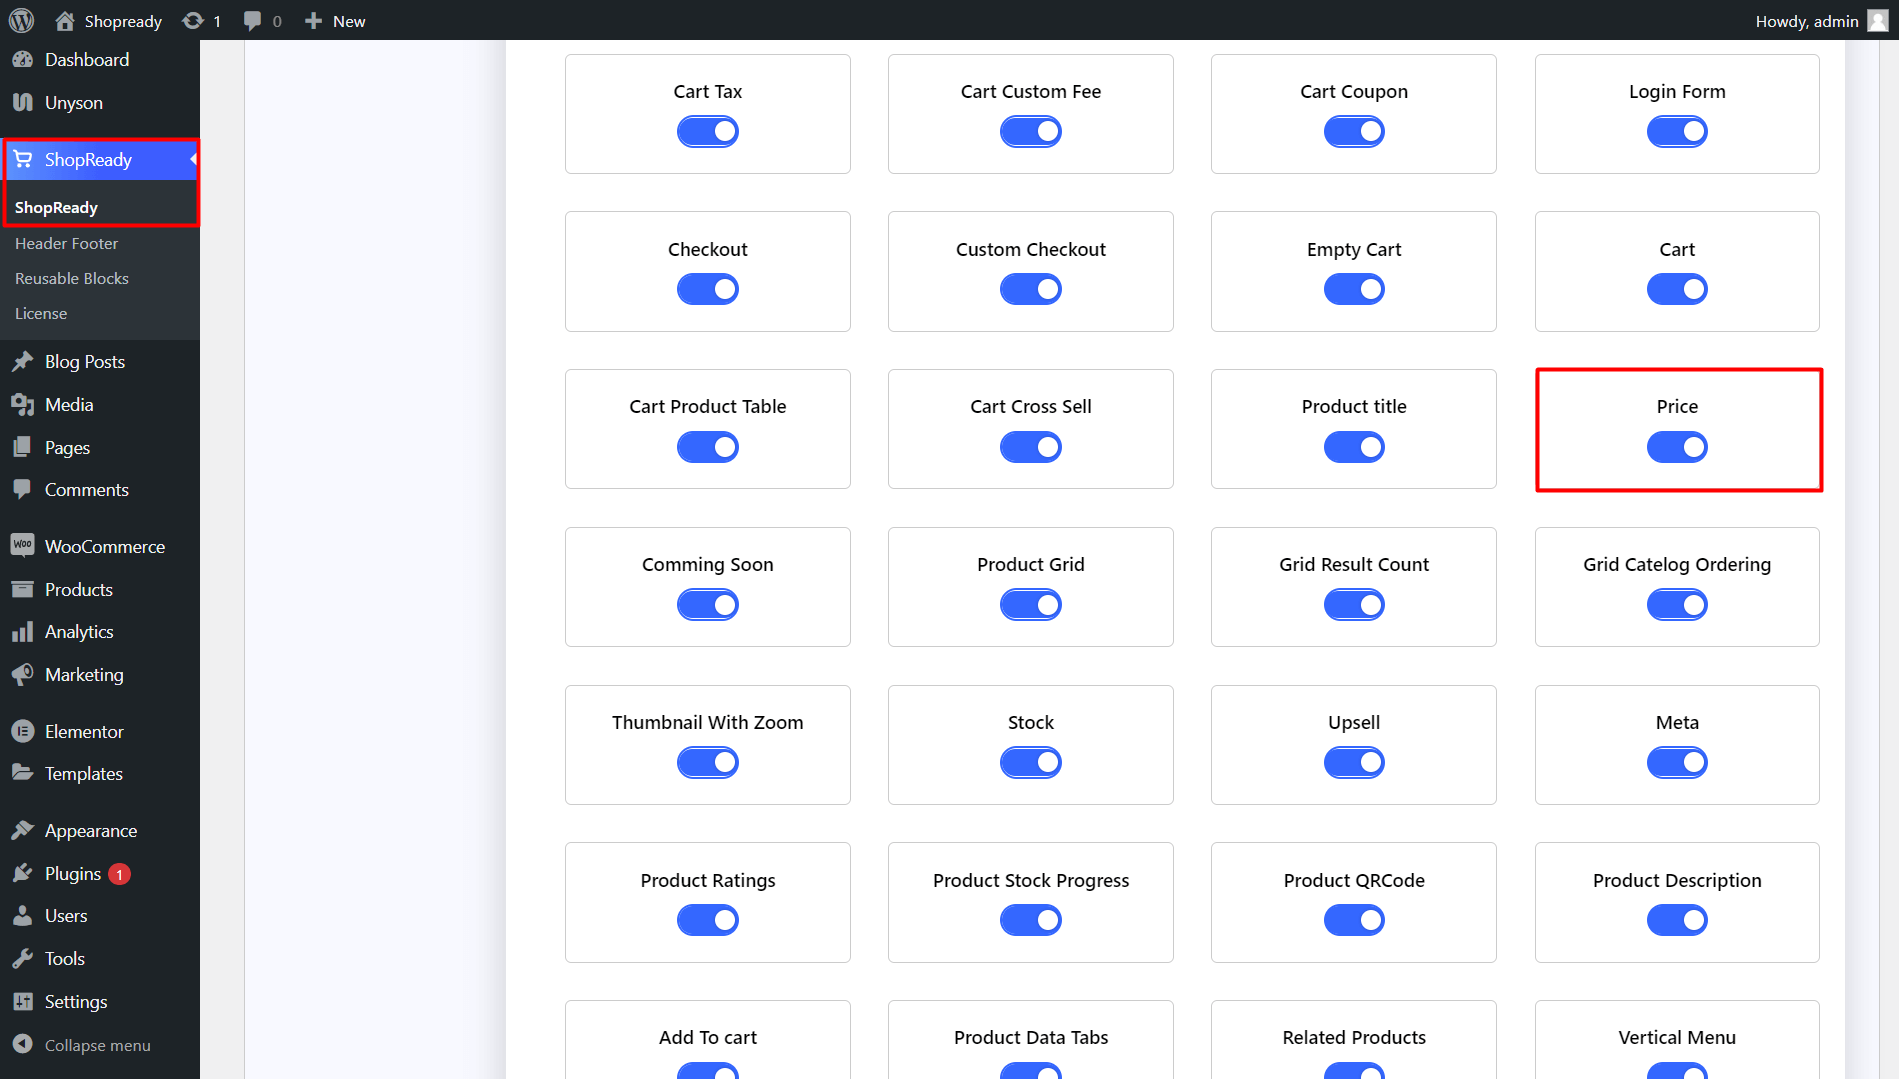
Enable the Price widget from the ShopReady dashboard and click on Save Changes.
Step - 02:
Create a new page from the WordPress Dashboard > Pages > Add New. And then click on Edit with Elementor. Or visit your single product page.
From the left-hand side, search for the ShopReady Price widget. And drop it under the product title or product description.
Step - 03:
To get the correct product price, click on the Editor Refreshunder the Content tab, search for the correct product title, and enable Content Refresh.
Note:For this data to appear correctly, you’ll need to add or update your WooCommerce product information accordingly.
Step - 04:
You also have the option to select which pricing information will be shown from the Layout option.
Step - 05:
You can customize how the product price will appear by clicking on the Style tab. From here, you can change how the product pricing will appear by changing settings options such as layout, typography, margin, padding, etc.
Each pricing option, such as currency, regular price, discounted price, sale price, etc., can be customized individually.
When you’re done customizing your product price, make sure to hit PUBLISH/ UPDATE to save your changes.