Use this widget to enable search functionality on your E-commerce website.
Step - 01:
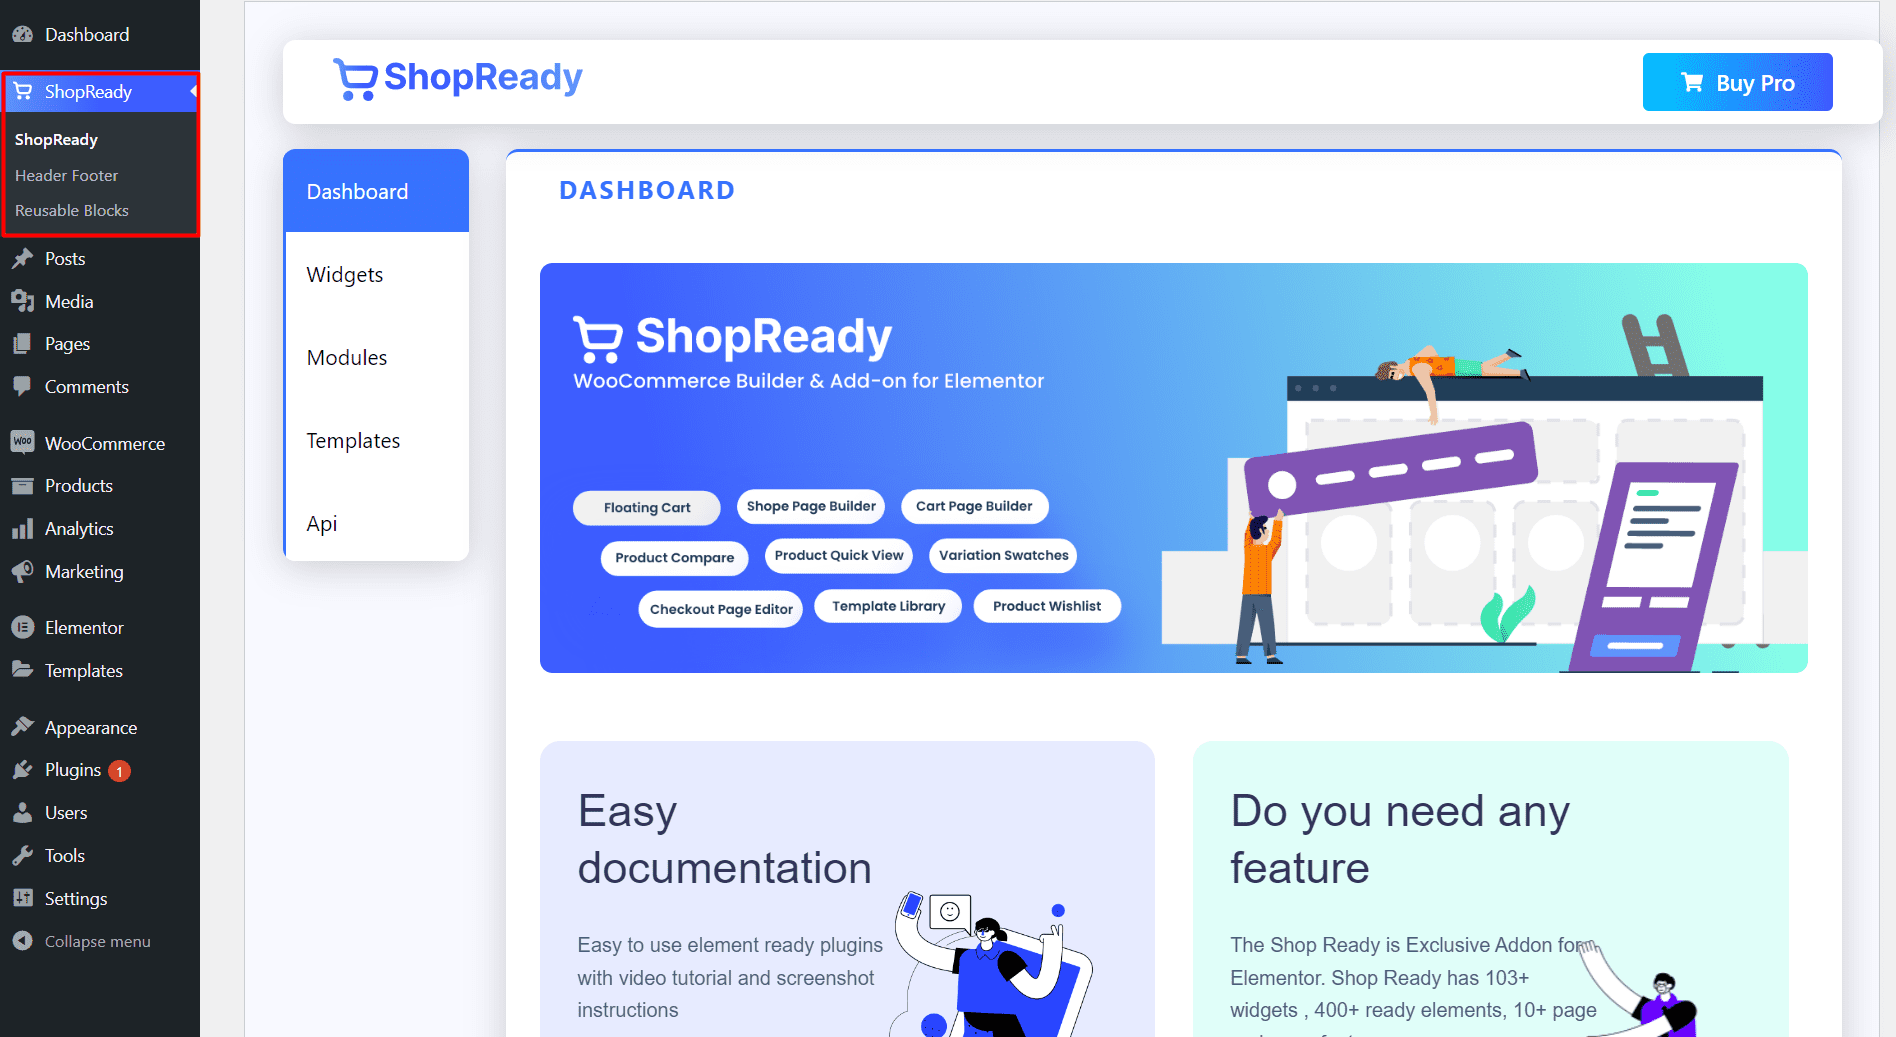
Enable theShop Searchwidget from the ShopReady dashboard and click on Save Changes.
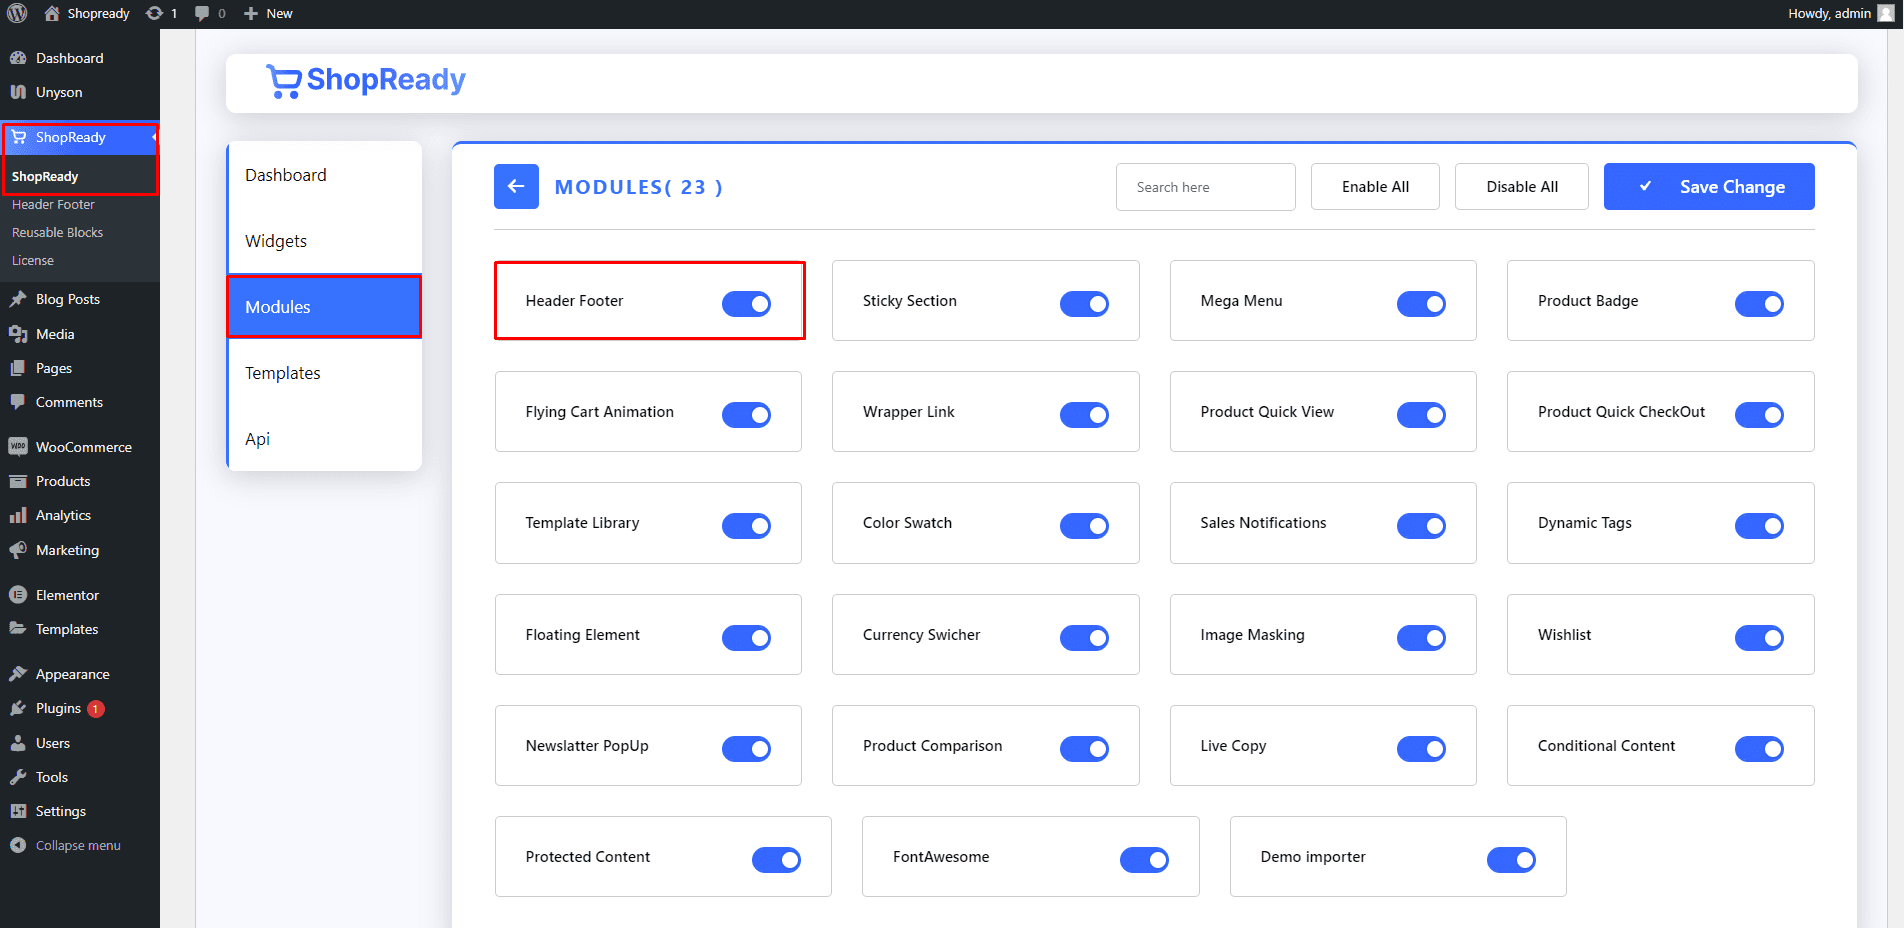
To use the Shop Search widget in the header section, you’ll need to enable the Header Footermodule from the ShopReady dashboard and click on Save Changes.
Step - 02:
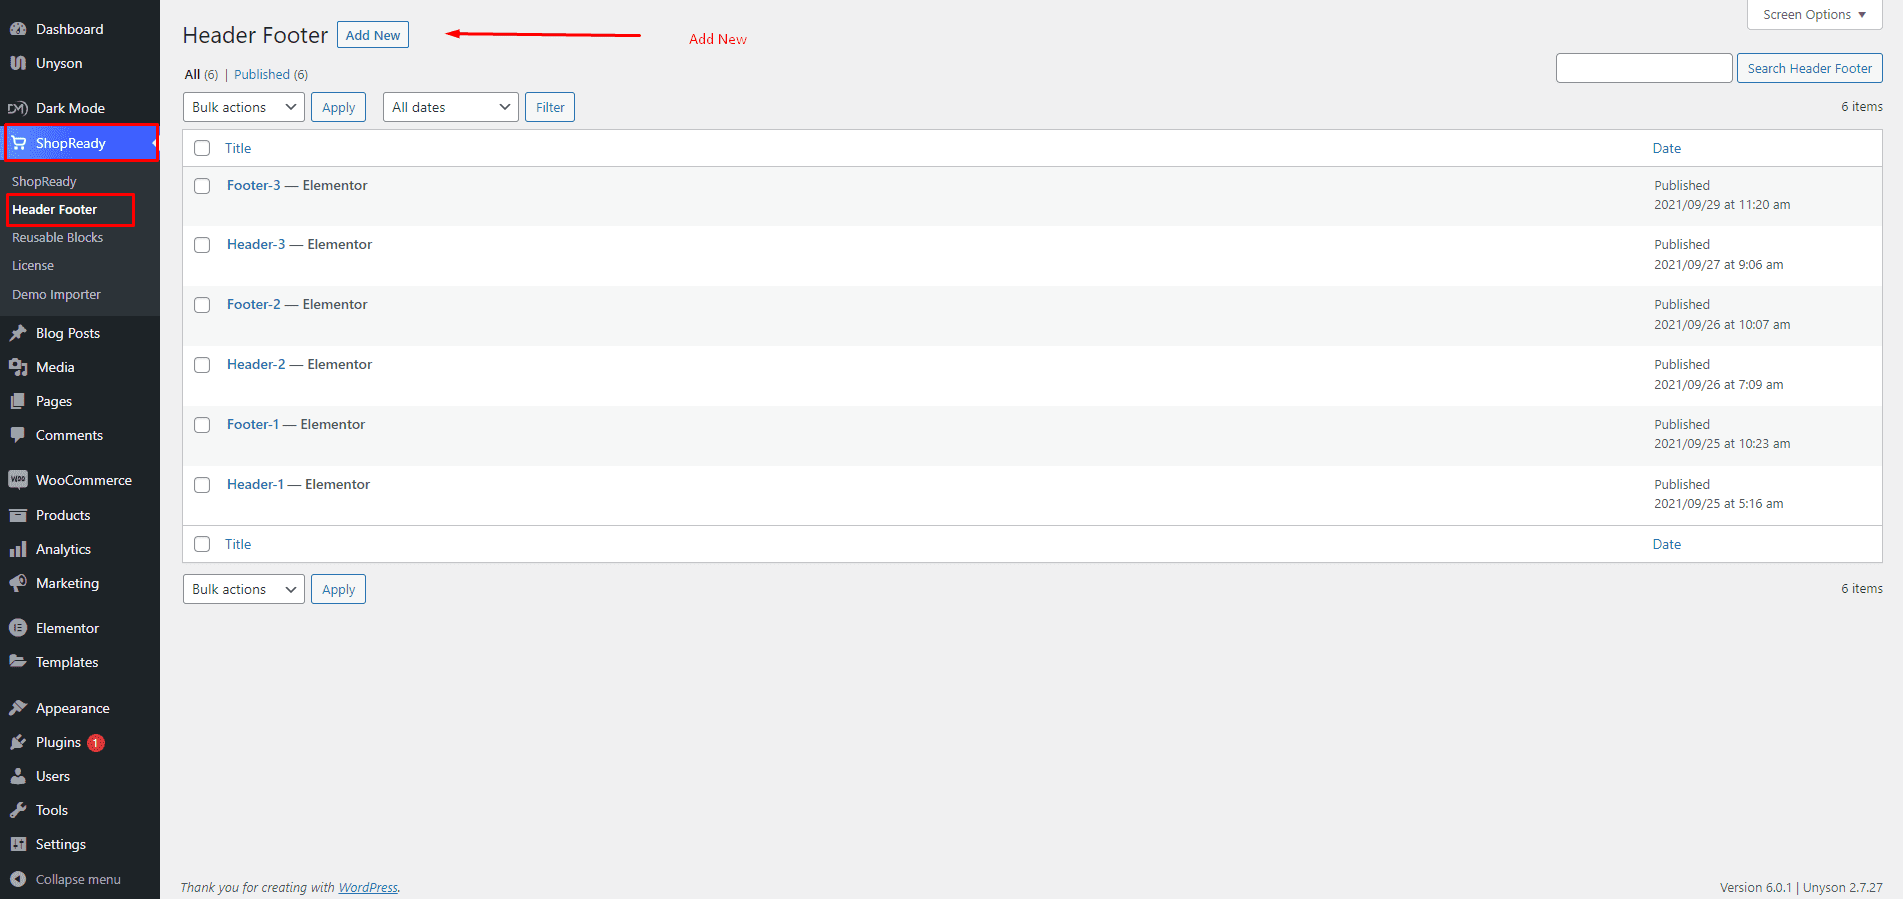
The first step is to create a header section by going to the WordPress Dashboard > ShopReady > Header Footer > Add Newand giving it a title.
Click Edit with Elementor and you’ll be redirected to the Elementor Editor screen. From here, you’ll be able to customize your header section with all the necessary widgets and the Shop Search widget.
Step - 03:
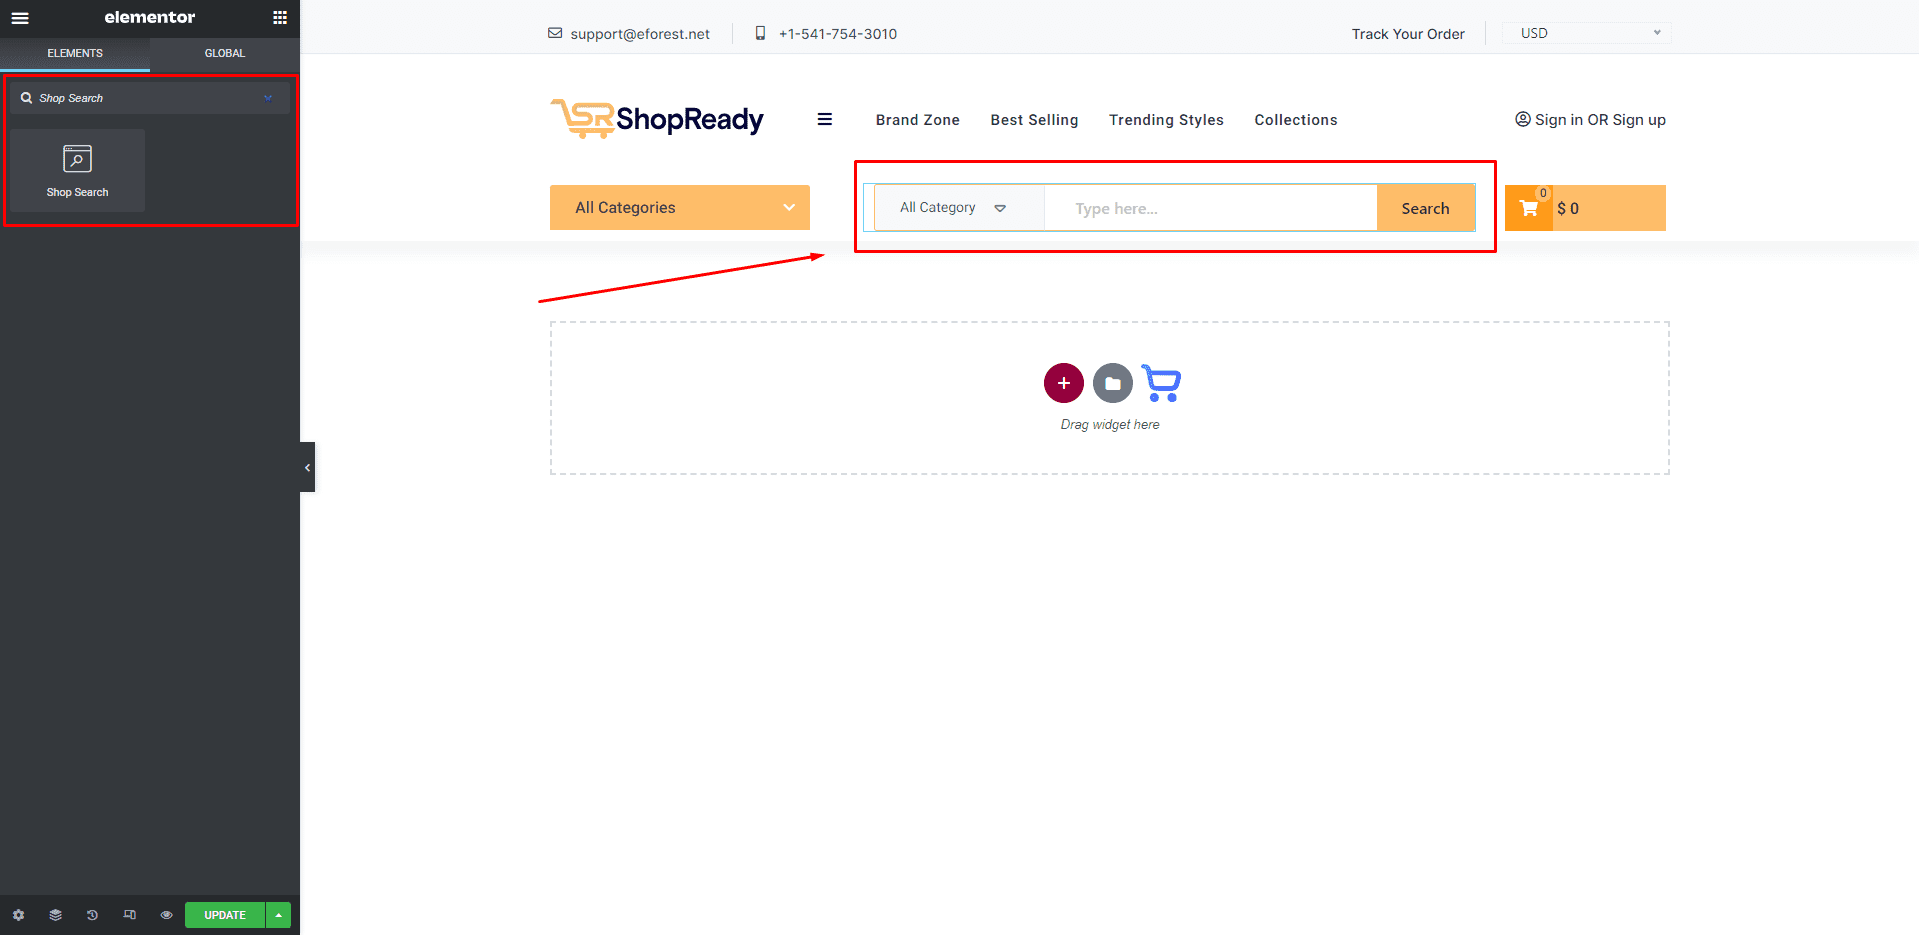
From the left-hand side, search for the ShopReady Search Shopwidget. And drop it in the header section.
Step - 04:
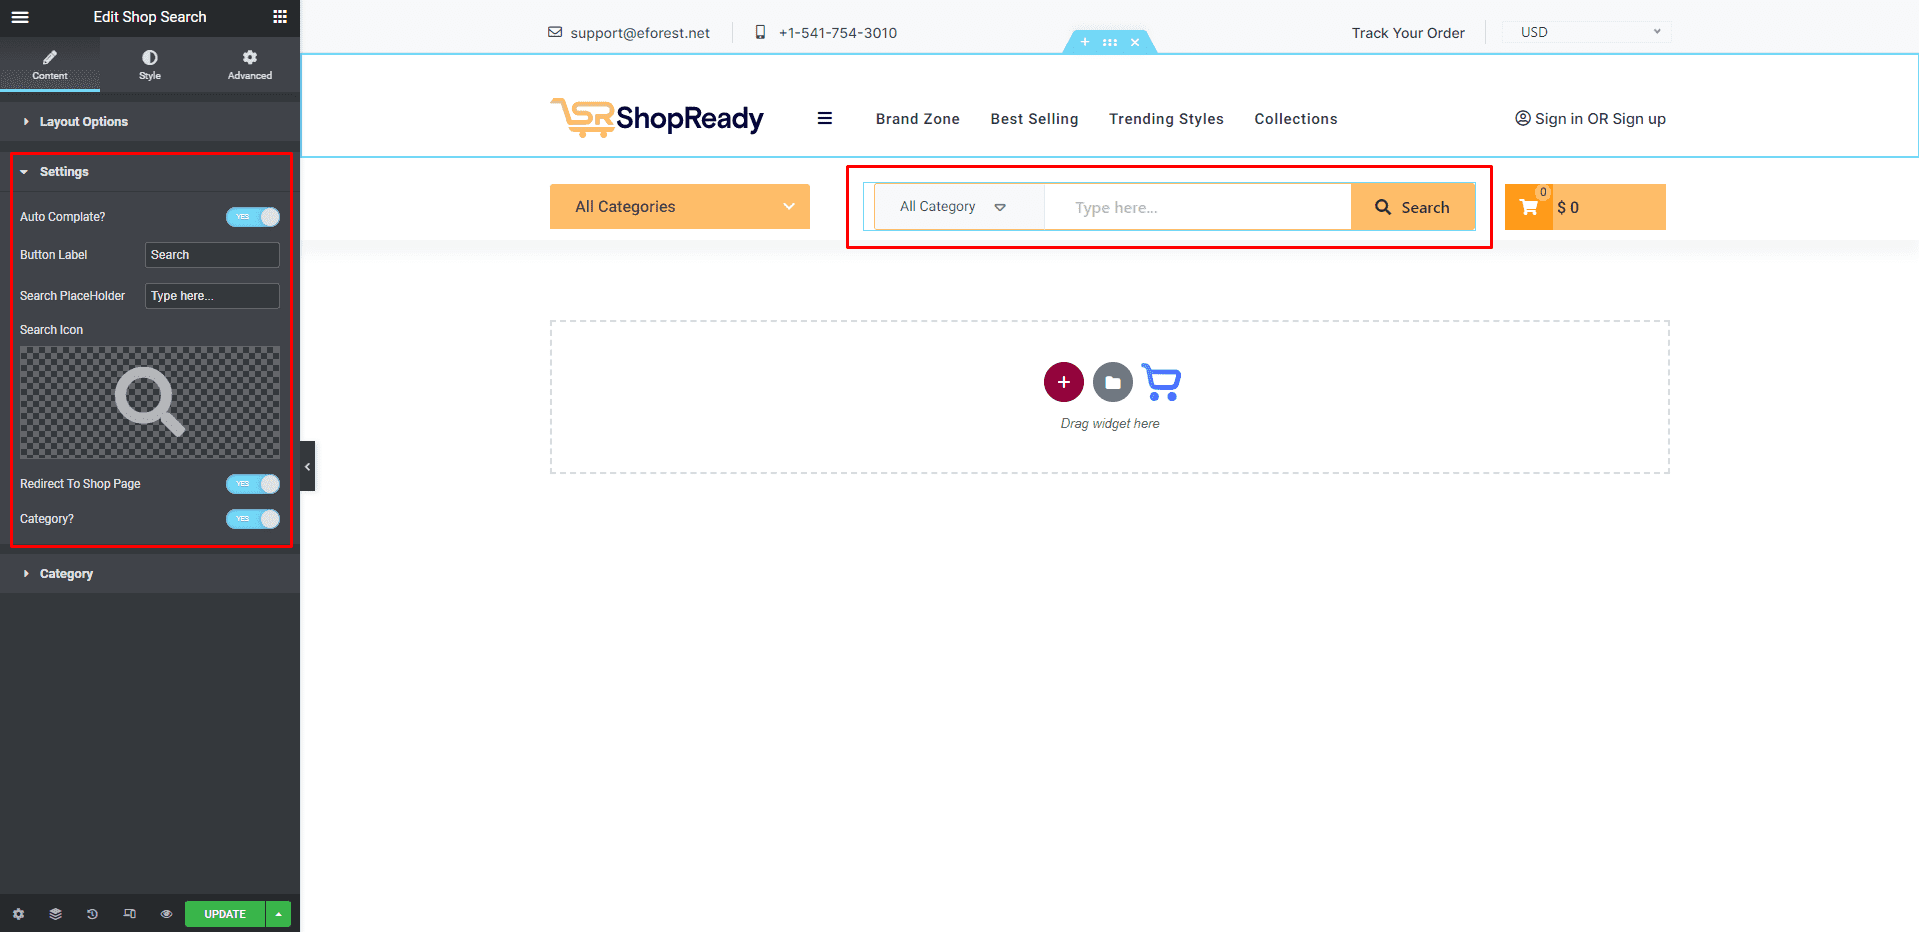
To edit what content gets shown in the search box, click on the Settings option under the Content tab. From here, you’ll be able to edit the button label, search placeholder, and search box icon.
Also, users have the option to toggle on/off the auto search complete option, redirect to product page, and category selection option in the search box.
Step - 05:
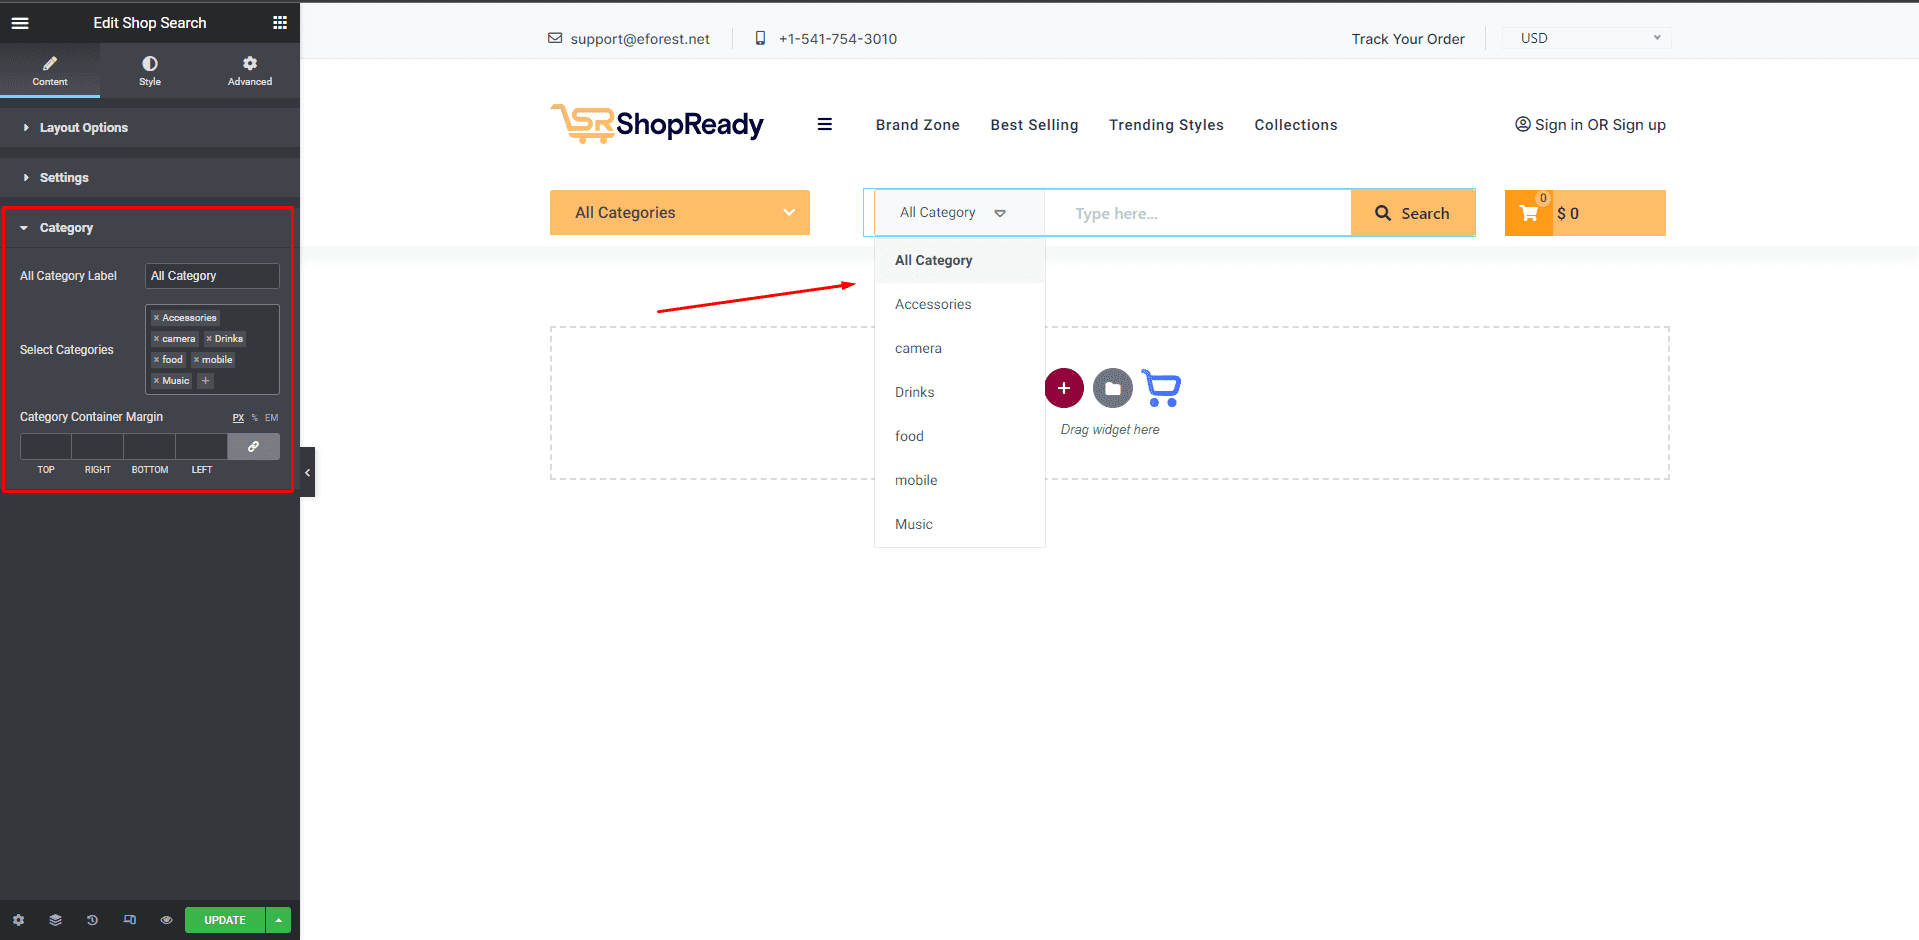
To edit what search categories are displayed in the search box, click on the Category option under the Content tab.
From here, users are able to change the category label, add or remove categories, and customize the category container margin.
Step - 06:
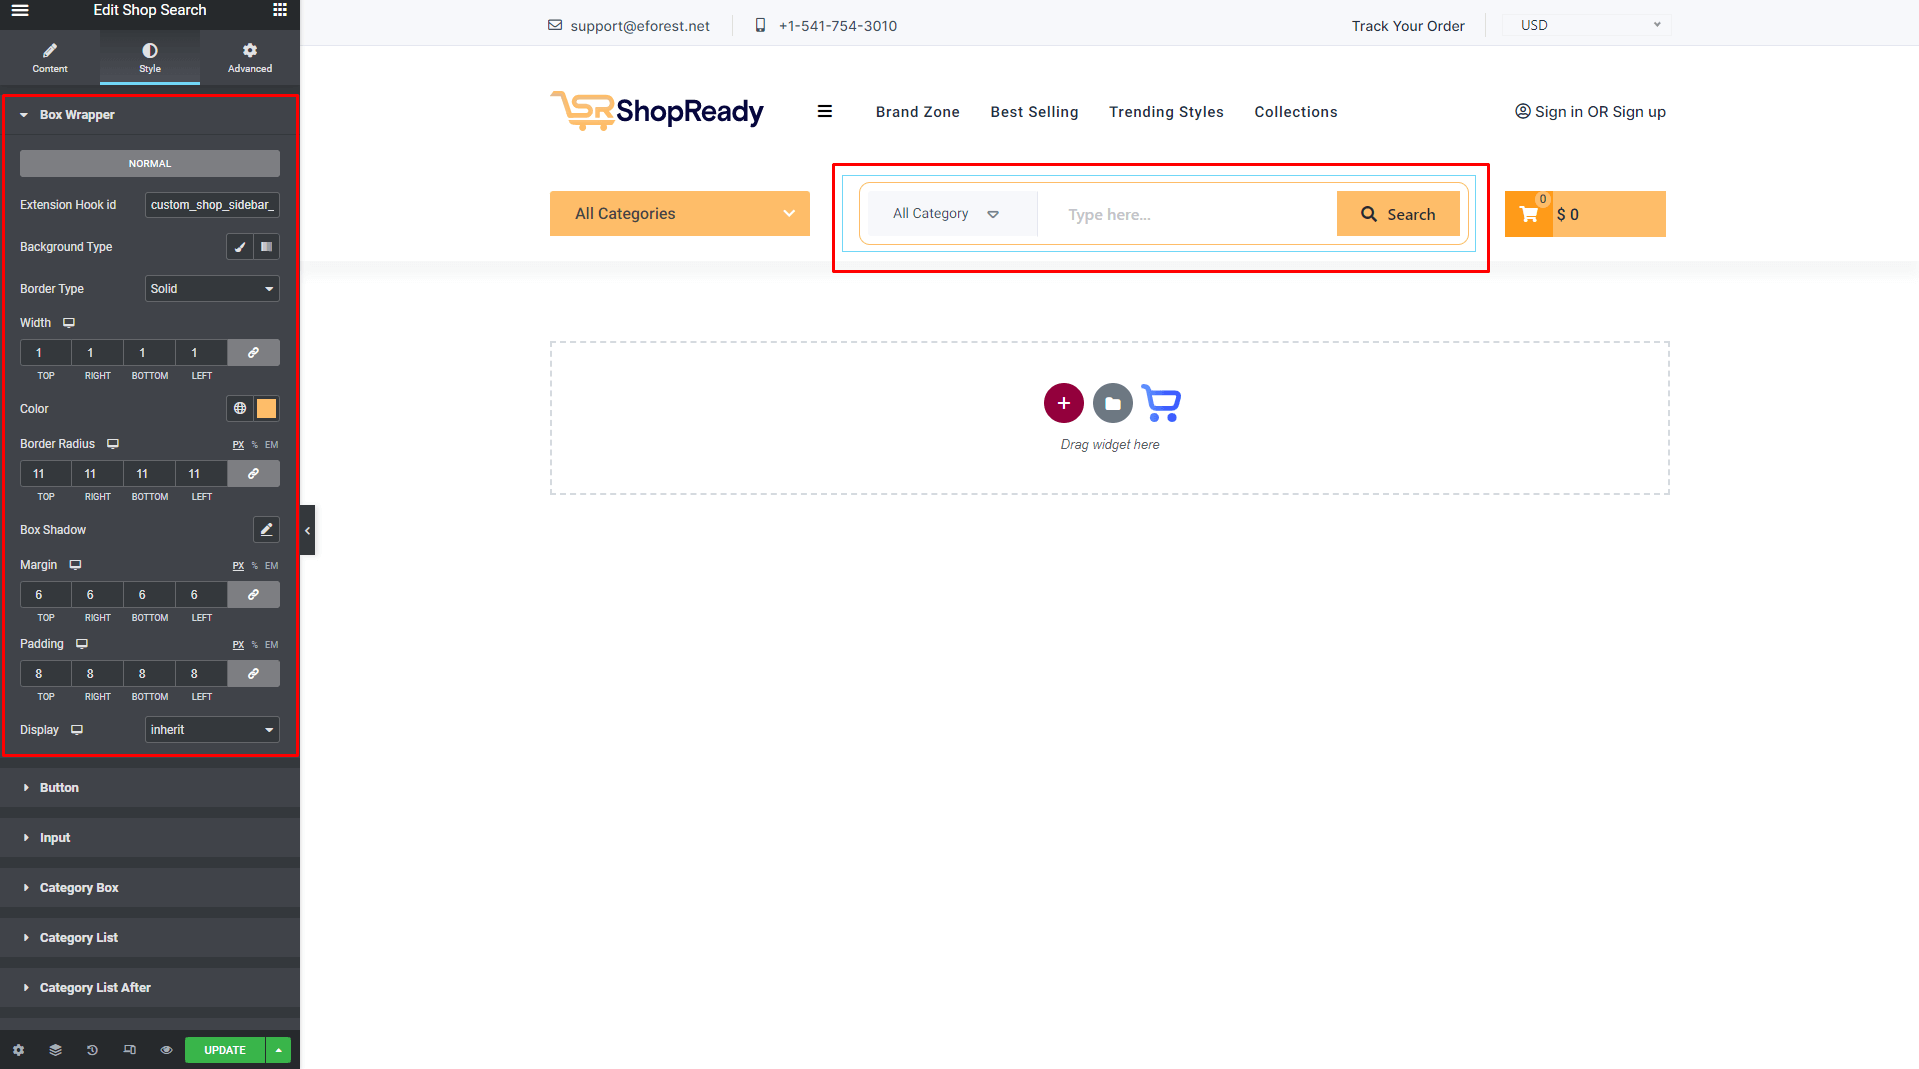
You can further customize the search box; start by clicking on the Style tab. From here, you can change how the search box will appear by customizing the search box wrapper, search button, category box, etc.
When you’re done customizing your search box, make sure to hit PUBLISH/ UPDATE to save your changes.