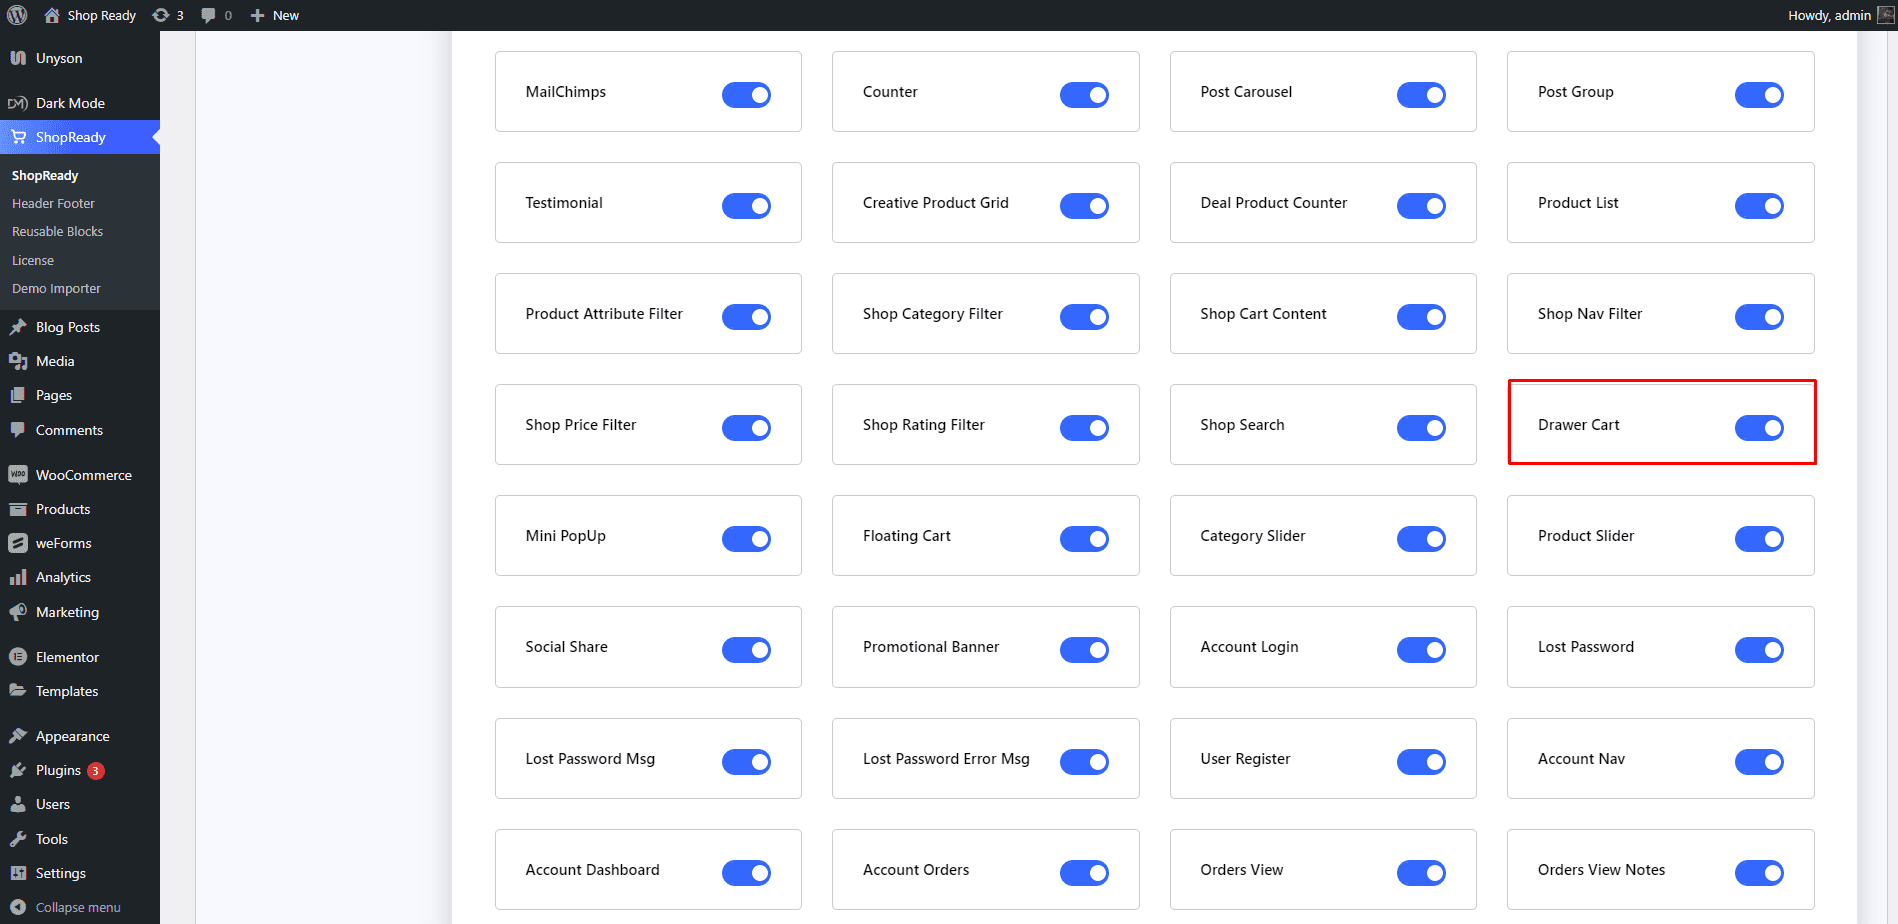
Enable the Drawer Cartwidget from the ShopReady dashboard and click on Save Changes.
To use the Drawer Cart widget in the header section, you’ll need to enable the Header Footermodule from the ShopReady dashboard and click on Save Changes.
Step - 02:
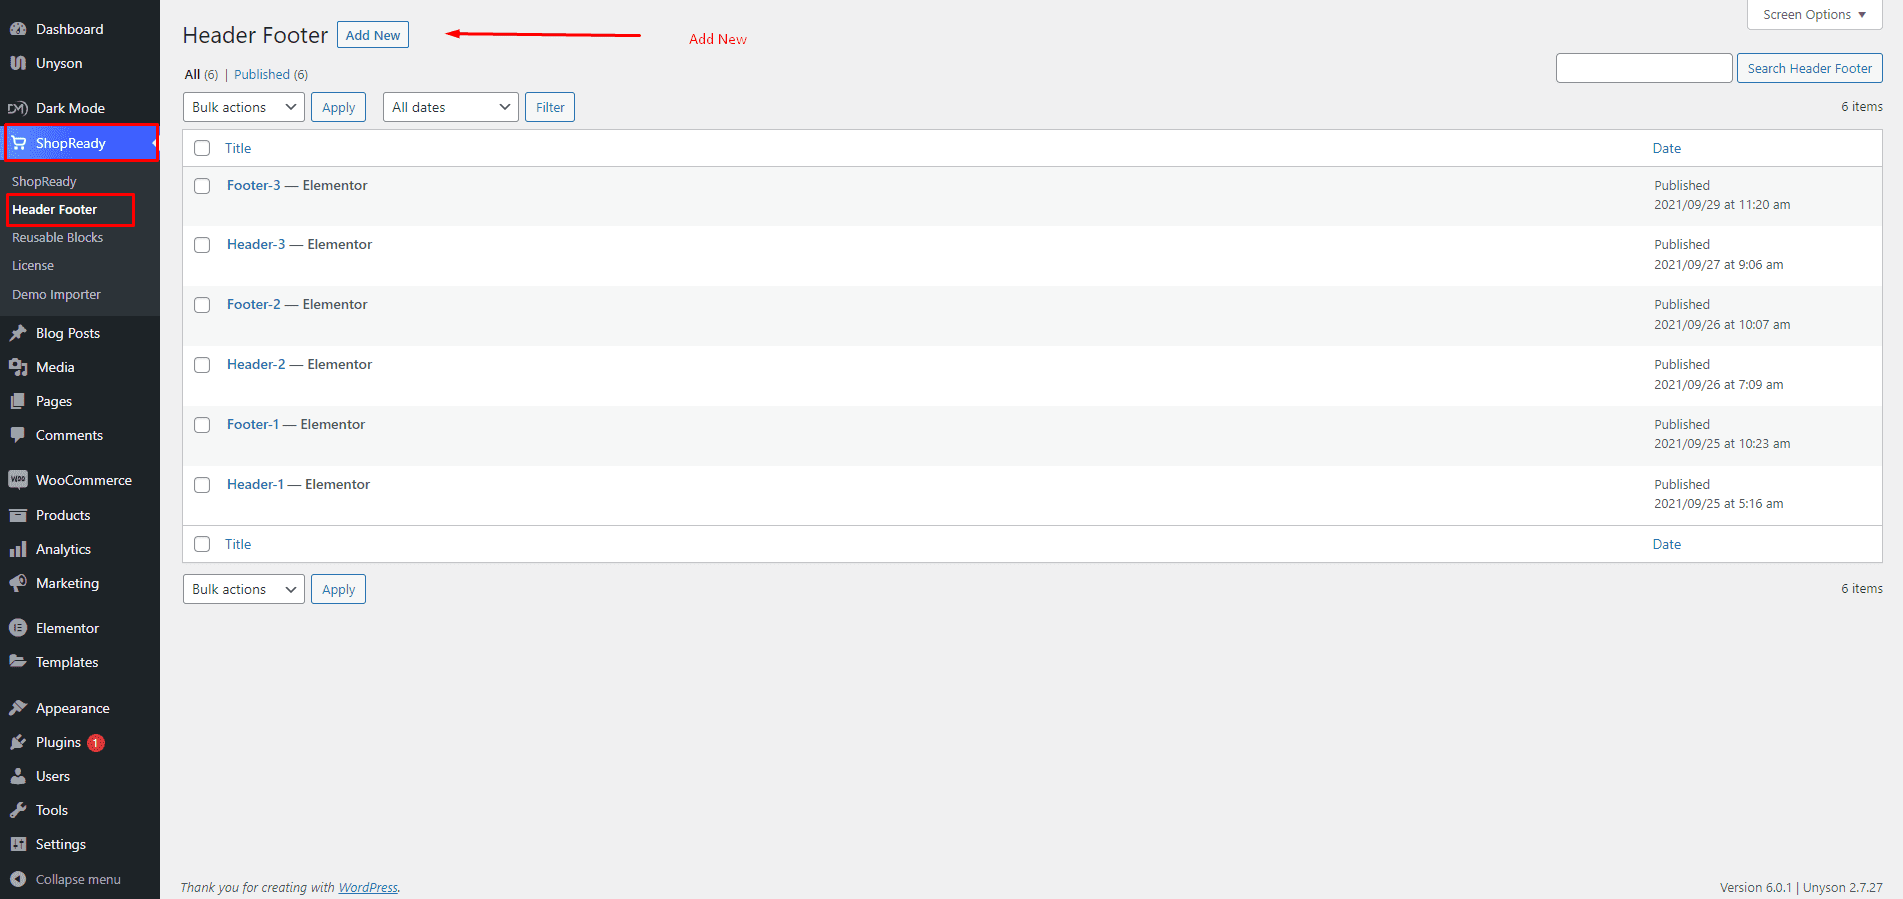
The first step is to create a header section by going to the WordPress Dashboard > ShopReady > Header Footer > Add New and giving it a title.
Click Edit with Elementor and you’ll be redirected to the Elementor Editorscreen. From here, you’ll be able to customize your header section with all the necessary widgets and the Drawer Cart widget.
Step - 03:
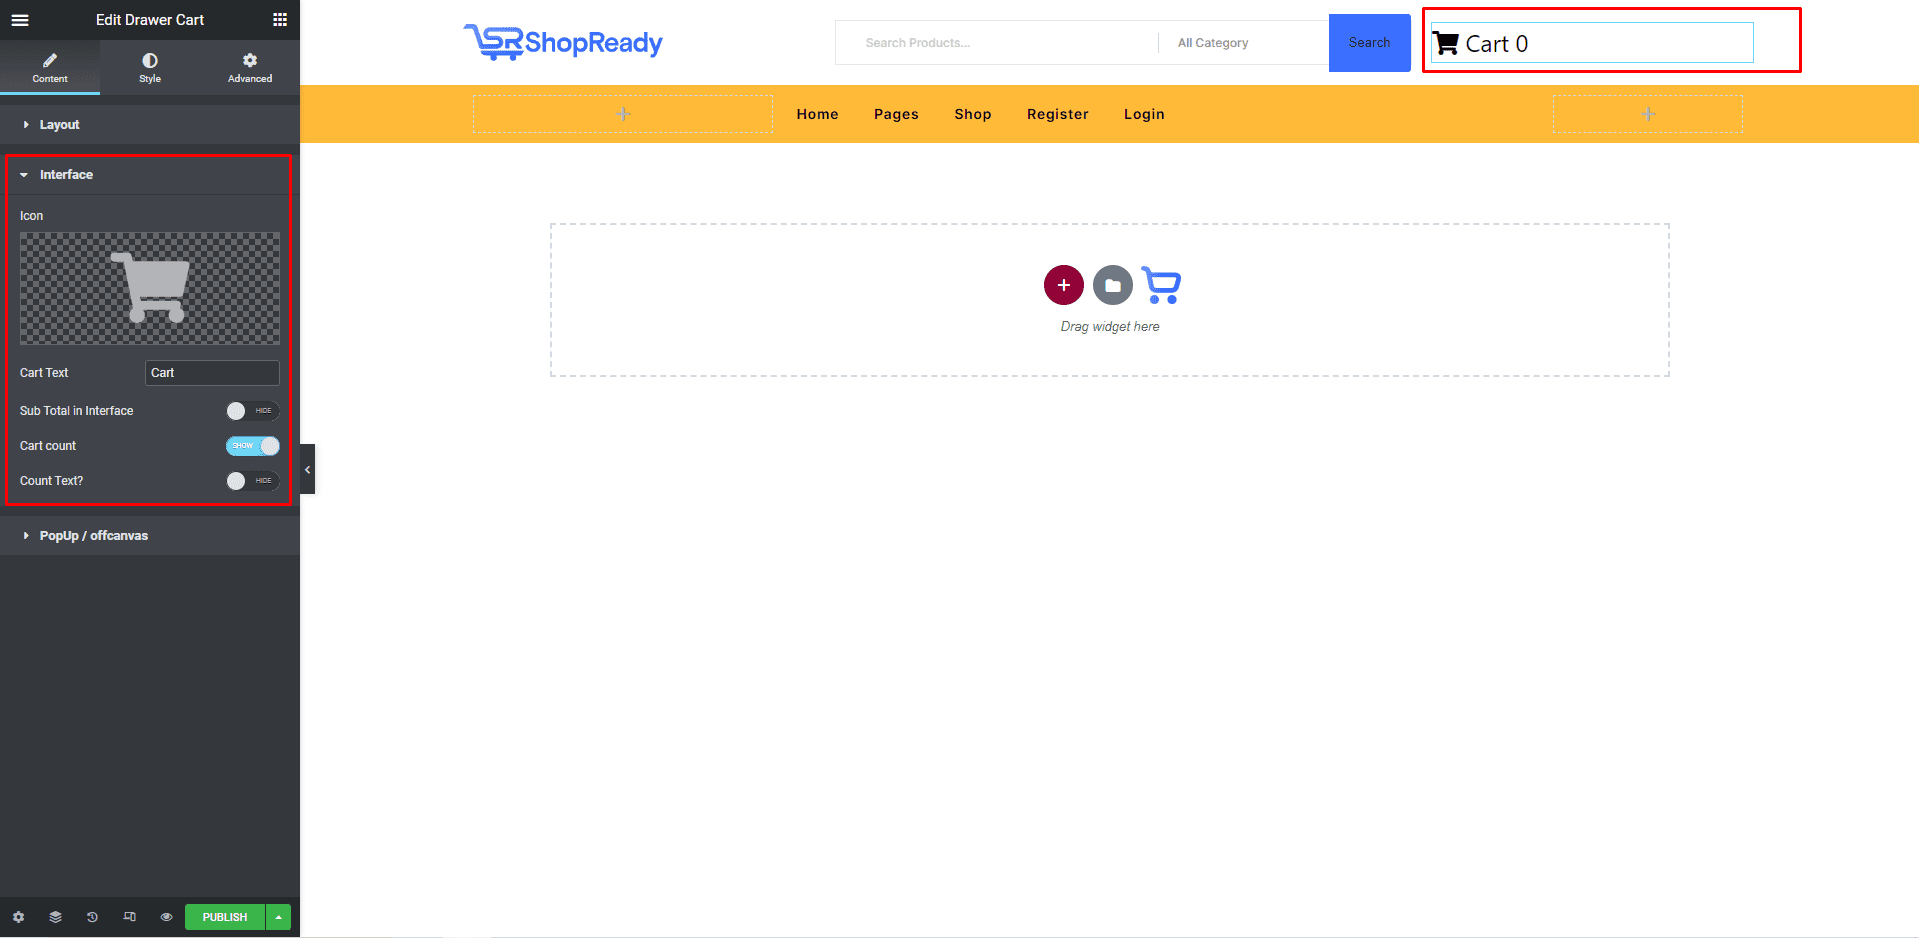
To start customizing the cart block, click on the Interface option under the Content tab. From here, you’ll be able to add an icon to the drawer cart and toggle between the types of information you would like it to display.
Step - 04:
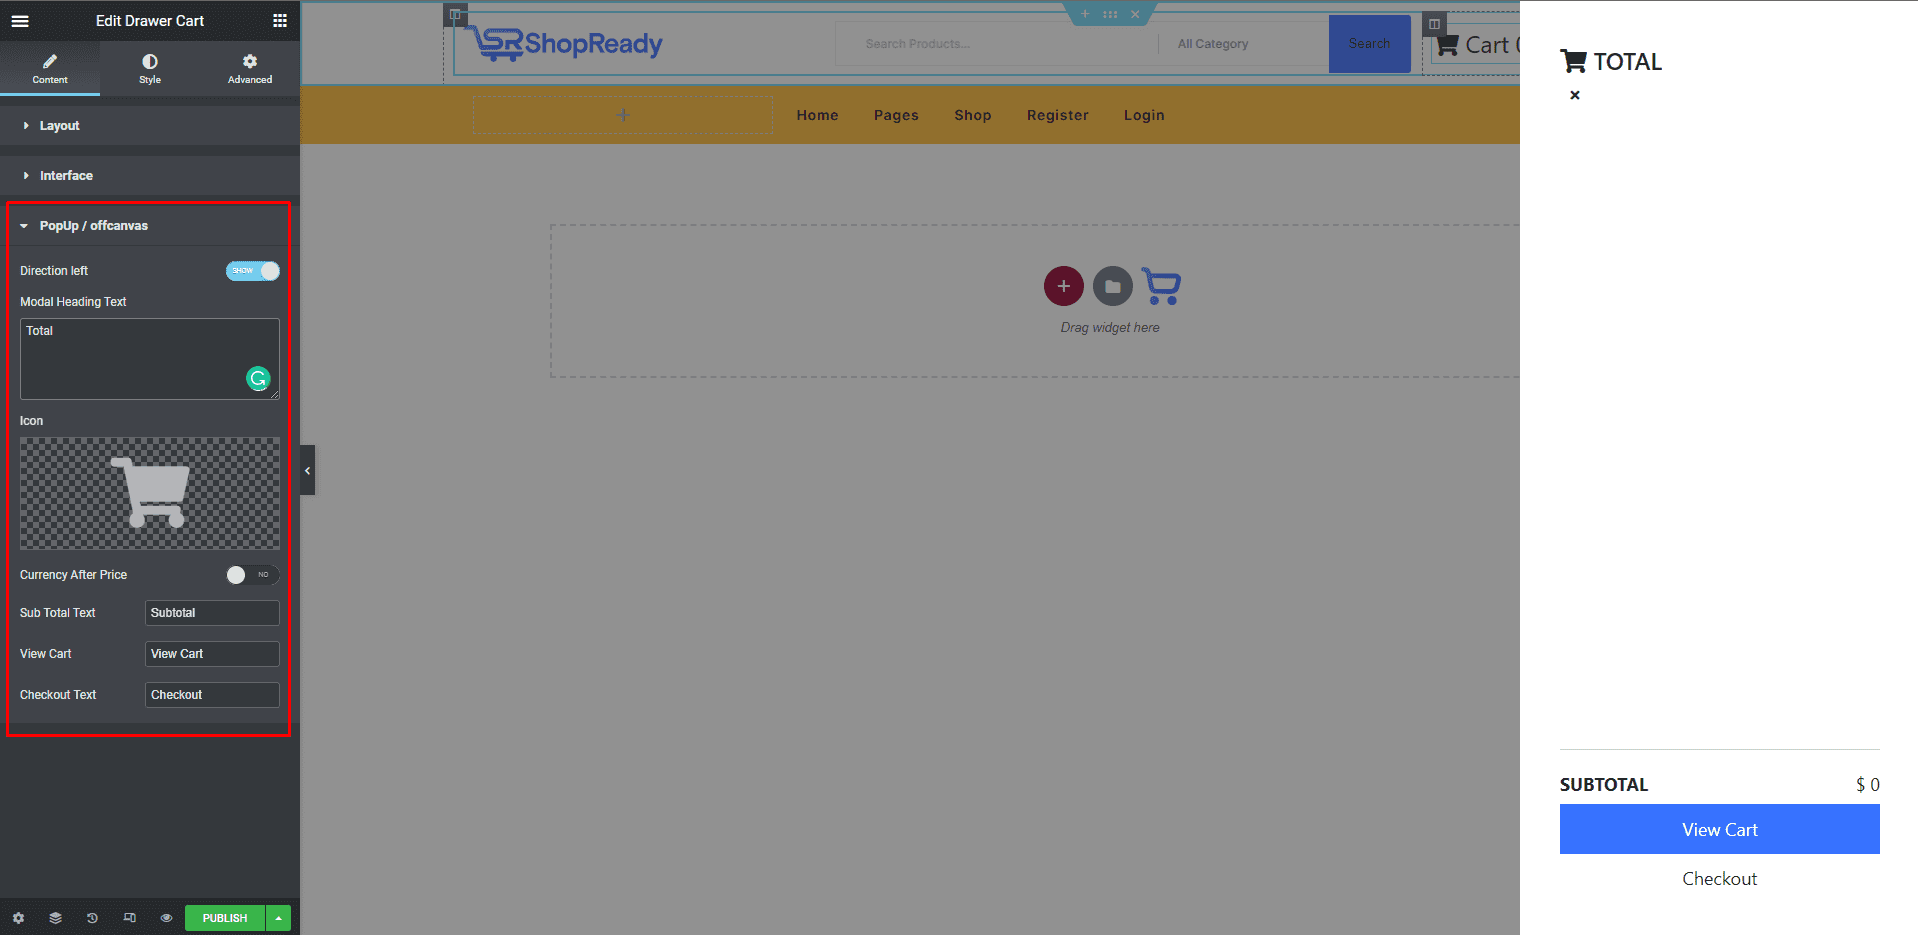
And you can also select from which side of the screen the drawer cart pops up. By default, it pops up from the right-hand side. You also have the option to add an interface header, icon, and other associated drawer cart texts from here.
To further customize the look and feel of the drawer cart, click on the Style tab. From here, you can change the color, typography, margin, padding, etc. to change how the drawer cart and popup interface will look like.
When you’re done customizing your drawer cart block, make sure to hit PUBLISH/ UPDATEto save your changes.