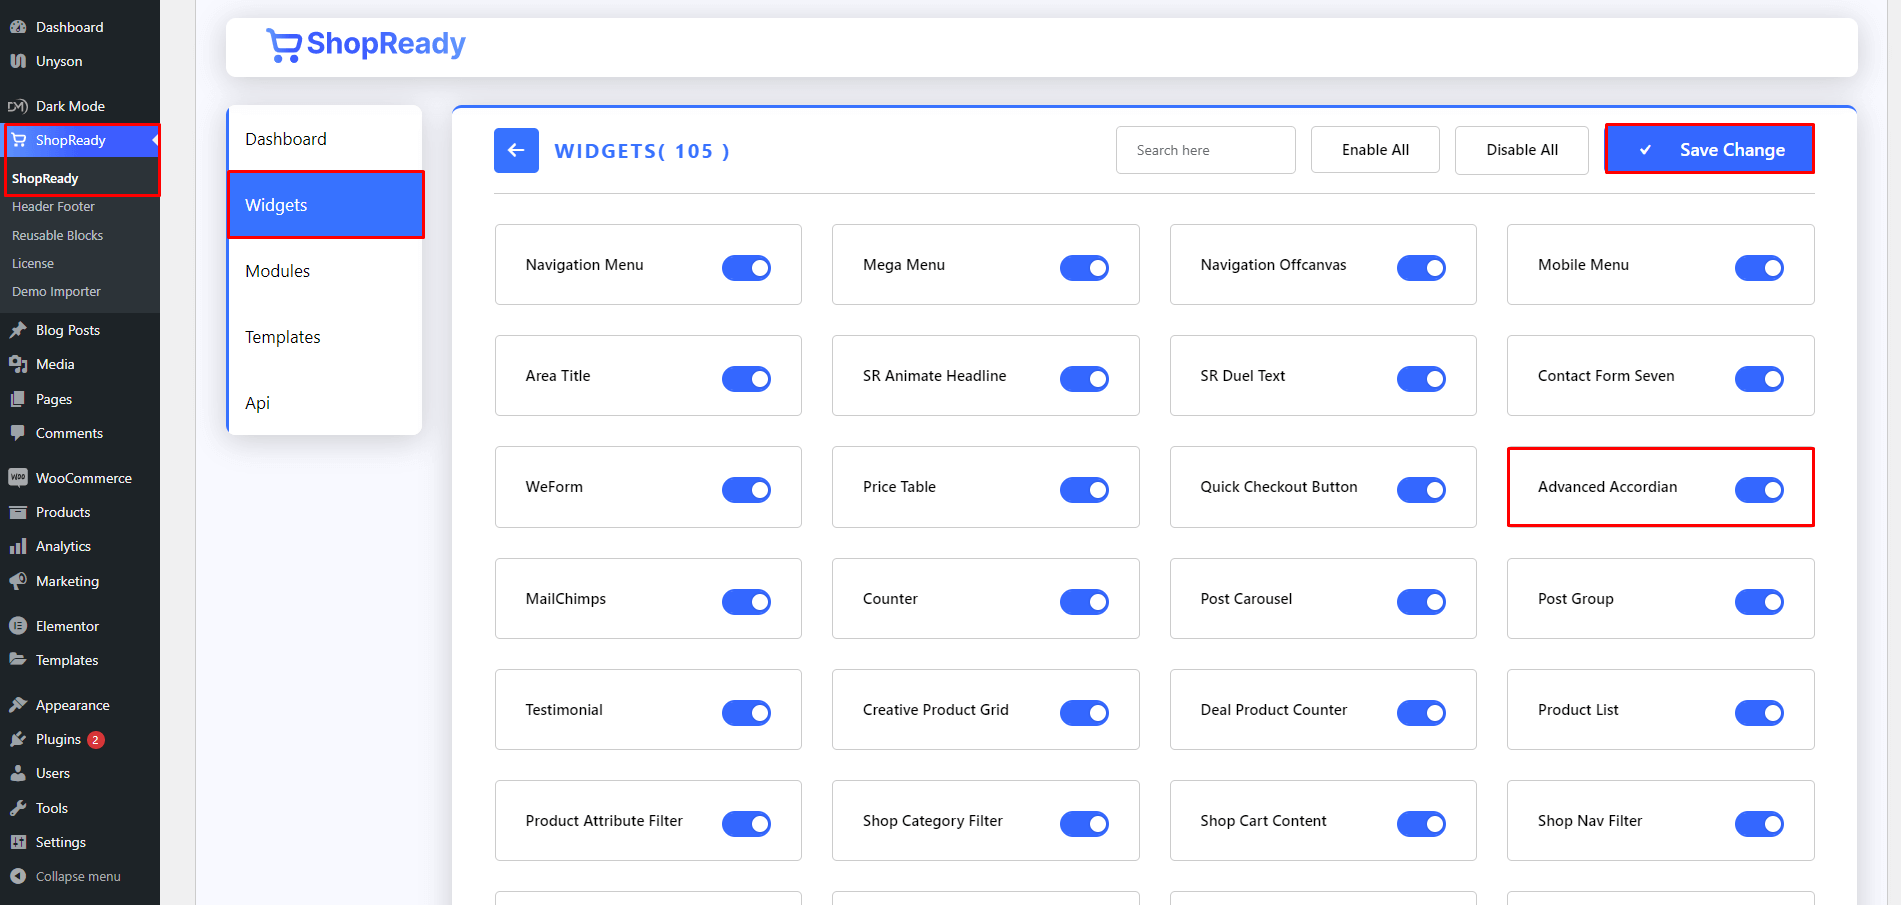
Enable the Advanced Accordion widget from the ShopReady dashboard and click on Save Changes.
Step - 02:
Create a new page from the WordPress Dashboard > Pages > Add New. And then click on Edit with Elementor. Or click Edit with Elementor on an existing one.
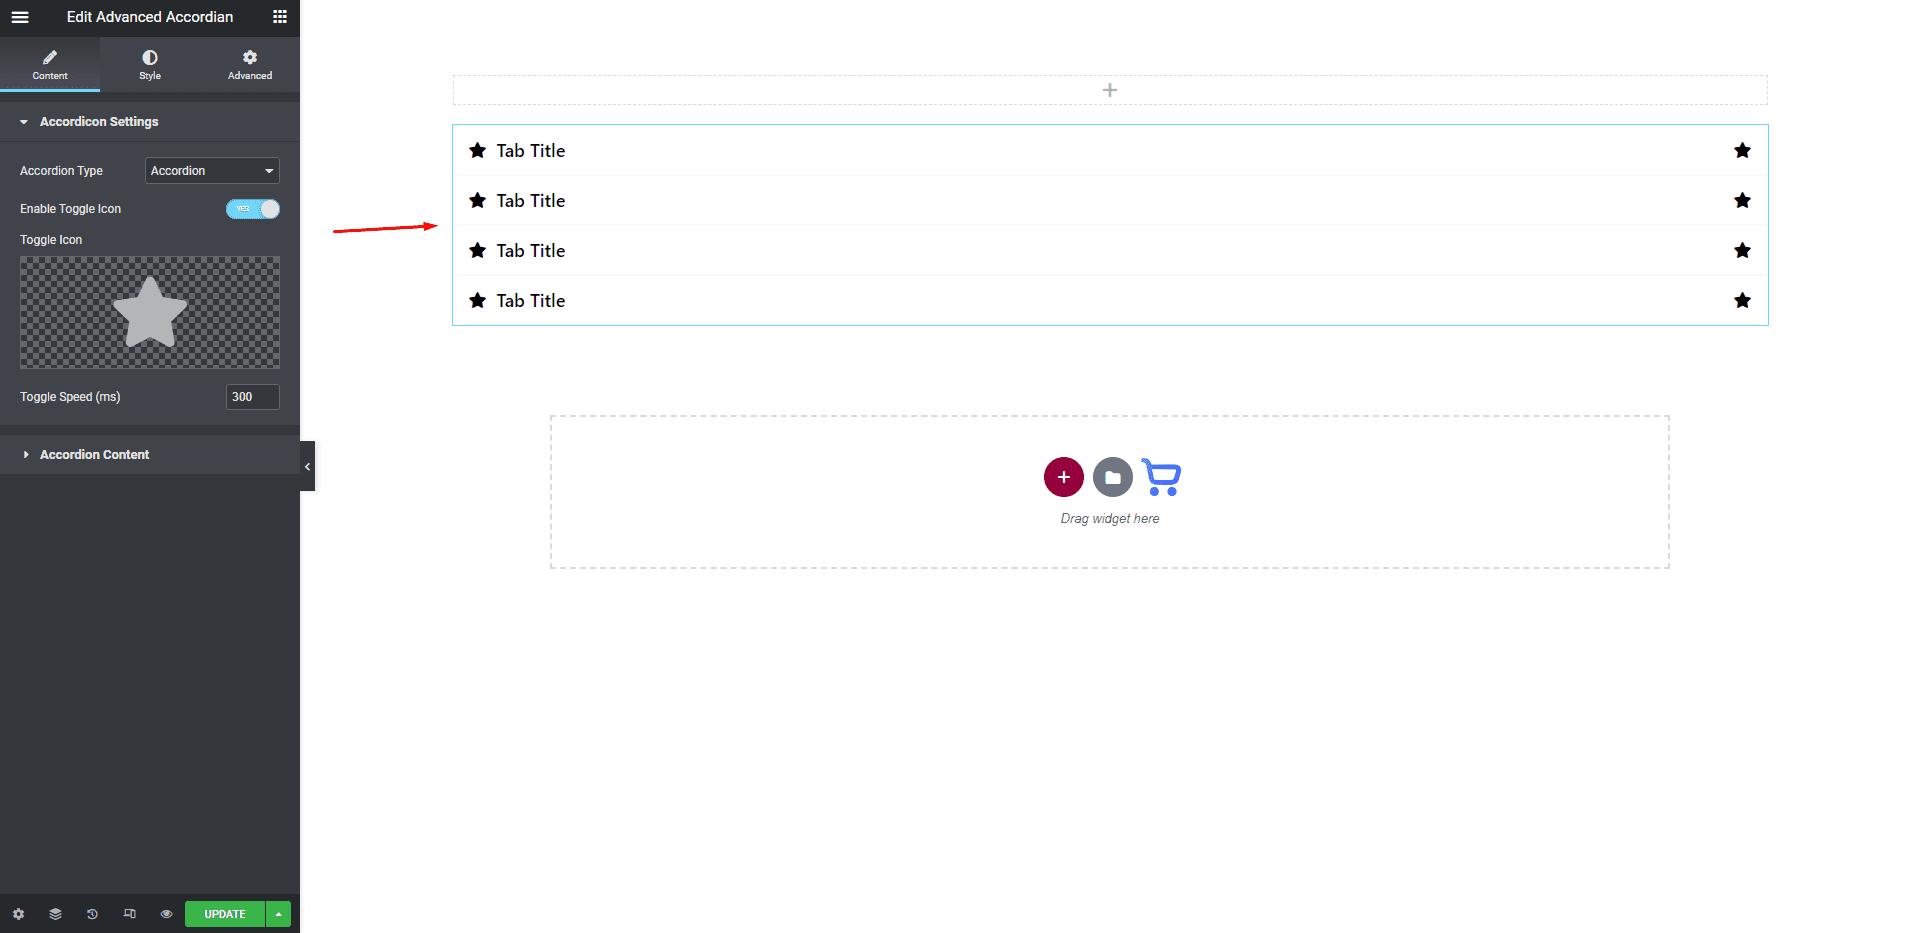
From the left-hand side, search for the ShopReady Advanced Accordion widget. And drop it onto the newly created page. By default, it should look like this.
Step - 03:
To add content to the accordion block, click on the Accordion Settings options under the Content tab.
From here, you add individual titles to each accordion. Select an active as a default, insert icons and descriptions for each accordion.
Step - 04:
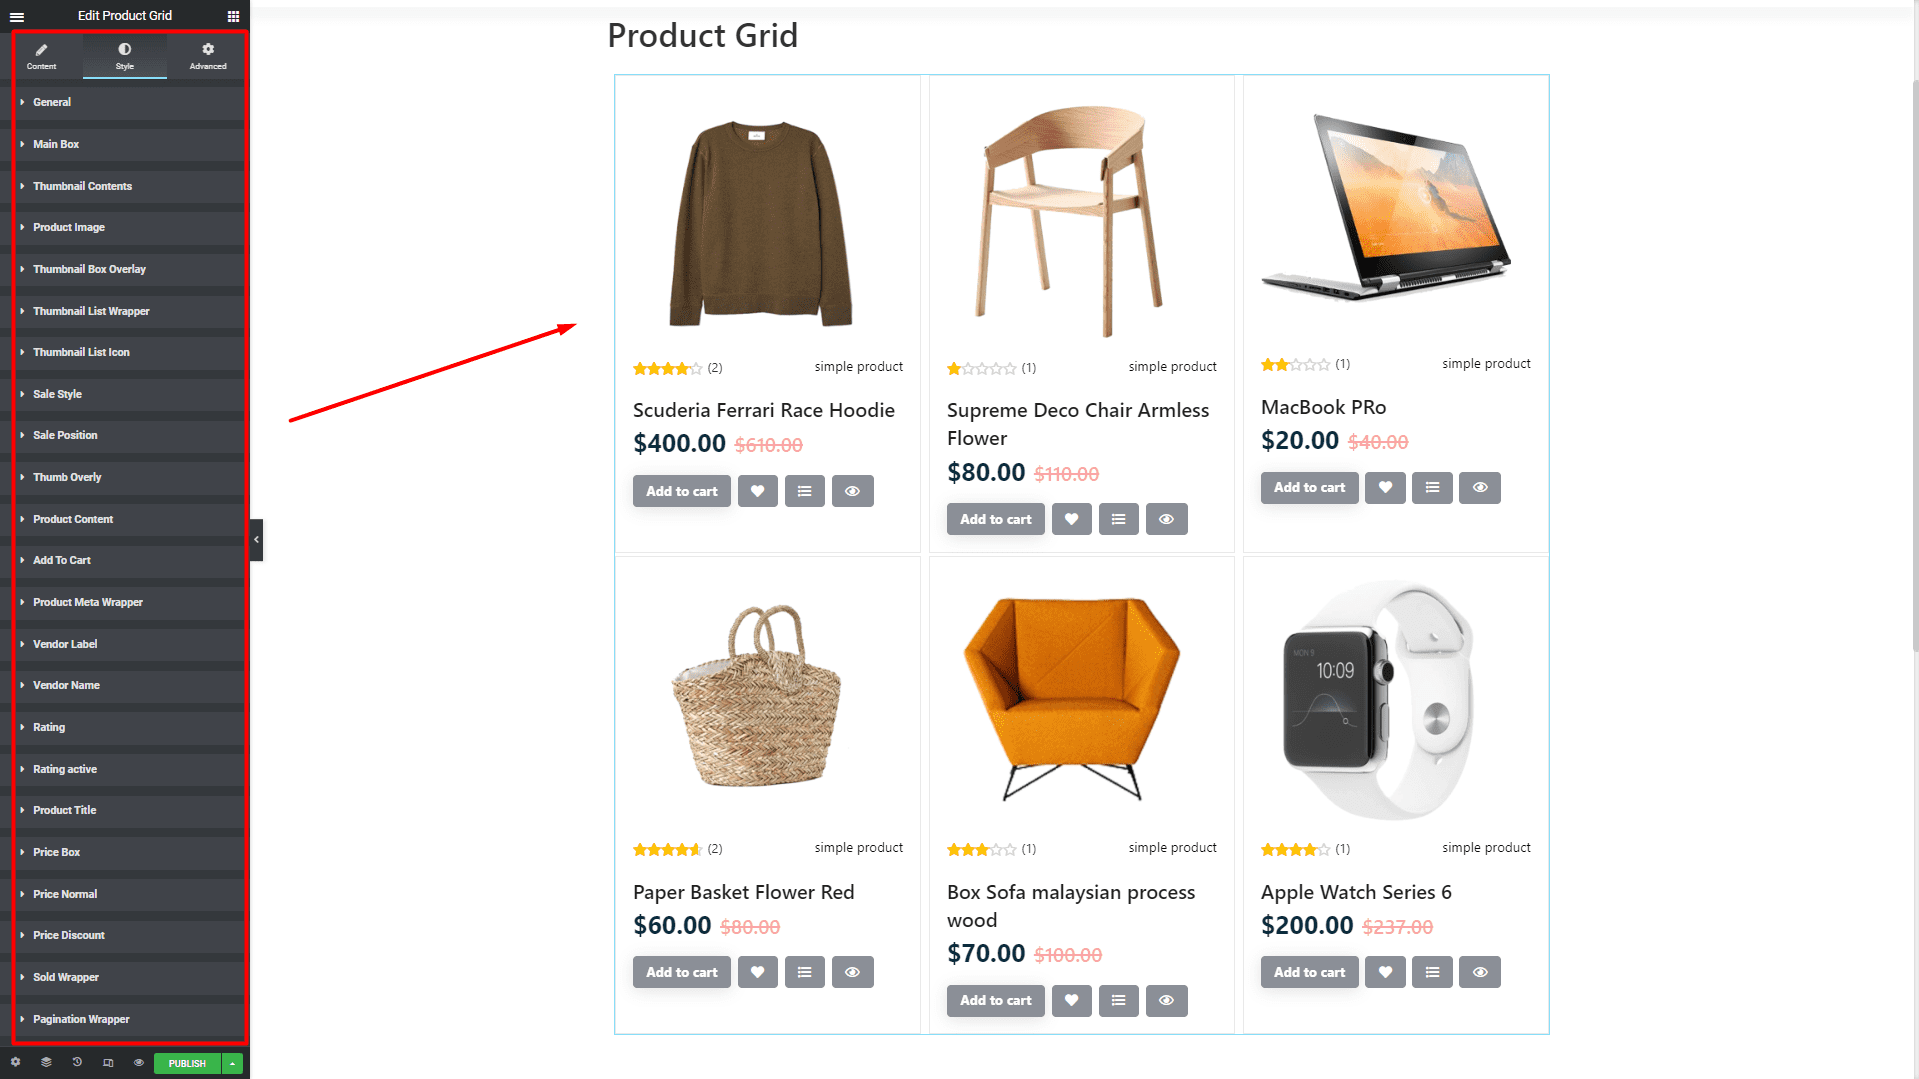
You can further customize the accordion block; start by clicking on the Style tab. From here, you can change how the accordion block will appear by editing the style options for title, subtitle, box, icons, etc.
When you’re done customizing your accordion, make sure to hit PUBLISH/ UPDATEto save your changes.