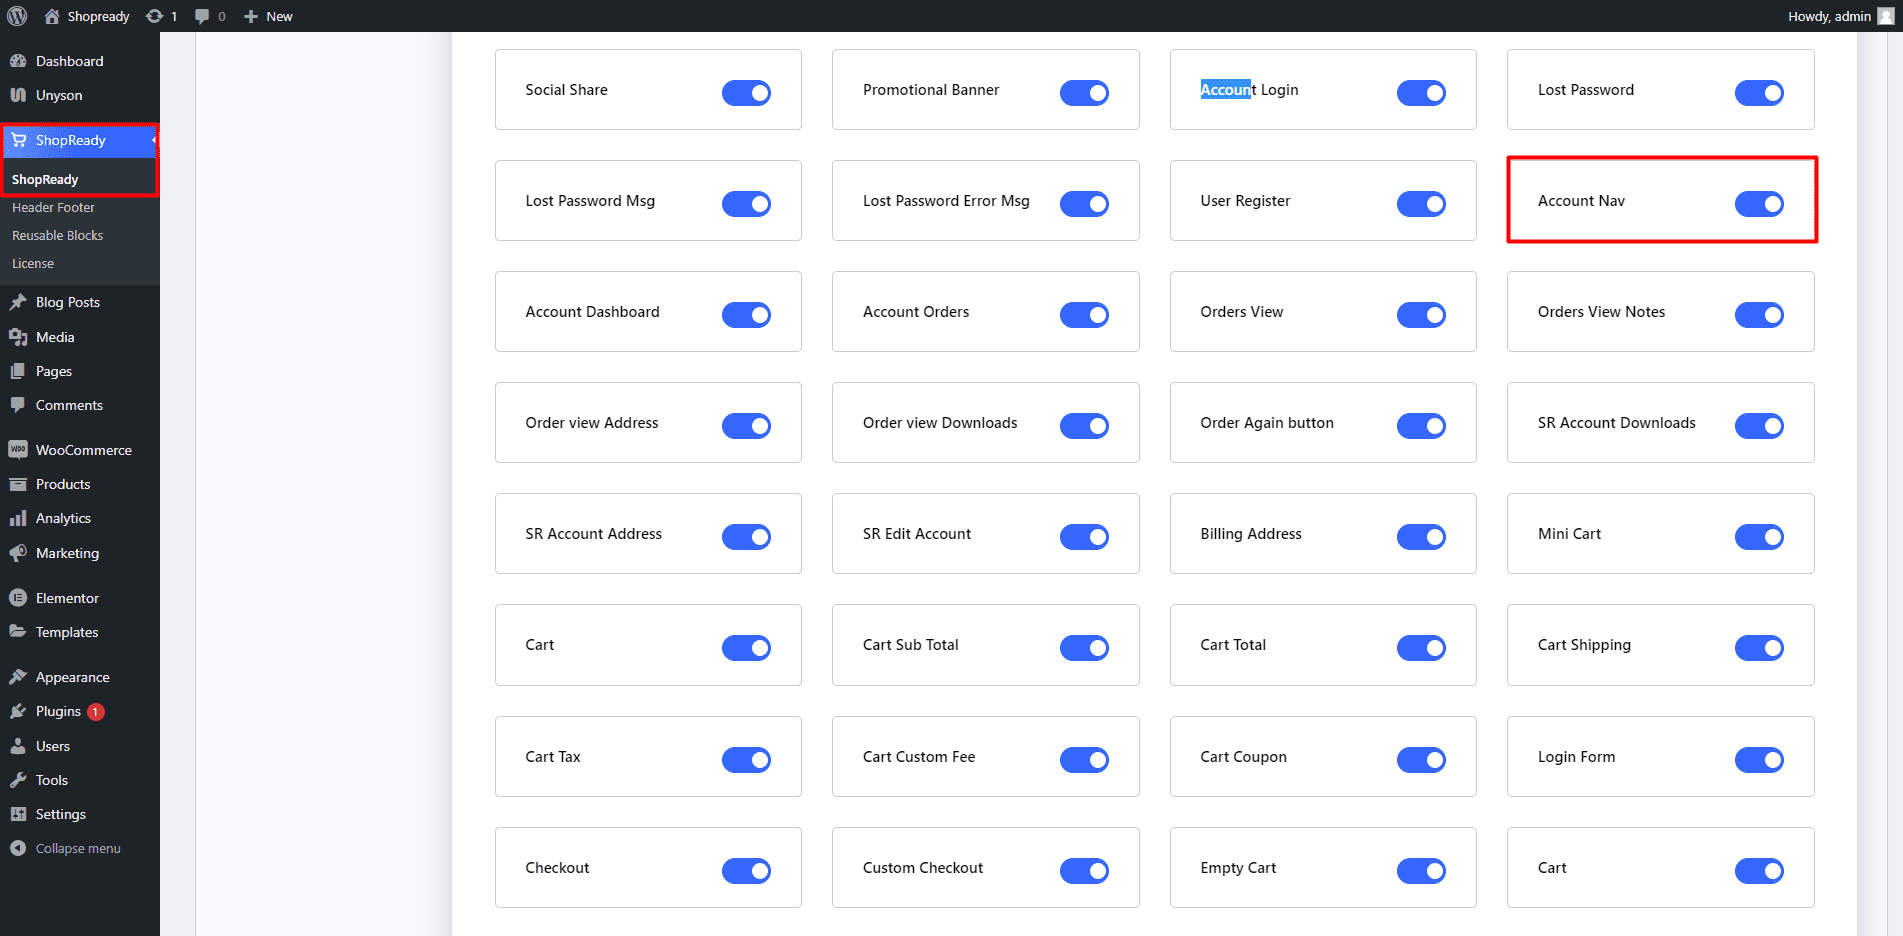
Enable the Account Navwidget from the ShopReady dashboard and click on Save Changes.
Step - 02:
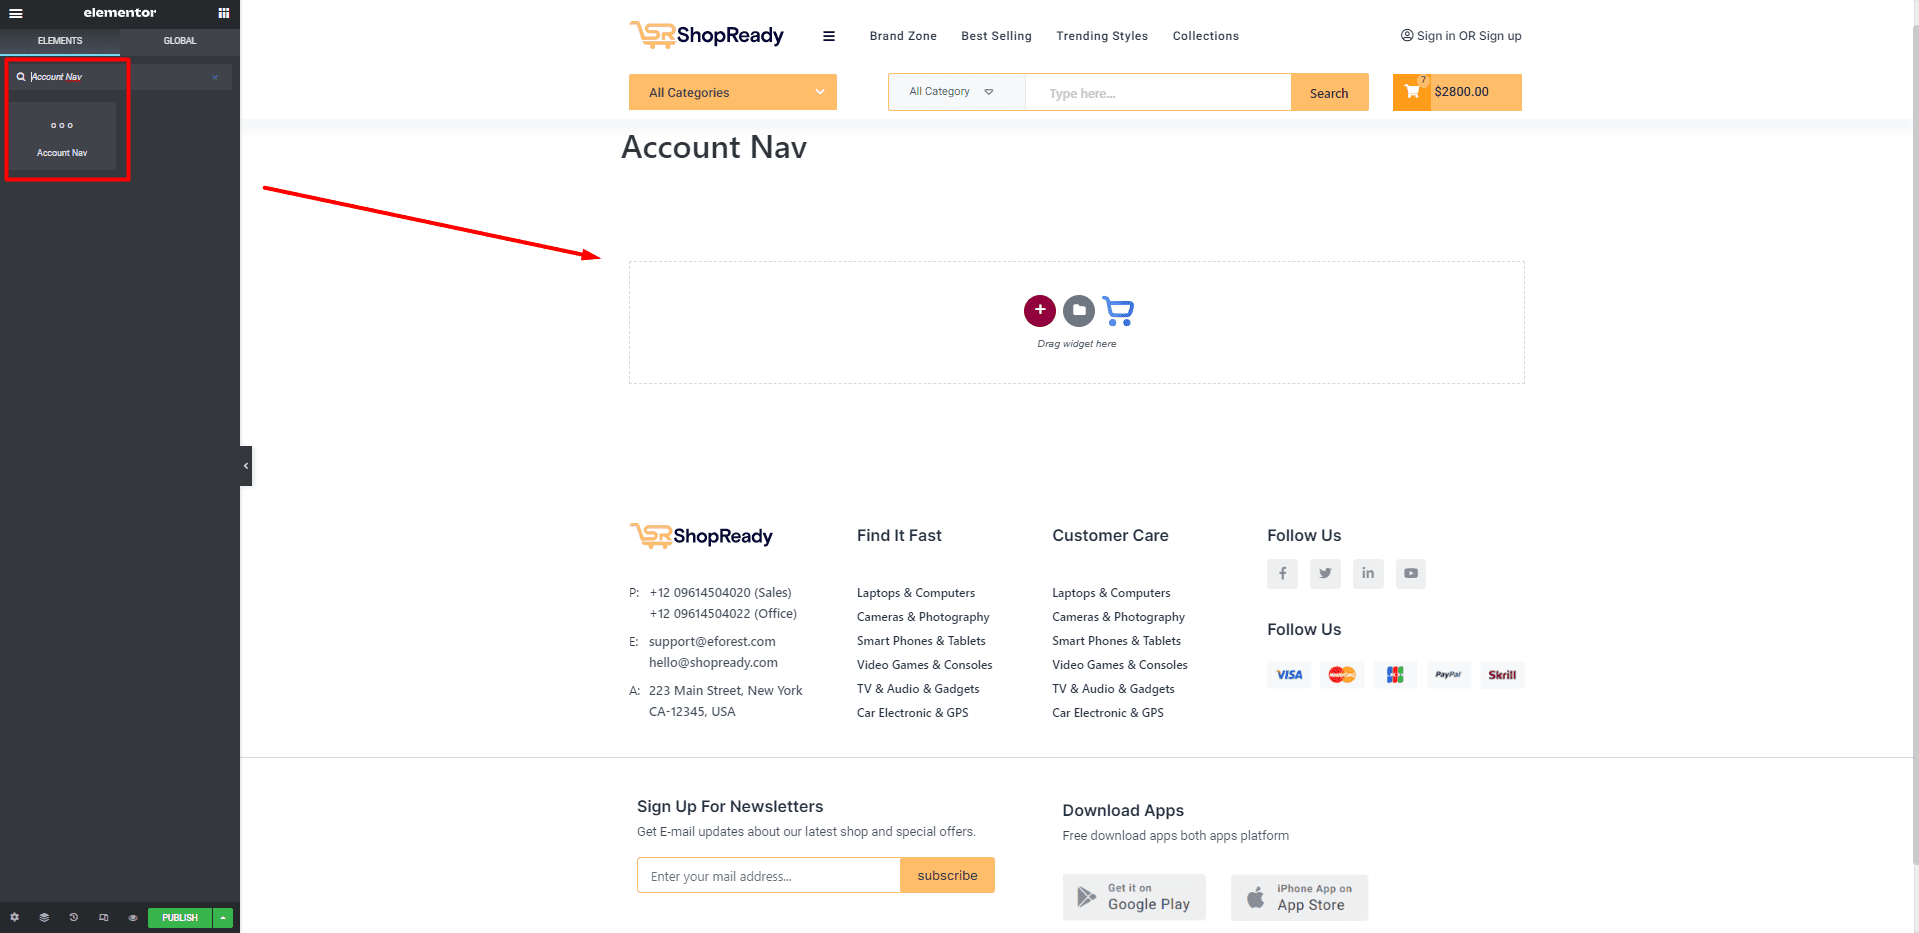
Create a new page from the WordPress Dashboard > Pages > Add New. And then click on Edit with Elementor. Or visit your single product page.
From the left-hand side, search for the ShopReady Account Nav widget. And drop it onto the newly created page
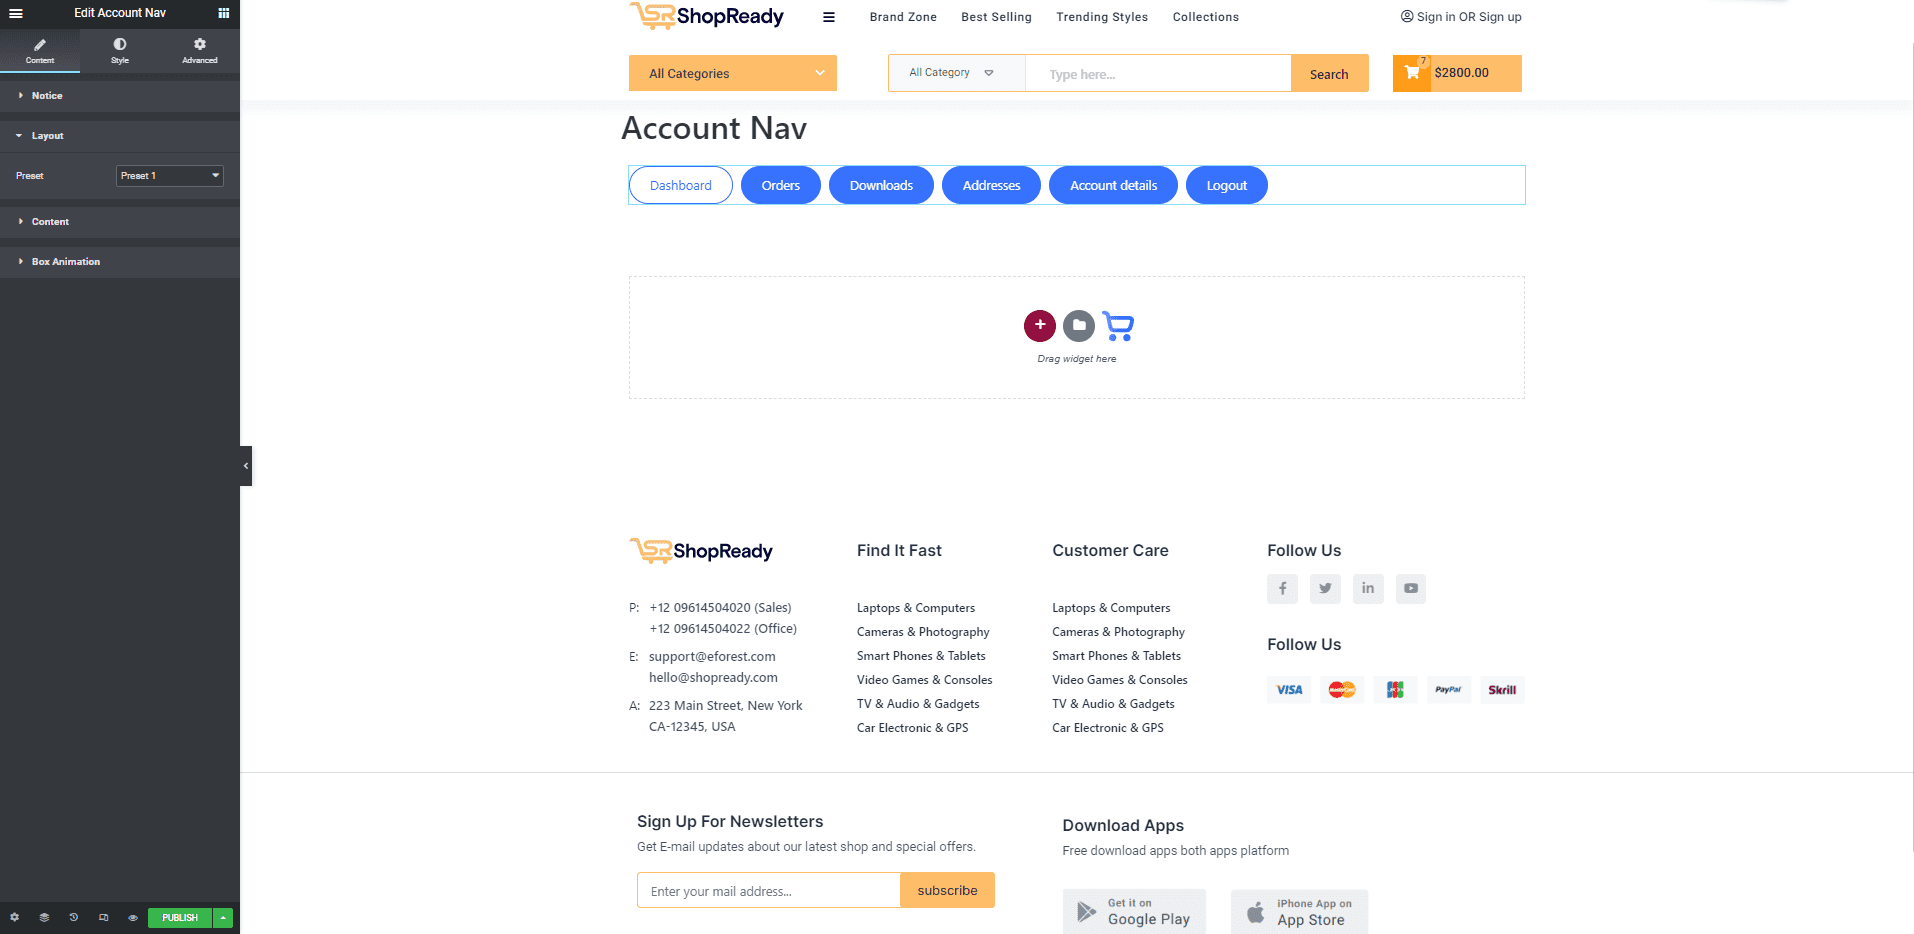
By default, the Account Nav bar should look something like this.
Step - 03:
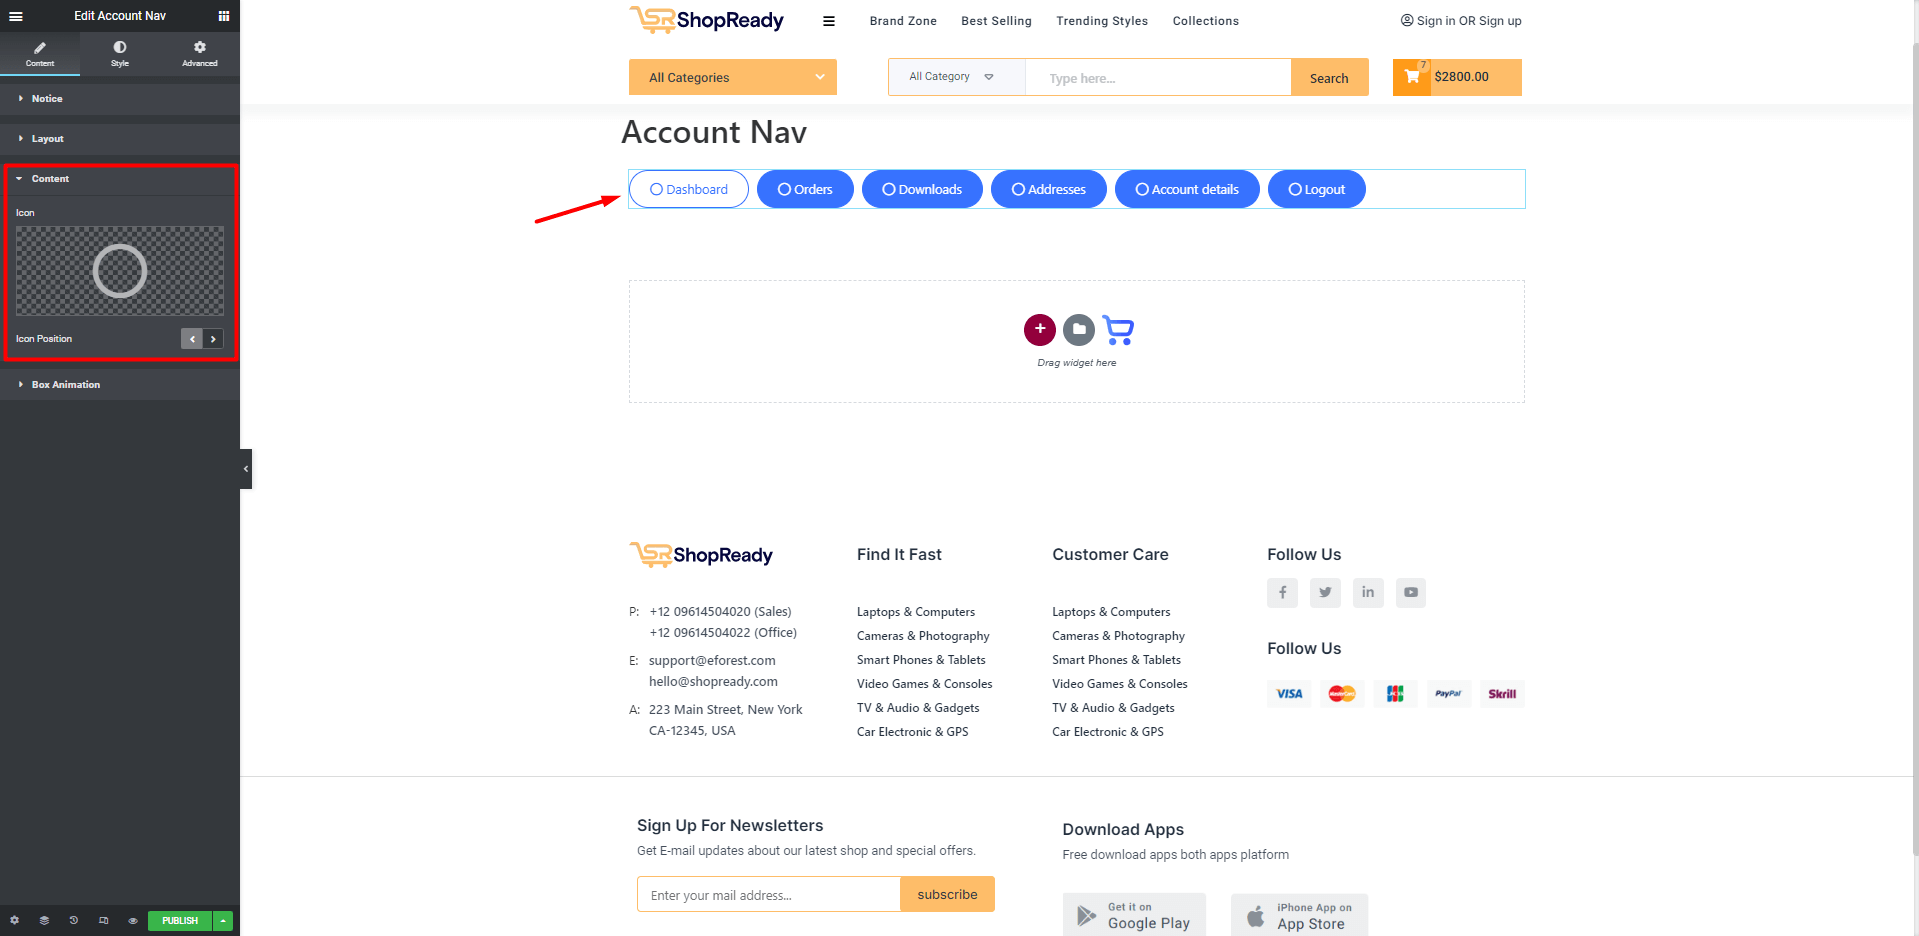
To add icons to the nav bar, click on the Icon option under the Content tab. From here, you can choose an icon from the Elementor library or upload your own icon. You can also change the positions of the icons.
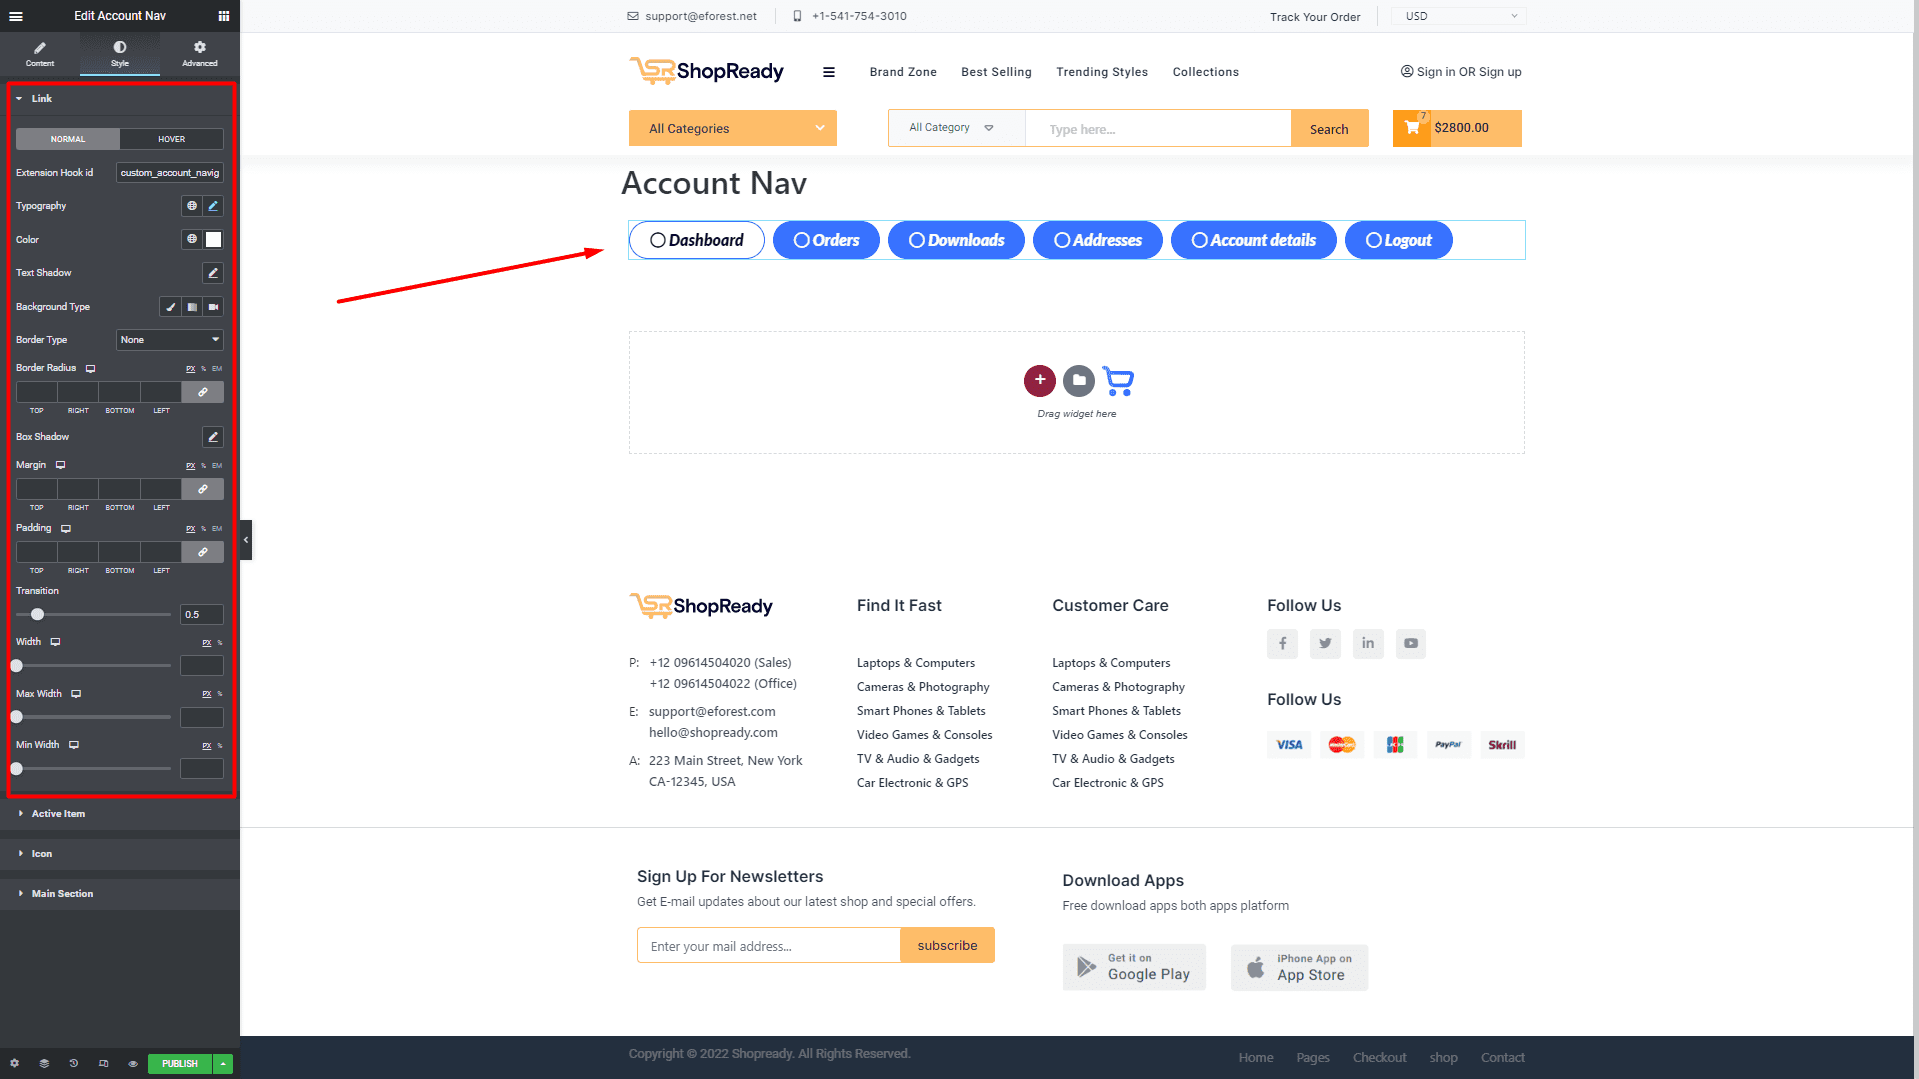
Step - 04:
You can further customize the account navigation bar by clicking on the Style tab. From here, you can change how the account navigation bar will appear while a tab is selected, how the idle tabs will appear, typography, colors, positioning, etc. Everything can be customized from the Style tab.
When you’re done customizing your account navigation, make sure to hit PUBLISH/ UPDATE to save your changes.