
ElementsReady Elementor Addons is a comprehensive page builder & a WordPress productivity booster. That comes jam-packed with Elementor widgets, modules, and features, which makes it a reliable extension for the Elementor page builder plugin.
ElementsReady’s goal is to make building pages easier while giving you more modern tools and ways to customize your WordPress pages.
Plugin Requirements
To use the ElementsReady Elementor Addons plugin, you’ll need to ensure the following requirements:
- WordPress version: 5.2 or, higher
- ElementsReady plugin
- Elementor plugin
- PHP version: 5.6 or higher
- PHP memory_limit = 512M
- max_execution_time = 600
Optional Requirements
The following plugins can be used with ElementsReady. Our add-ons plugin comes with widgets & modules that can take full advantage of these popular WordPress plugins:
- WooCommerce
- Easy Digital Downloads
- Contact Form 7
- Ninja Forms
- WPForms
- MailChimp
- weForms
- LearnPress
- And more.
Plugin Installation
The best Elementor Addons plugin cannot be run without the best page builder plugin. Make sure to install the Elementor page builder beforehand. Or the ElementsReady installation will prompt you to install Elementor anyway.
Plugin Installation via WordPress.org
To install the free version of the ElementsReady addons for Elementor first, log into your WordPress account. Click on the WordPress Dashboard > Plugins > Add New and, from the right-hand search box, search for the ElementsReady Elementor Addons plugin.
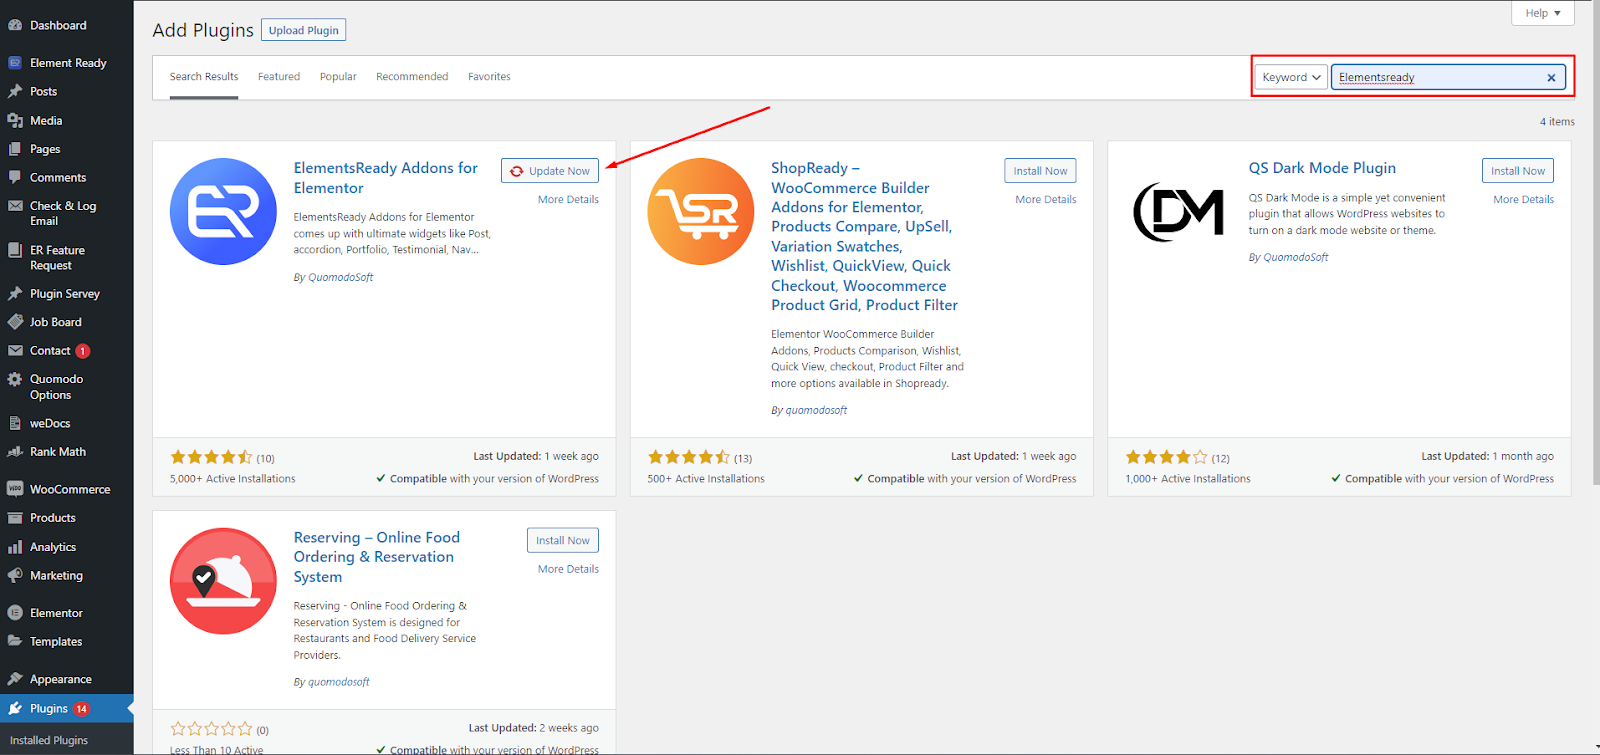
Now click on “Install“ and wait for the installation process to finish. And click on “Activate“ to get started with the plugin.
Plugin Installation via cPanel
Step 1: Log into your cPanel & navigate to the file manager menu
Step 2: From the WordPress directory, head over to wp-content/plugins and click on the upload button.
Step 3: Once you’ve uploaded you’ve elementsready.zip file. Right-click on the file and click on the Extract option.
Step 4: Now that your plugin file has been extracted, head back to the WordPress Dashboard > Plugins menu. From here, you will be able to see your newly uploaded plugin, so make sure to activate it by clicking on the Activate button.
Reading Material & Resources
How to Add Products in WooCommerce Store: Step-By-Step Guideline