Custom Order or Any New Project ?
Installation on Local Server
You will need to make sure your local server need the following requirements:
- Operating System: Windows, macOS, or Linux
- Web Server: XAMPP or WampServer ( You need to have one of them installed in your local PC/Computer)
- PHP: Version 8 or later
- Database: MySQL, PostgreSQL, SQLite, or other supported by Laravel
- Composer: PHP dependency manager
- Node.js and npm: For managing frontend assets
- Extensions: PHP extensions enabled - openssl, fil
Note: Make sure your local PC Fullfill all the REQUIREMENT or Installed in your computer.
Installing Laravel and Setting Up the Local Host
1. Download or clone your Laravel script from codecanyon on your local machine. The installation of this script is super easy. If you can install normal php based scripts on your local host, you can install our script. We will tell you how to install this script step by step on a localhost.
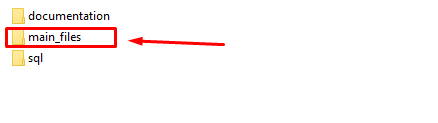
If you extract the zip file, you will see that there are total three folders.
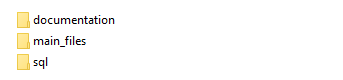
The folder names are: sql, documentation and main_files. The "main_files" folder is the main laravel source codes. The "sql" folder contains the main database file "database.sql"
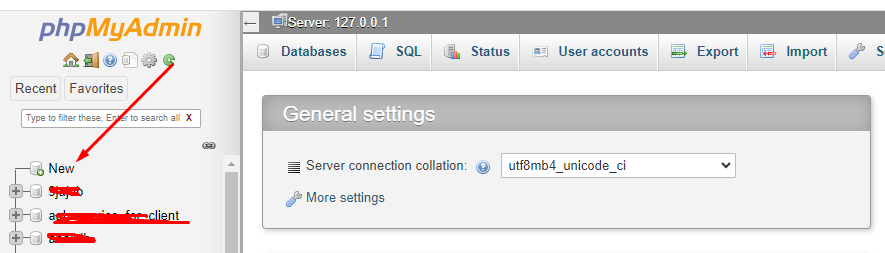
2. To create database on localhost go to your localhost phpmyadmin http://localhost/phpmyadmin/index.php and now click 'New'
Setup 1
Setup 2

Setup 3
Setup 4
Setup 5
Setup 6
3. After extracting the main zip go to the extract folder.
4. Inside the "mail_files" you can see 2folders (main_files, all_version). The "main_files" folder is the main laravel source codes. The "all_version" folder will be use for version update.

5. Now go to "xampp >> htdocs" and create new folder. Inside the folder paste your "main_files"(laravel source code) folder content.
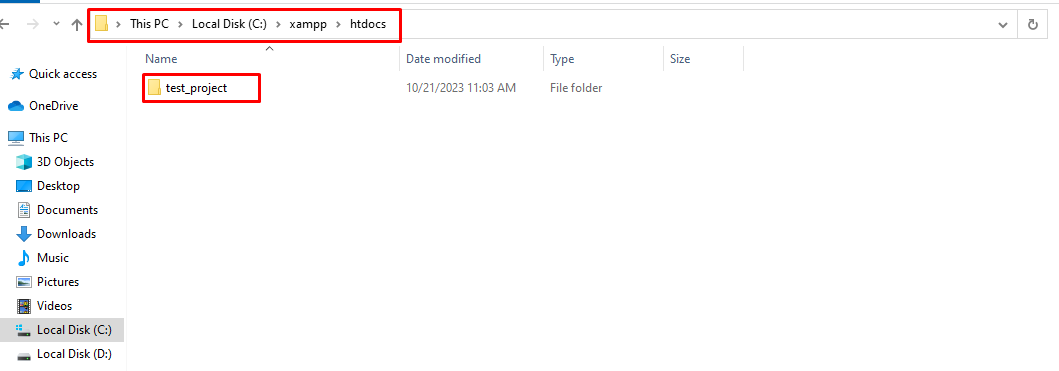
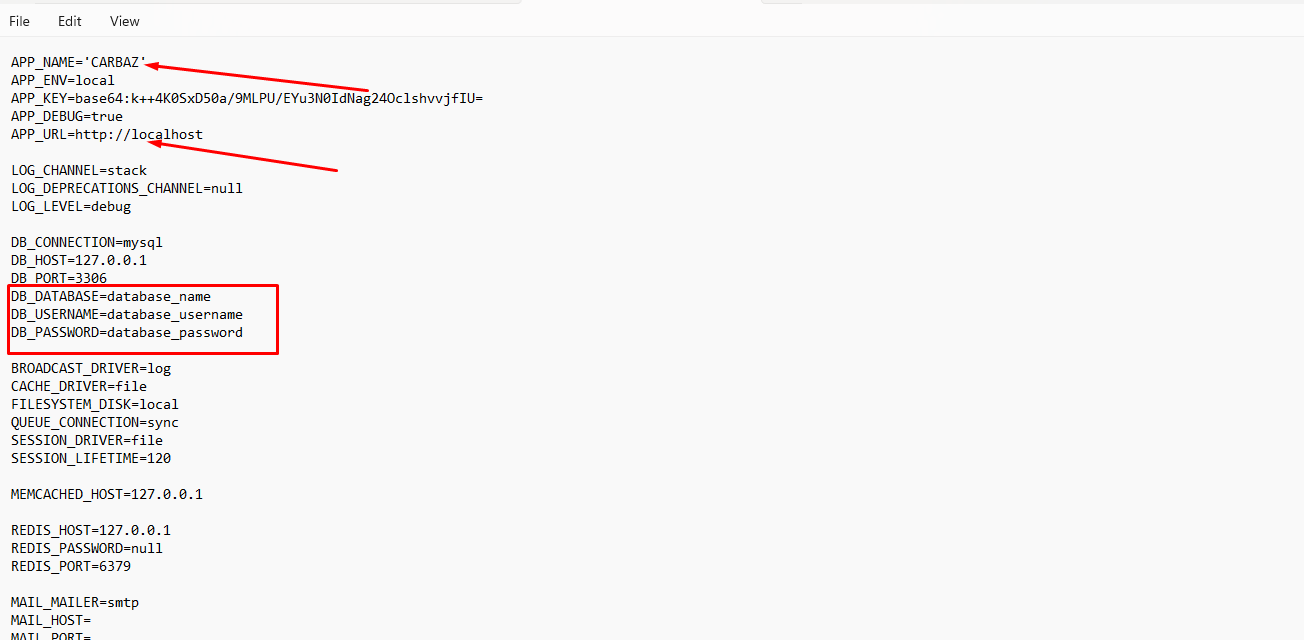
6. Now open the .env file and update with your database credentials, app_name, app_url as needed.
7. Now open your web browser and visit the local URL to access your Laravel application (by default, http://localhost).
Installation on Live server
The installation of this script is super easy. If you can install normal php based scripts on your server, you can install our script. We will tell you how to install this script step by step on a server.
If you extract the zip file, you will see that there are total three folders.
The folder names are: sql, documentation and main_files. The "main_files >> main_files" folder is the main laravel source codes. The "sql" folder contains the main database file "database.sql"
Creating Database using Cpanel
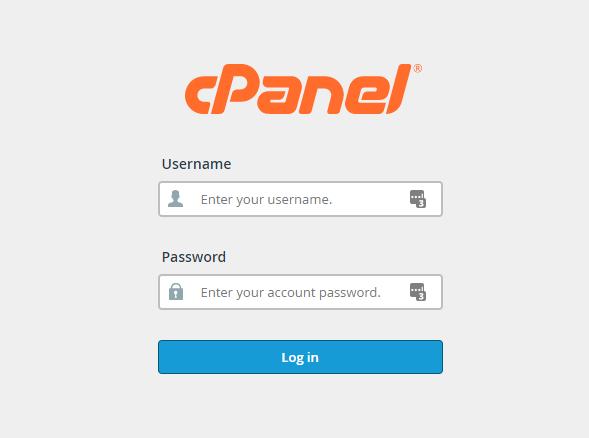
1. Login to your hosting's cpanel using the login information. You will see an interface like this:
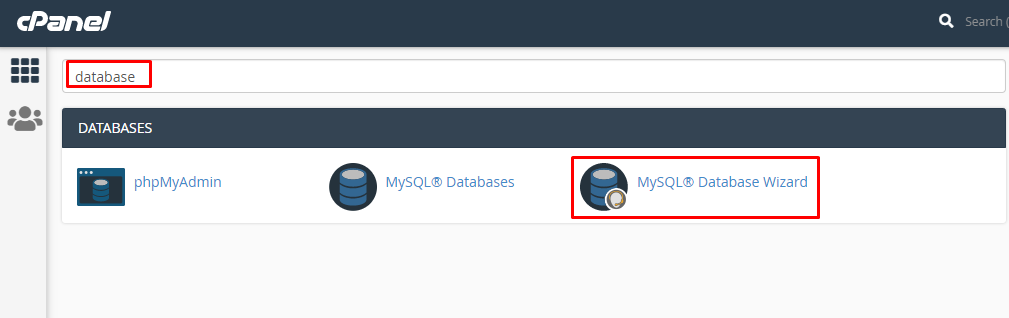
2. You will get a search section in the cpanel. Search there by writing the word "database". You will get some options. Click on "MySQL® Database Wizard" option.
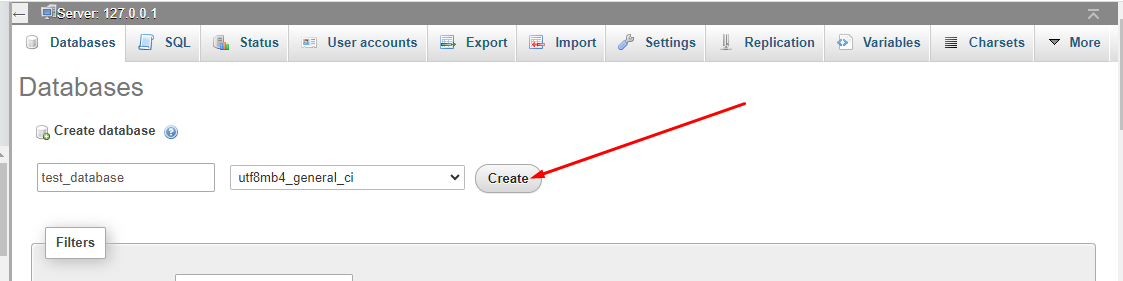
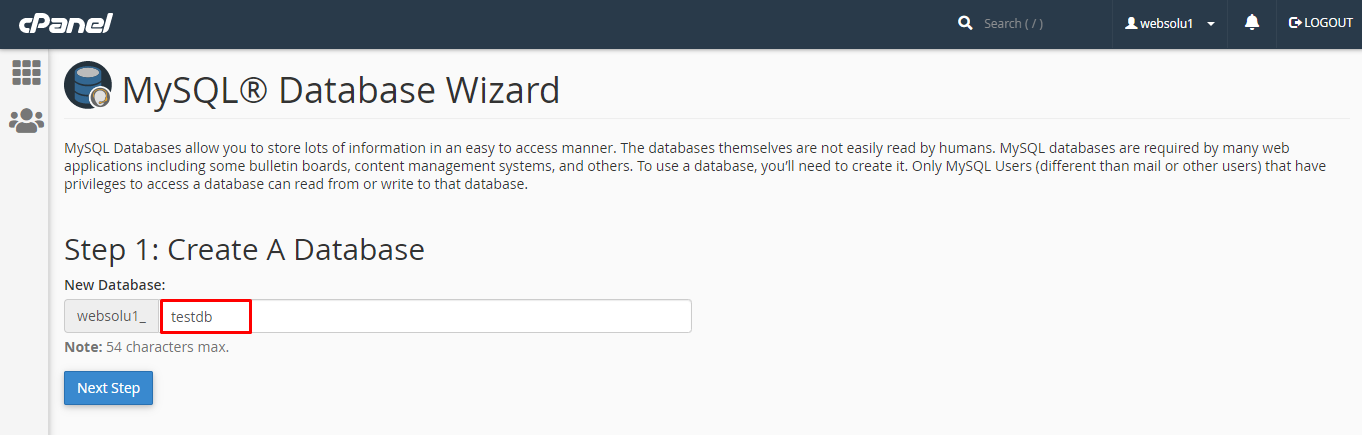
3. Then in Step 1, you will have to create a database. In the text field, give your database name and click on next step.
4. Then in Step 2, you will have to create a database user. Give your username and passwords here. Then click on "Create User" button.

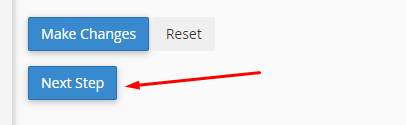
5. Now a permission page will come. Just check the tick mark on "ALL PRIVILEGES" and you will see all the options will be automatically checked.

6. Click on the "Next Step" button in the bottom.
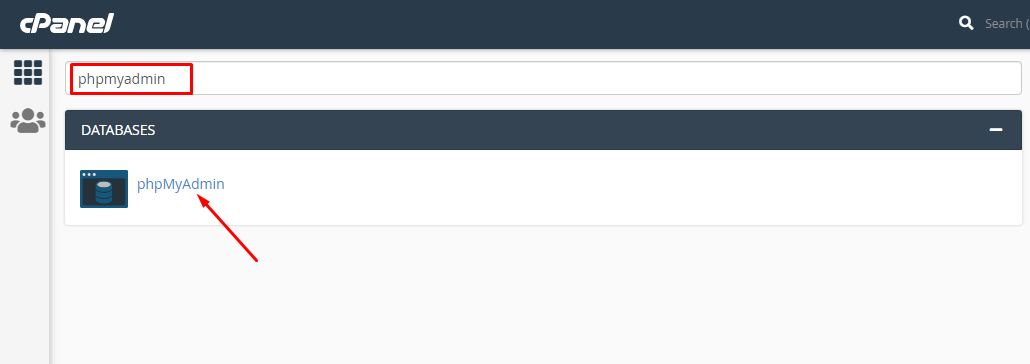
7. Database and user creation step is done. Now go back to home and again search like before with the word "phpmyadmin". Click on the "phpMyAdmin" option.
8. Now the main phpmyadmin page will come. Click on the newly created database "websolu1_testdb" from the left side.

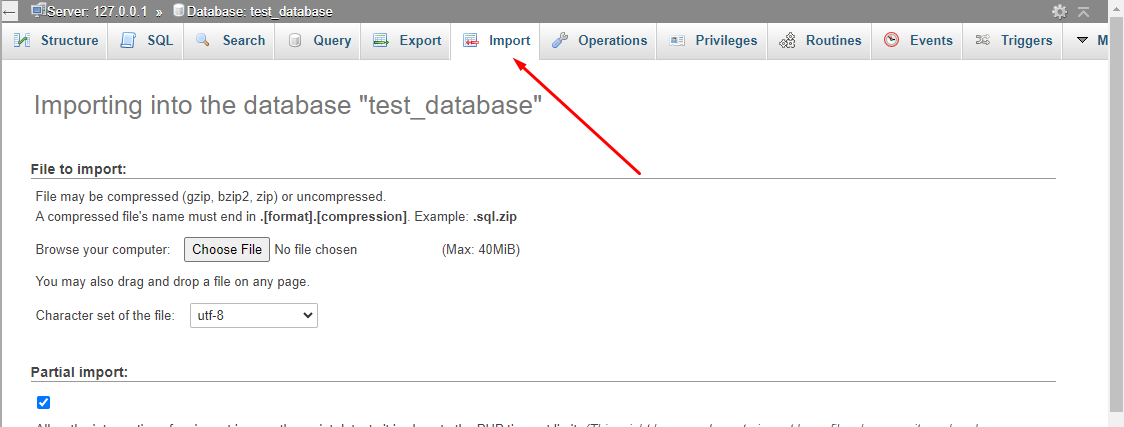
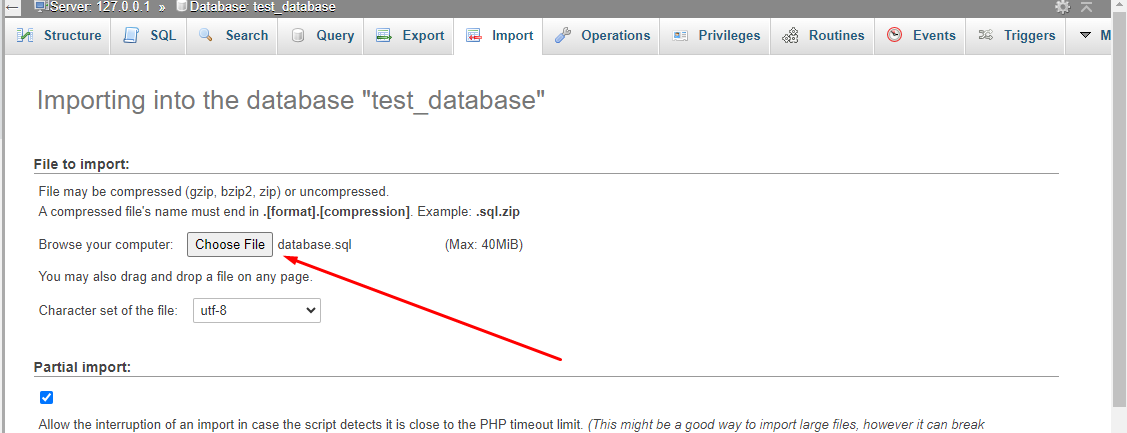
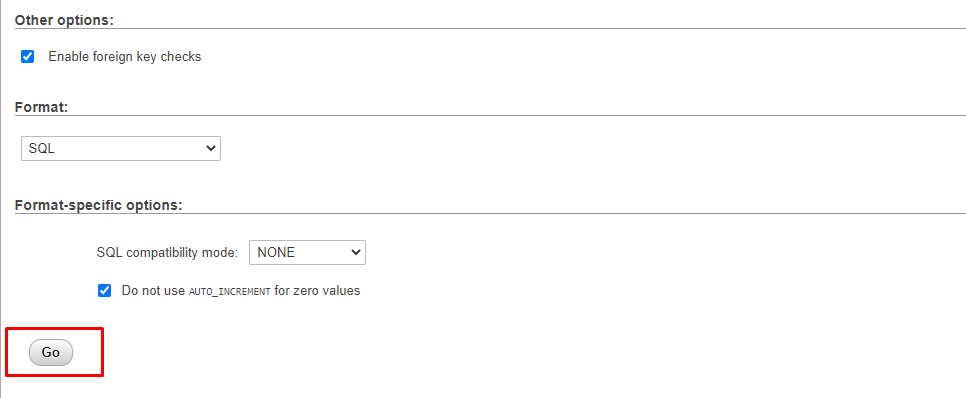
9. Click on the "Import" option from top and then select the file "database.sql" that is in the "sql" folder of the script.

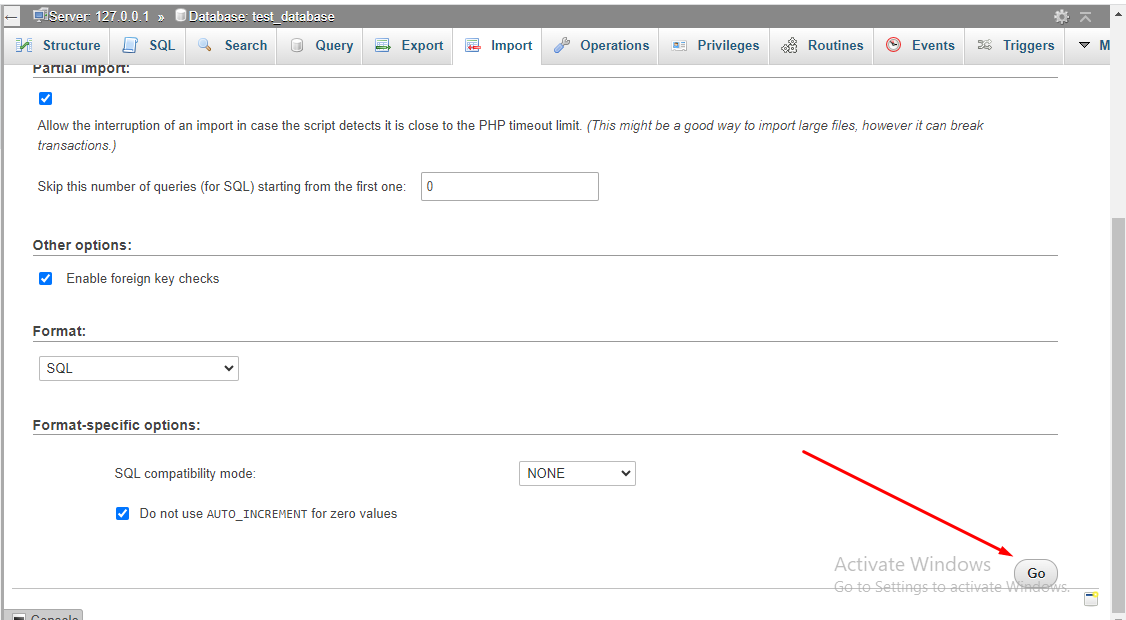
10. Then click on the "Go" button from bottom.
11. After the task is successful, you will get a success message.

12. All task related to database is done.
Uploading Files using Cpanel
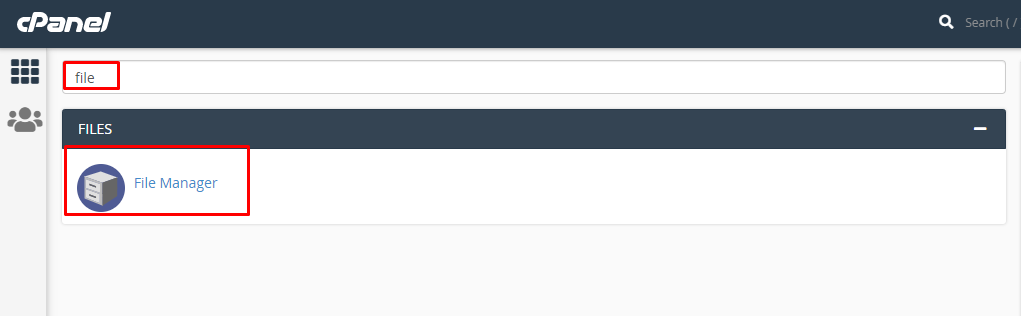
1. In the search field of your cpanel, write the word "file". You will get a "File Manager" option. Click on that option.
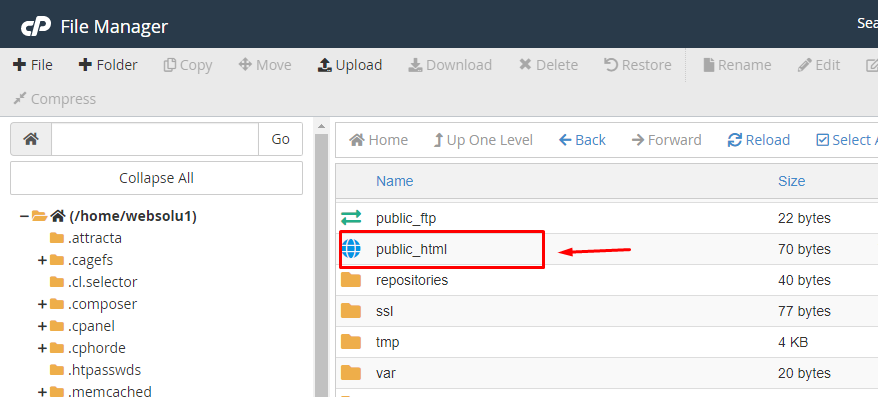
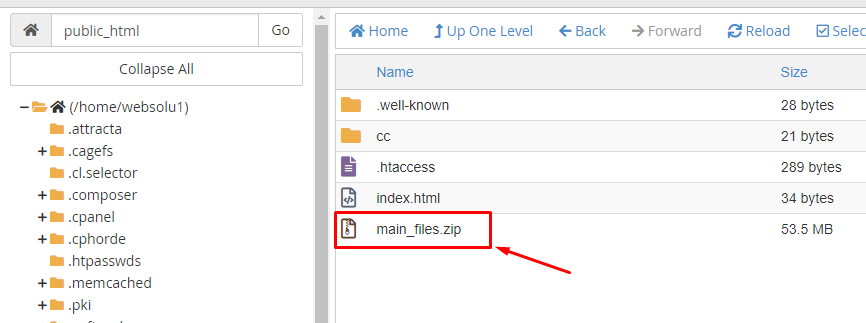
2. Search for the "public_html" and go into there.
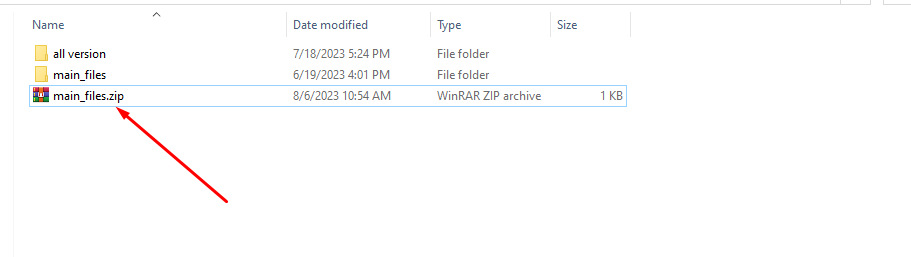
3. Now go to the folders that you got after extracting the main zip and compress the folder "main_files" using any software like winrar.

4. The zip file will be like this.
5. In the cpanel's "public_html", upload this zip file.
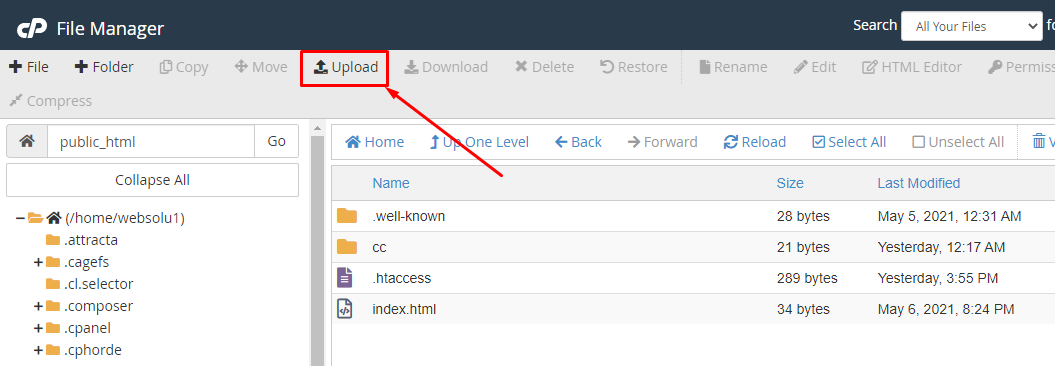
6. You will get an interface like this.
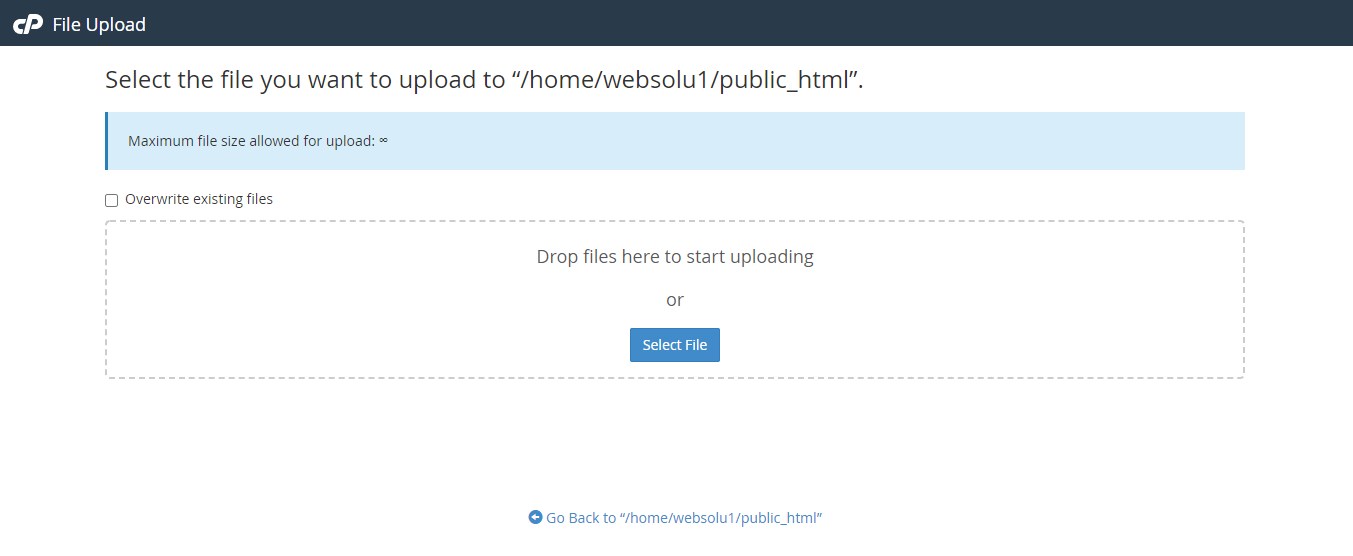
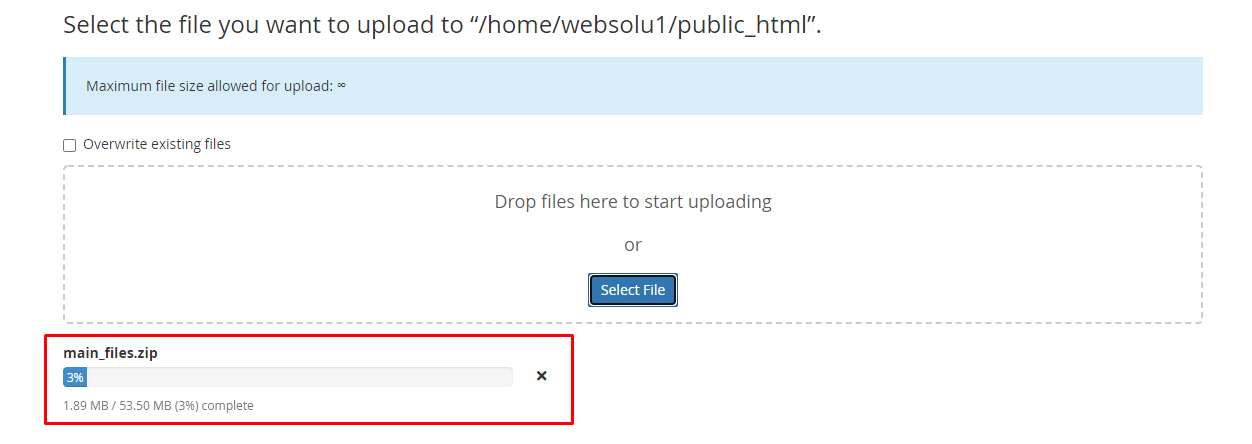
7. Drag and drop the zip file here or just click on the "Select File" and select the file from your computer. You will see a progress of uploading file. Wait until it is finished.
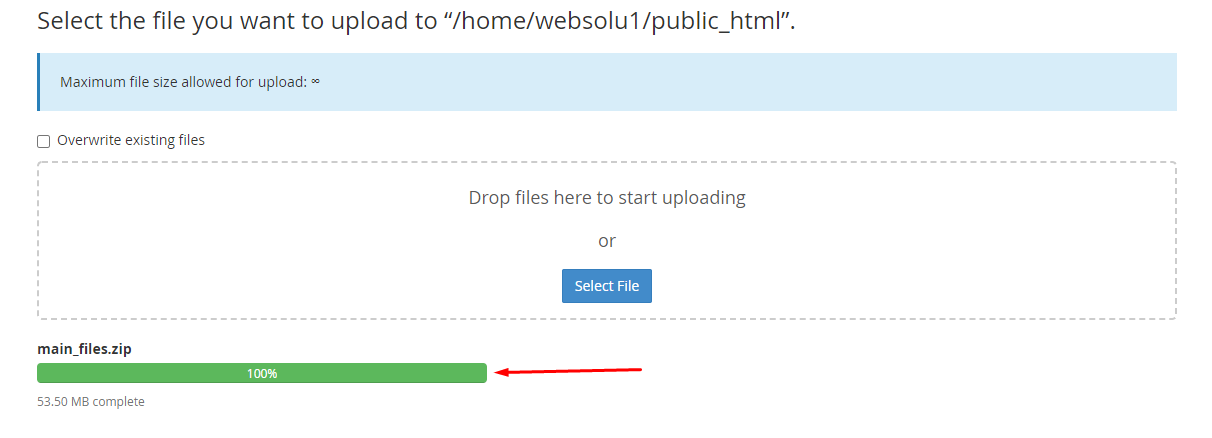
8. After finishing the upload, you will see a green bar. It indicates that upload is successful.
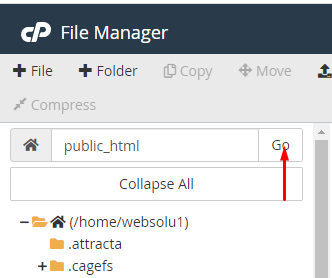
9. Now close the upload window. In the public_html section, press on "Go" button to refresh the page. Then you will see the zip file in the right side.
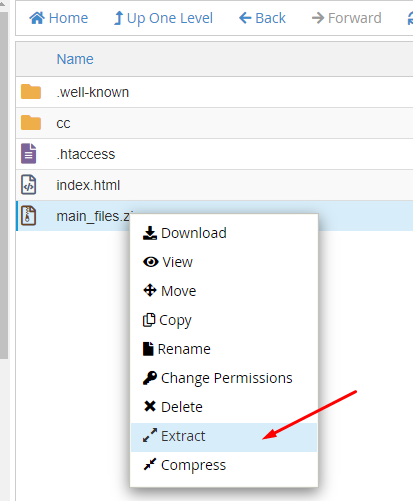
10. Do right click on that file and select "Extract" option.
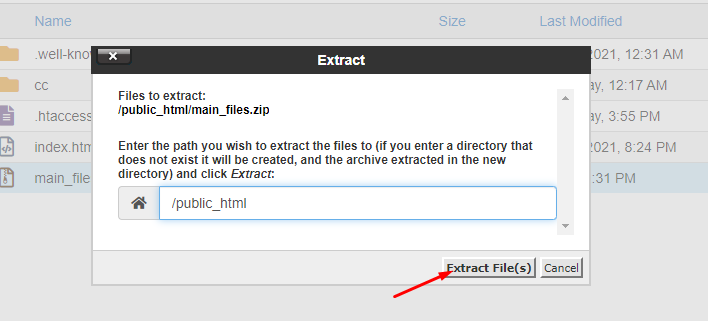
11. Press on "Extract Files" button.
12. It will take only a few minutes. After finish, you will get a window like this.
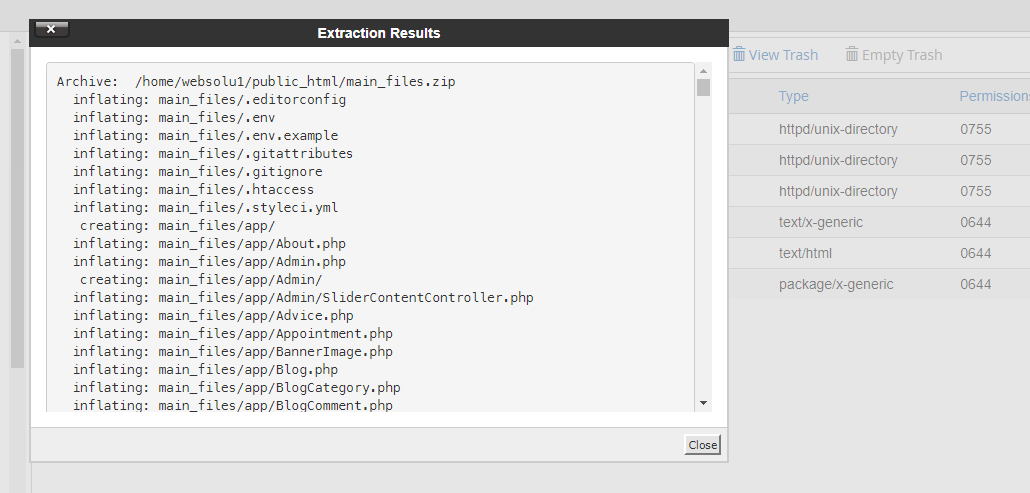
13. Just close this window. Then double click on the "main_files" folder and go into there.
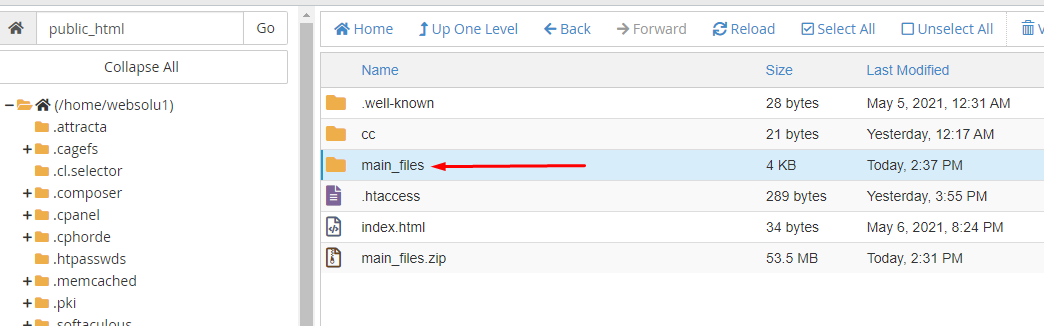
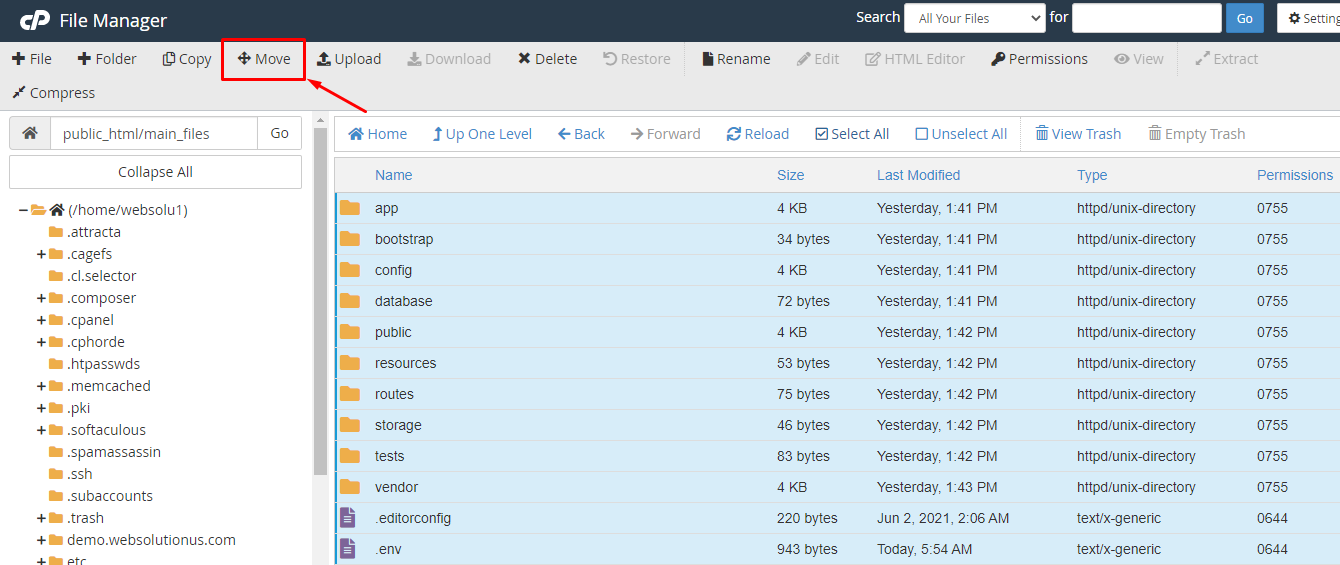
14. Now click on the "Select All" from top section.

15. Click on the "Move" option.
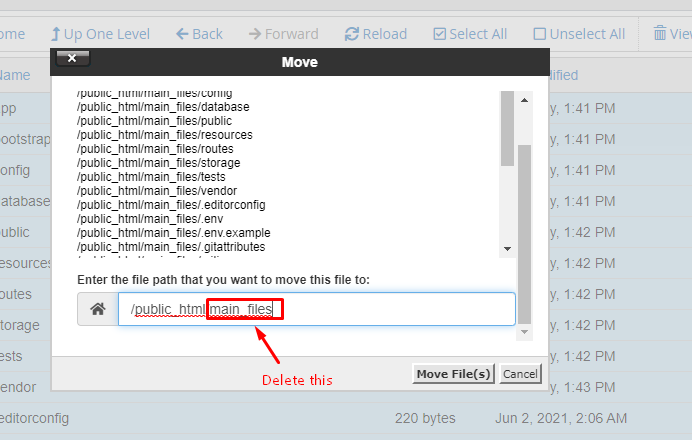
16. Delete the "main_files" from the box. Only keep this "/public_html/". Then click on "Move Files".
17. Now, click on "Up One Level".

18. Right click on ".env" file and click on "Edit".
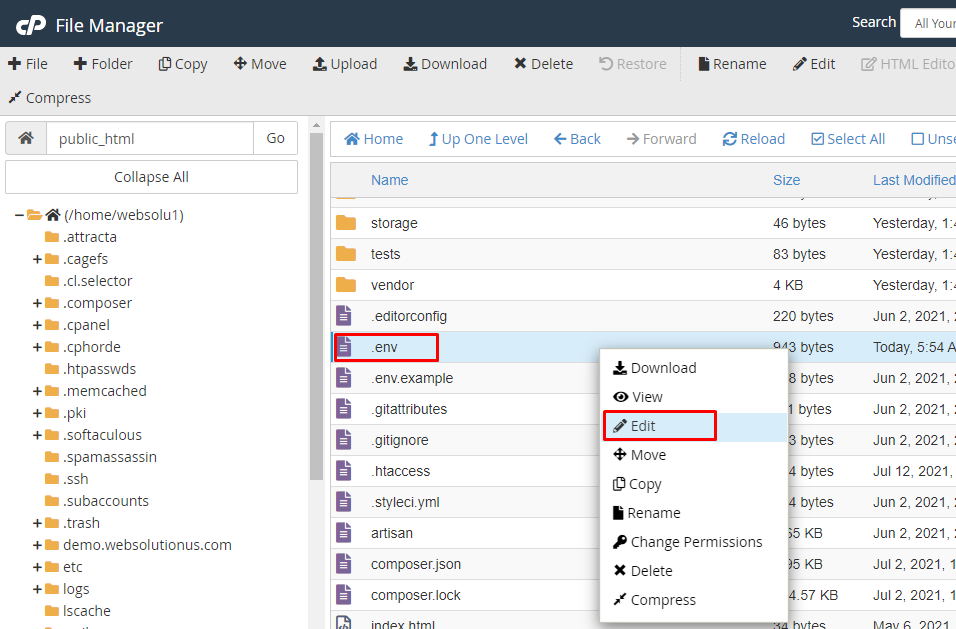
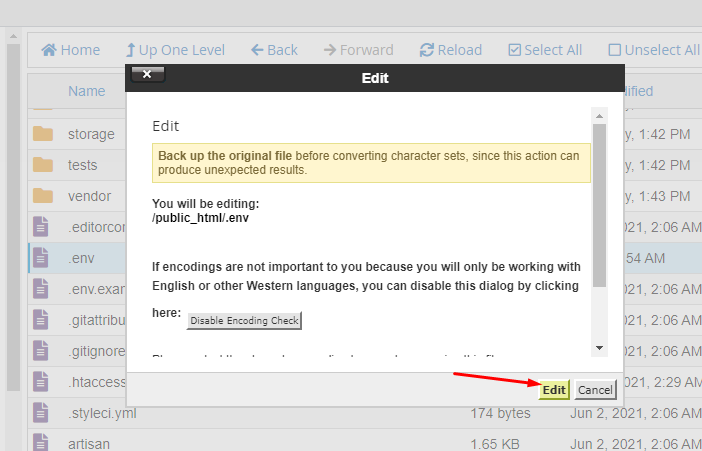
19. Now edit this file and put the database name, username and password you created previously here. Also put the app_url, app_name here. Then click on the "Save Changes" button.
Your task is done and you can use our script without any problem. :)
Configuration
Before using and run this script, you must have to change the following information.
1. Open the .env file with a text editor and change the database settings
2. First, set up the APP_NAME, APP_URL, database name, database_username and password.
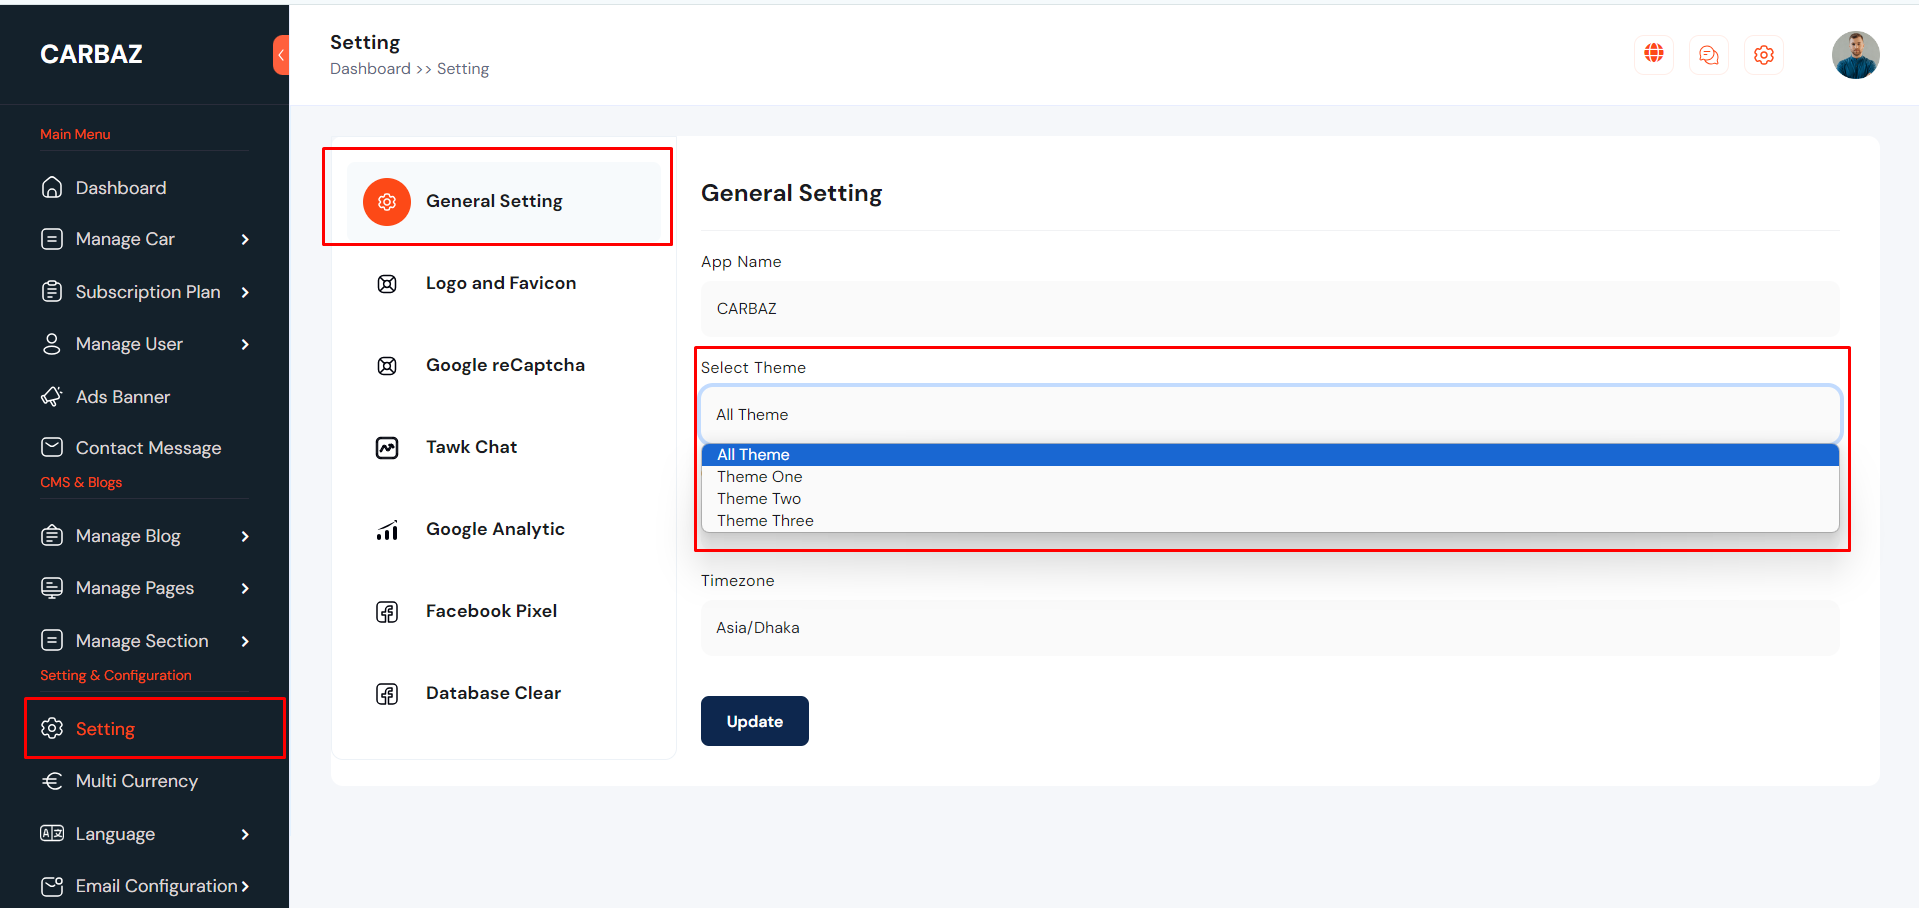
Theme Select
For the beginning , Admin need to select a theme. Go to "Setting >> General Setting". See:
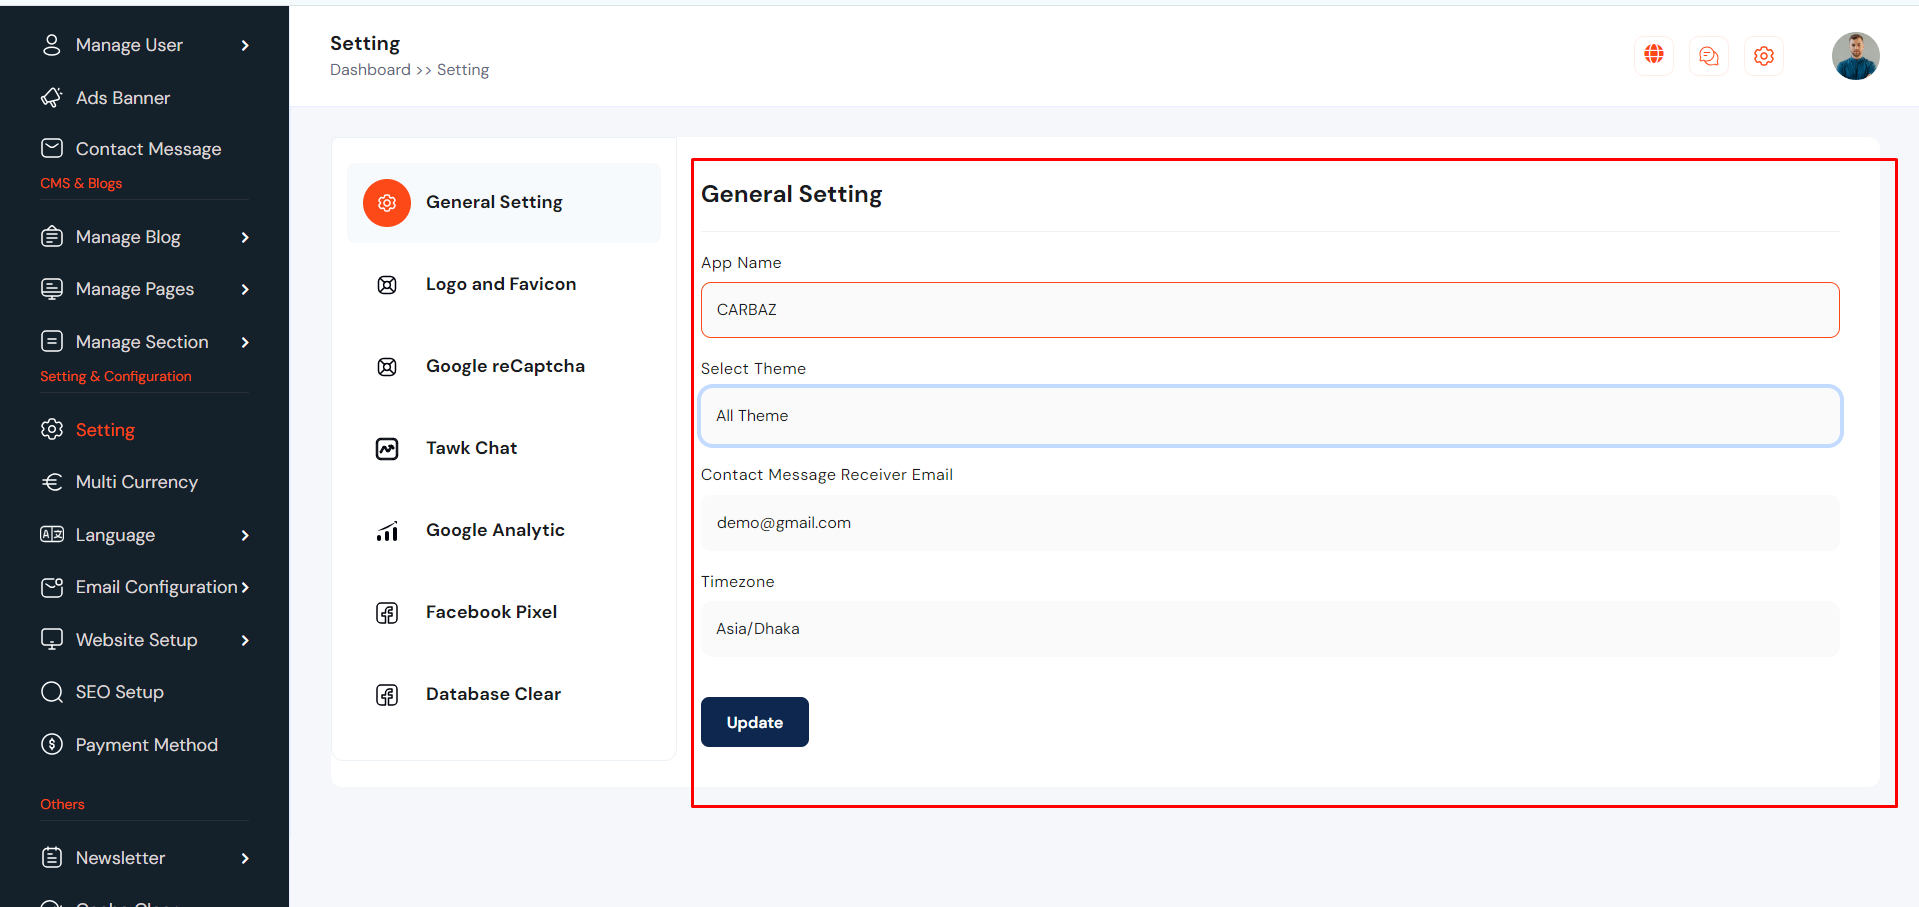
General Settings
Website General Setting can be set up from the admin panel. In this section admin can be change App Name, Timezone, Preloader etc. Go to "Setting >> General Setting". See:
Logo and Favicon
Logo and favicon can be set up from the admin panel. Go to "Setting >> Logo and Favicon" from the sidebar. See:
Google Recaptcha
Google Recaptcha can be set up from the admin panel. Go to "Setting >> Google Recaptcha" from the sidebar. See:
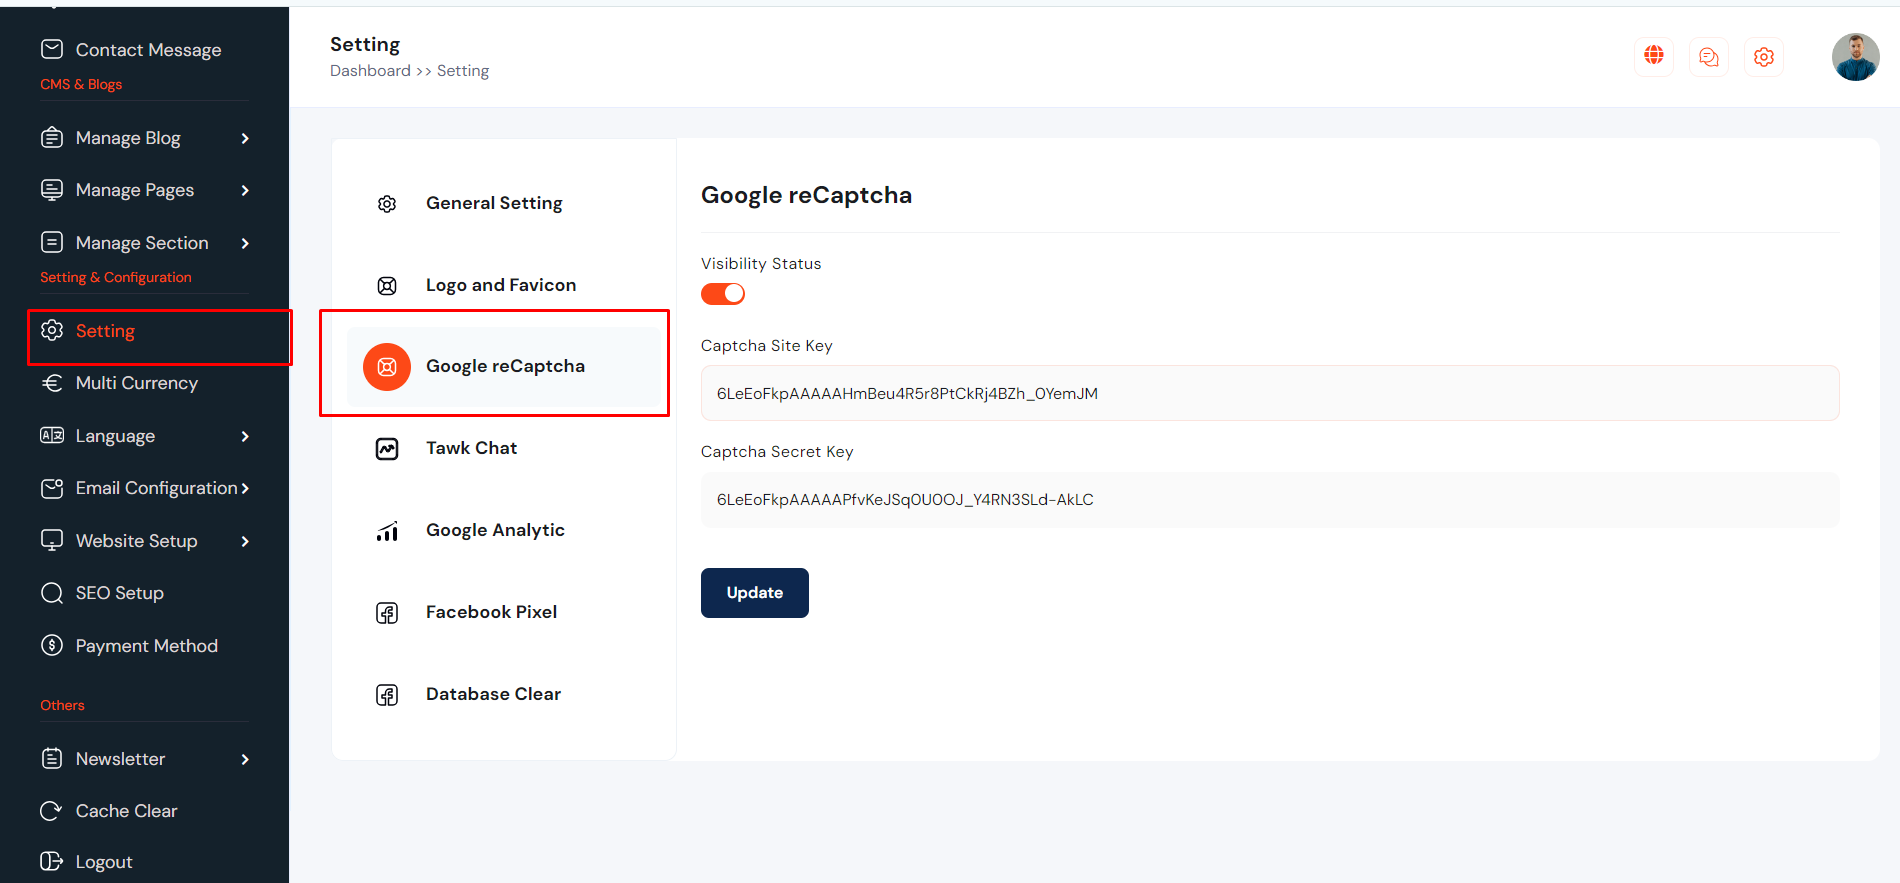
To get your recaptcha keys, go to this link:
https://www.google.com/recaptcha/admin/create
Select version 2.

Add your website's domain name or subdomain name here and after submit you will get a site key and secret key.
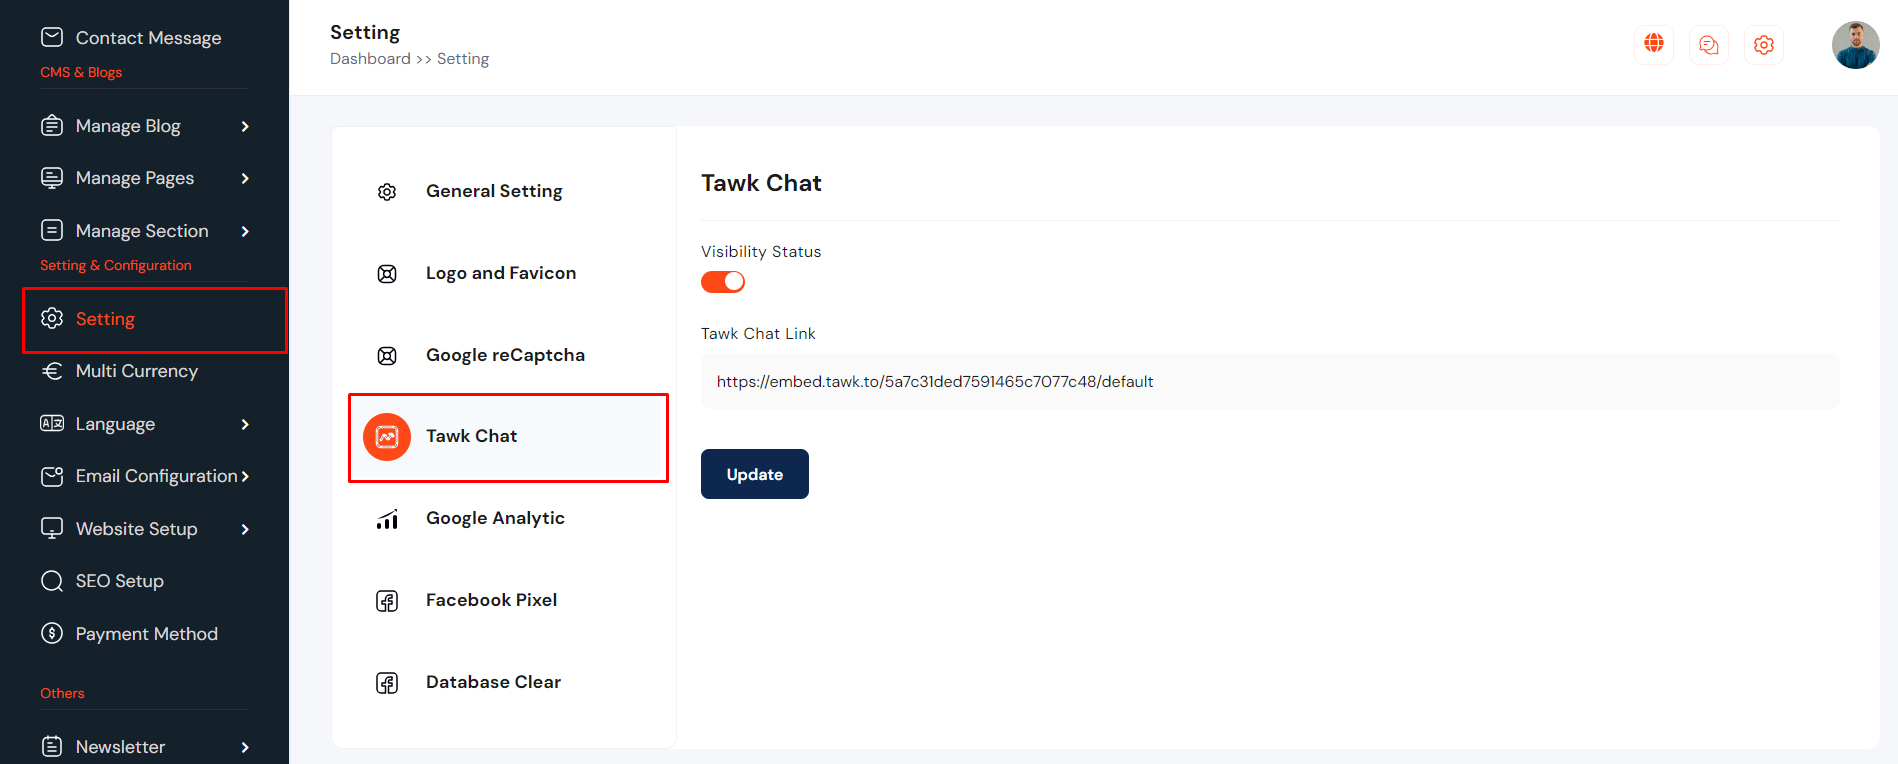
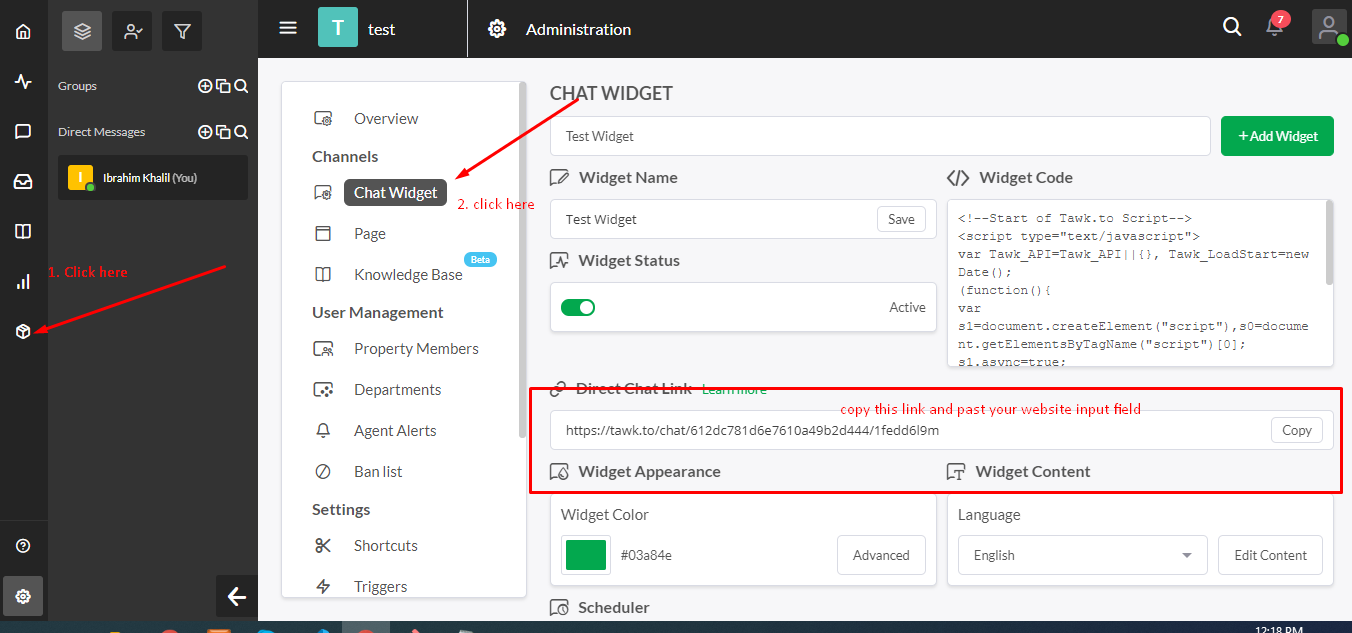
Tawk Live Chat
Tawk Live Chat can be set up from the admin panel. Admin can be enable and disable live chat option. Go to "Setting >> Tawk Chat" from sidebar. See:
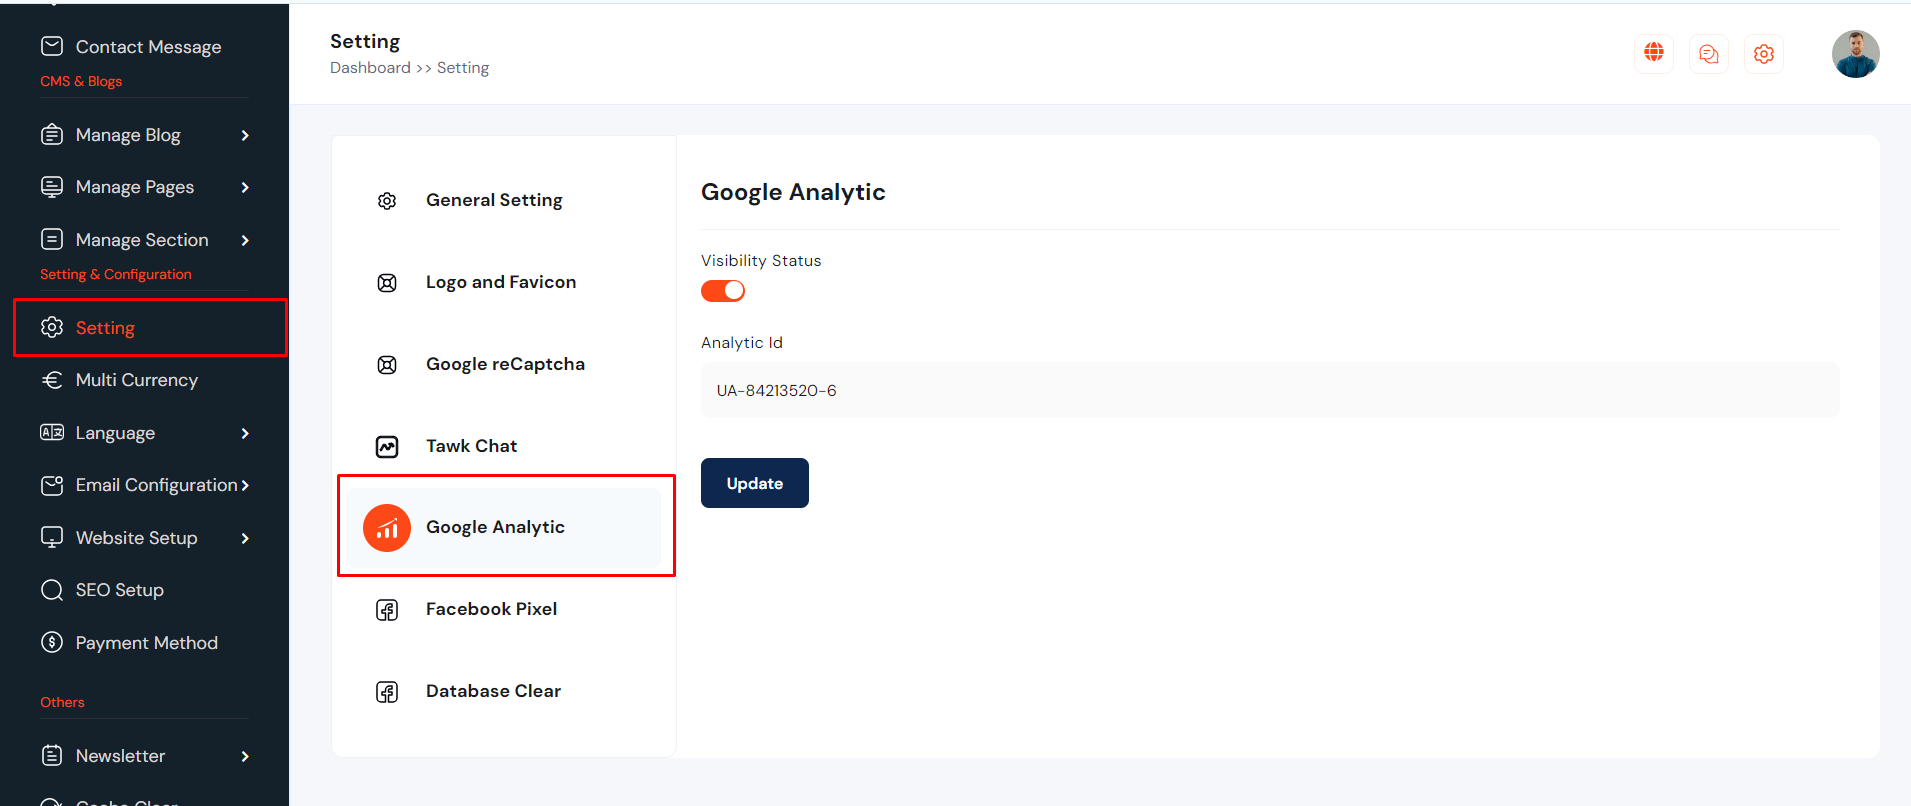
Google Analytic Settings
Google Analytic can be set up from the admin panel. Go to "Setting >> Google Analytic" from sidebar. See:
Facebook Pixel
Facebook Pixel can be set up from the admin panel. Go to "Setting >> Facebook Pixel" from sidebar. See:
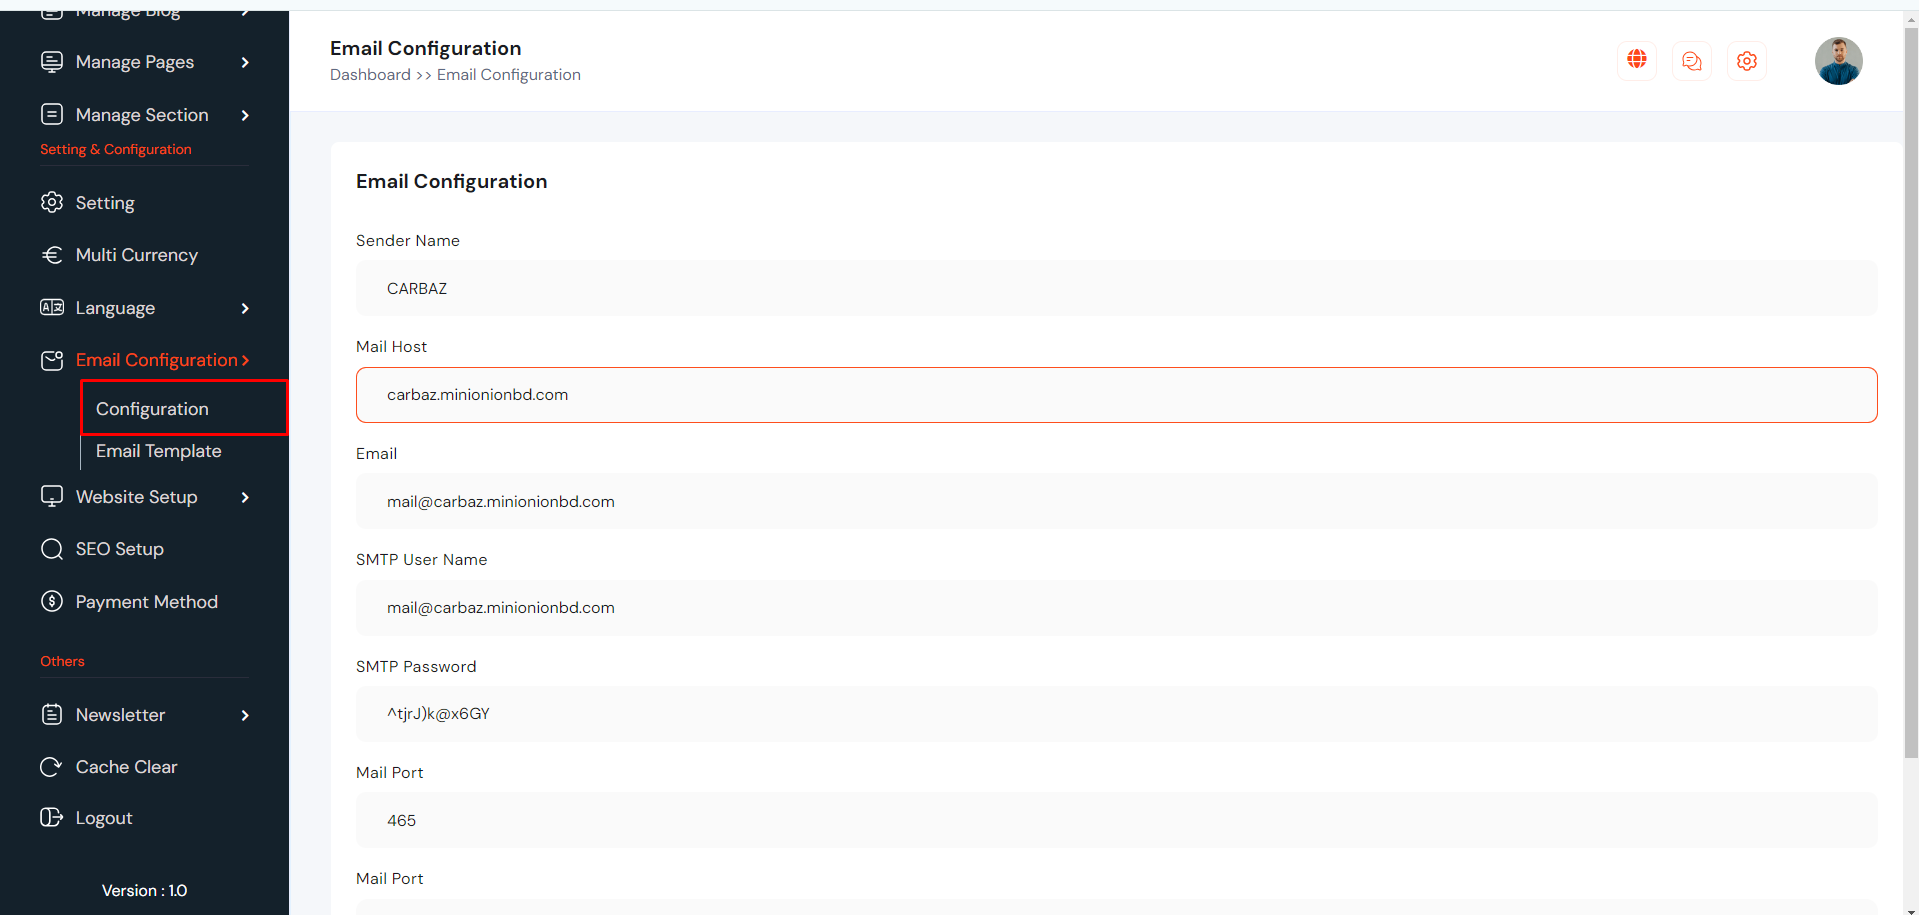
Email Configuration
SMTP Email can be set up from the admin panel. Go to "Emai Configuration >> Configuration". See:
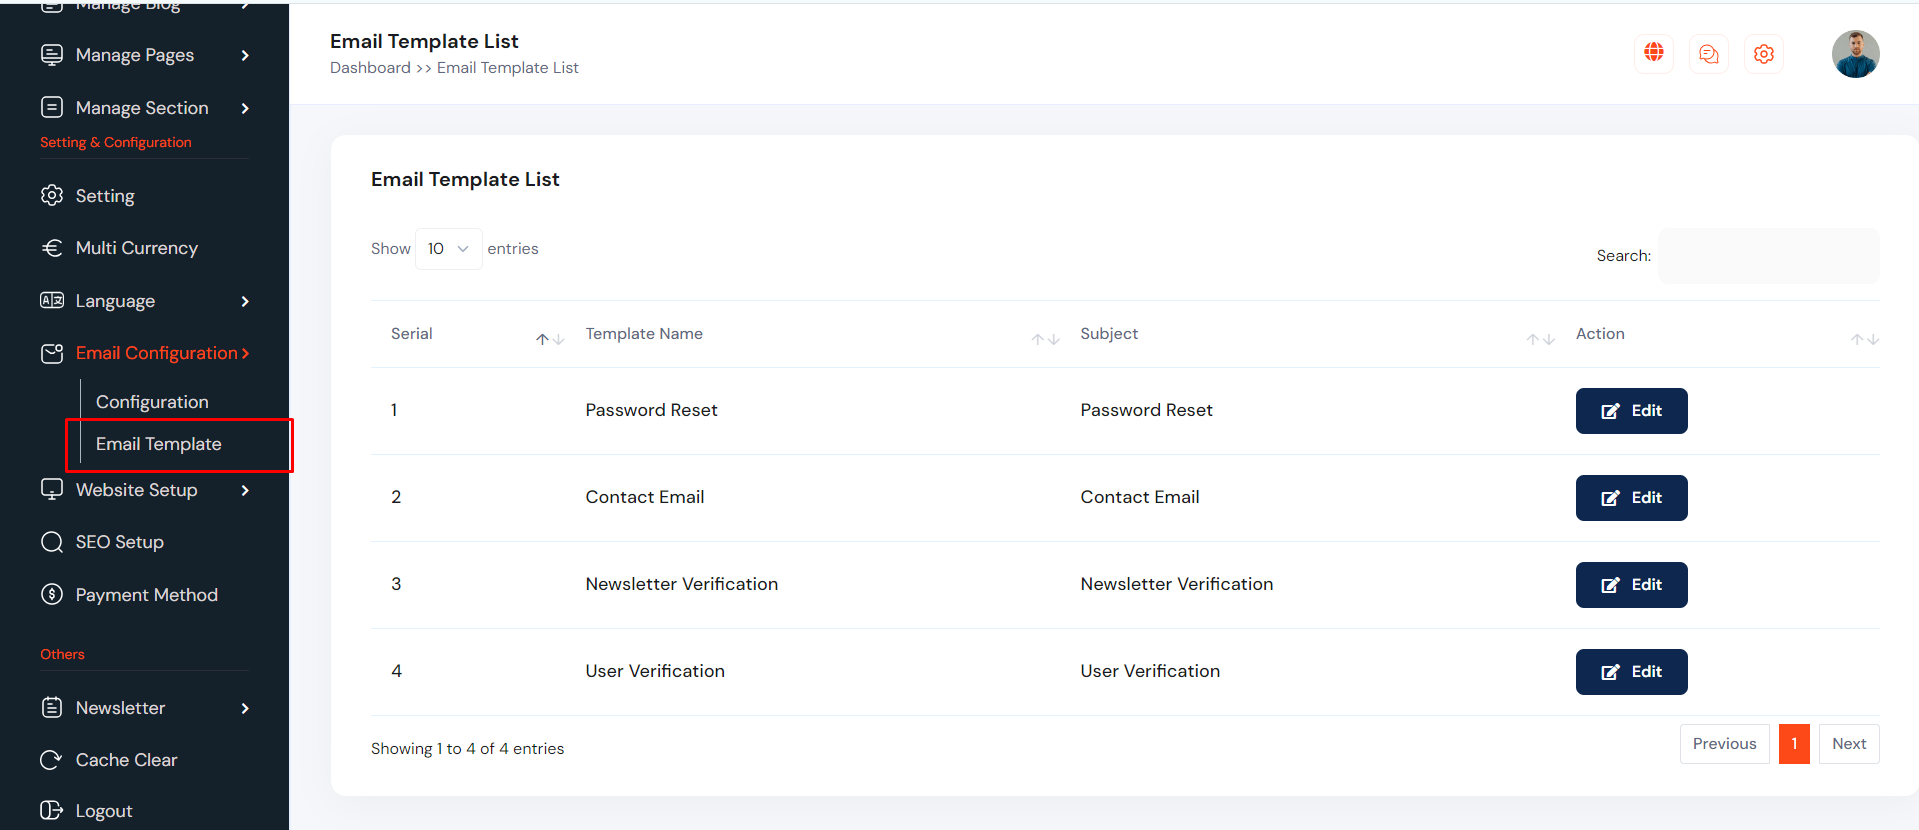
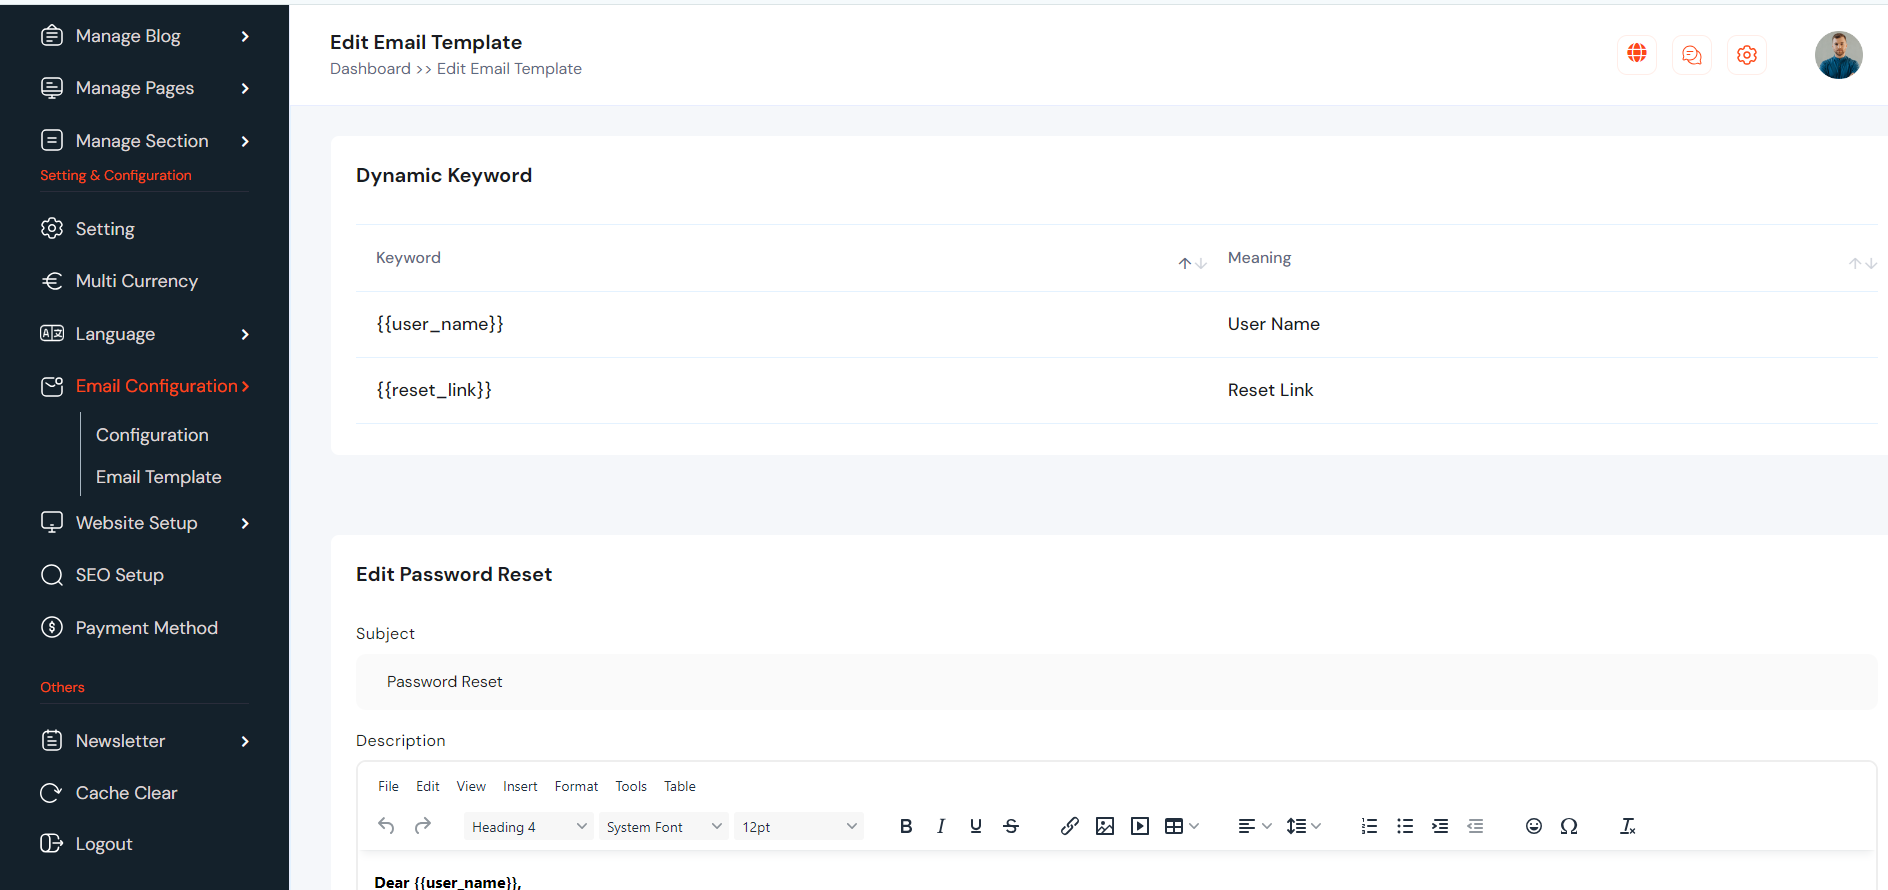
Email Template
Email template can be set up from the admin panel. Go to "Emai Configuration >> Email template". See:
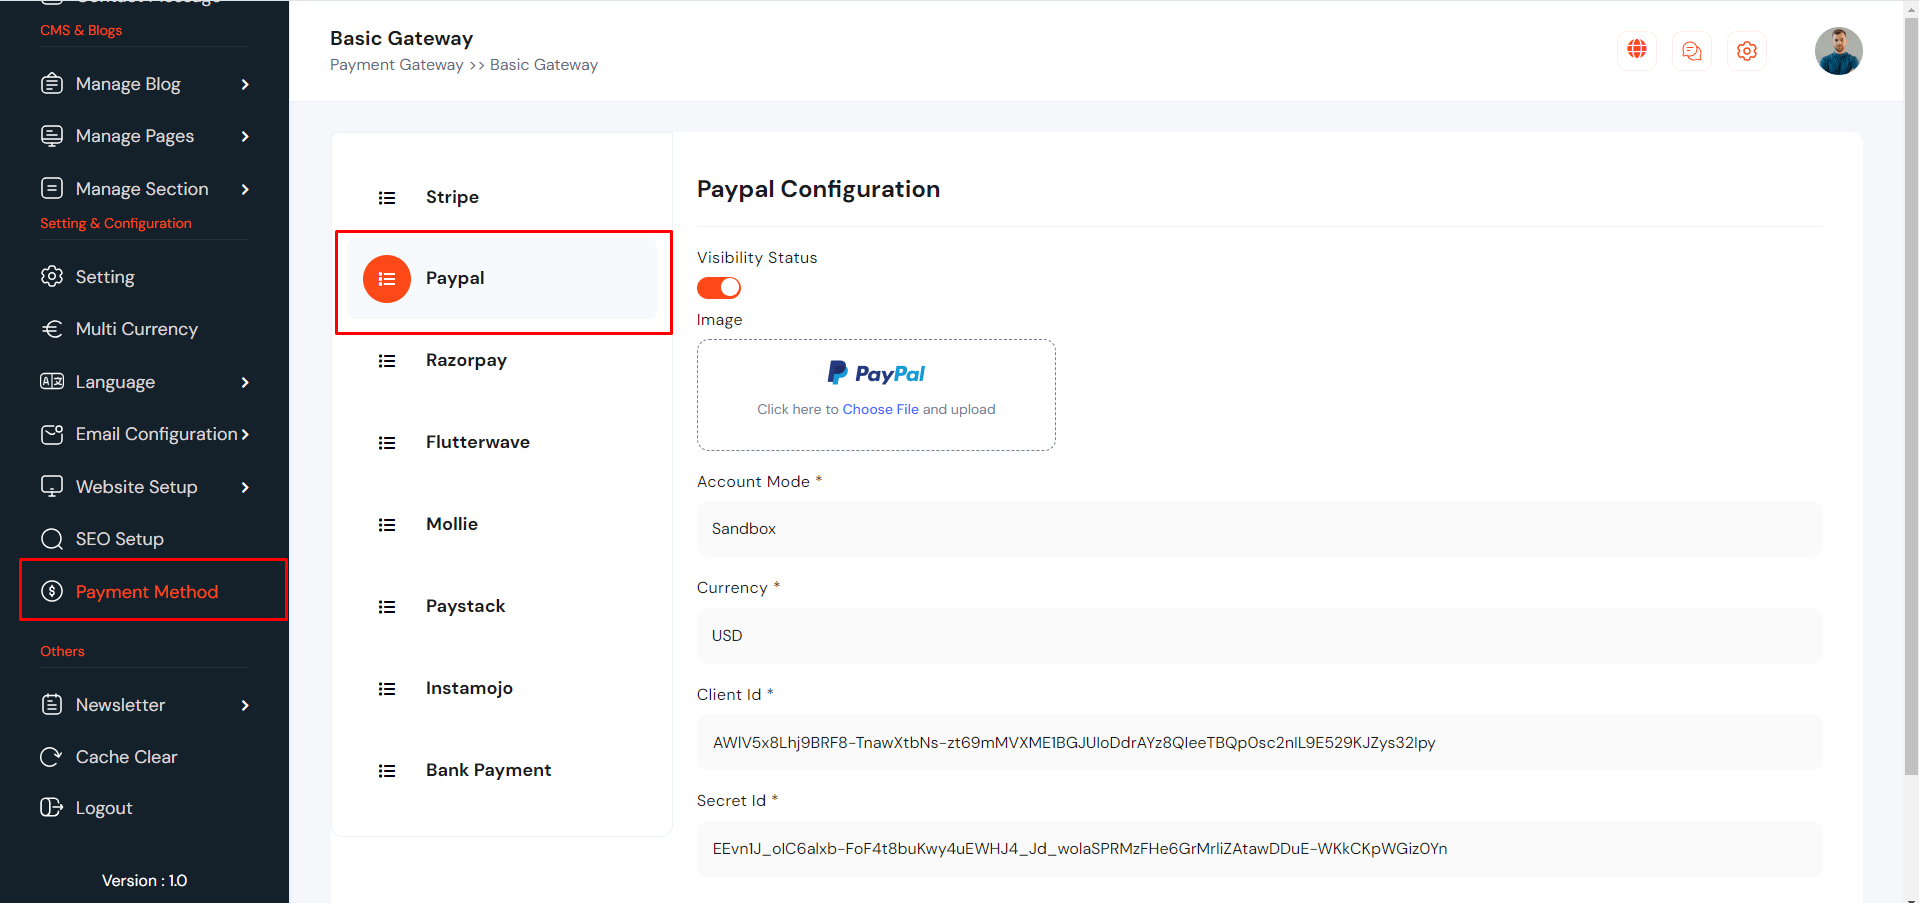
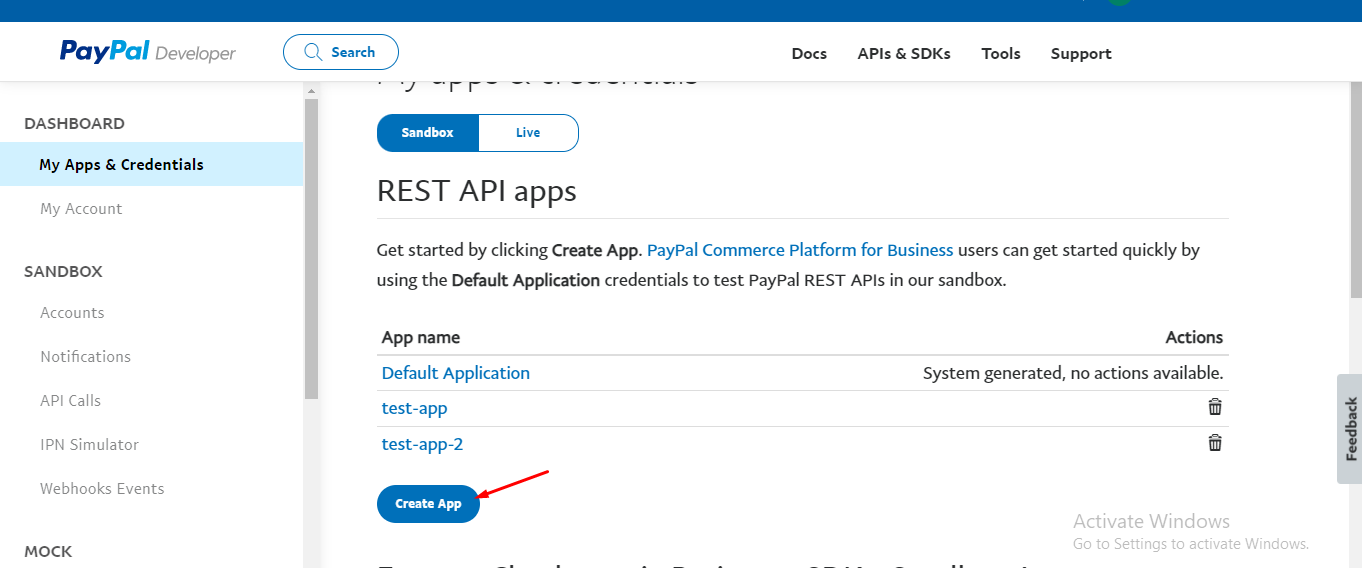
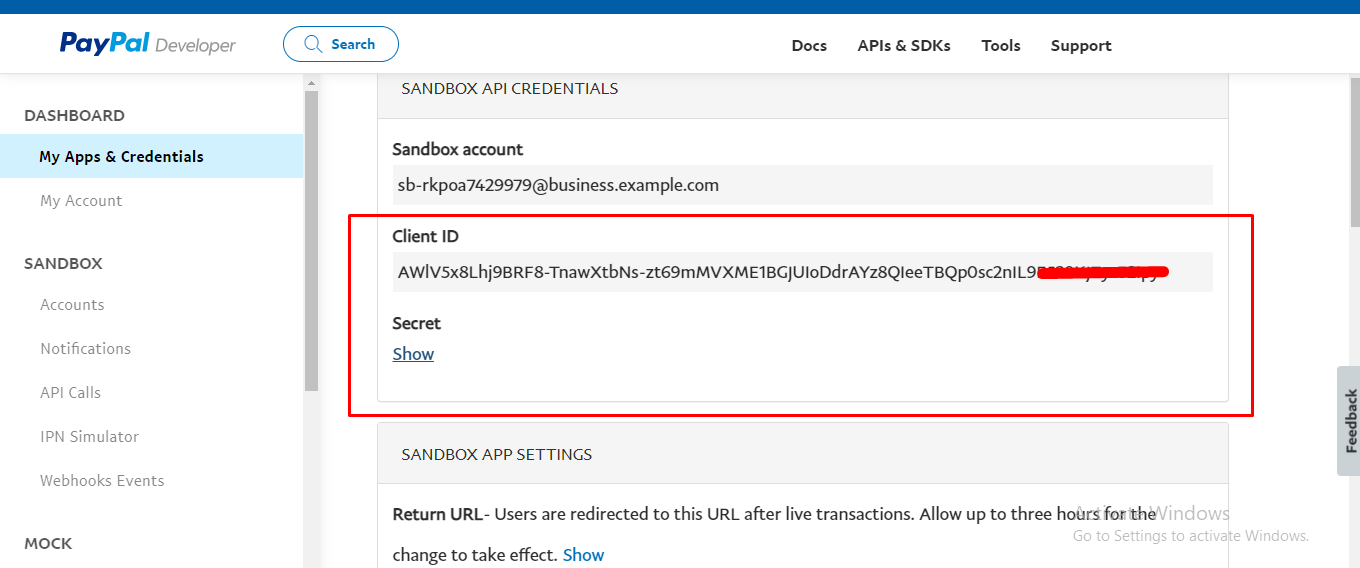
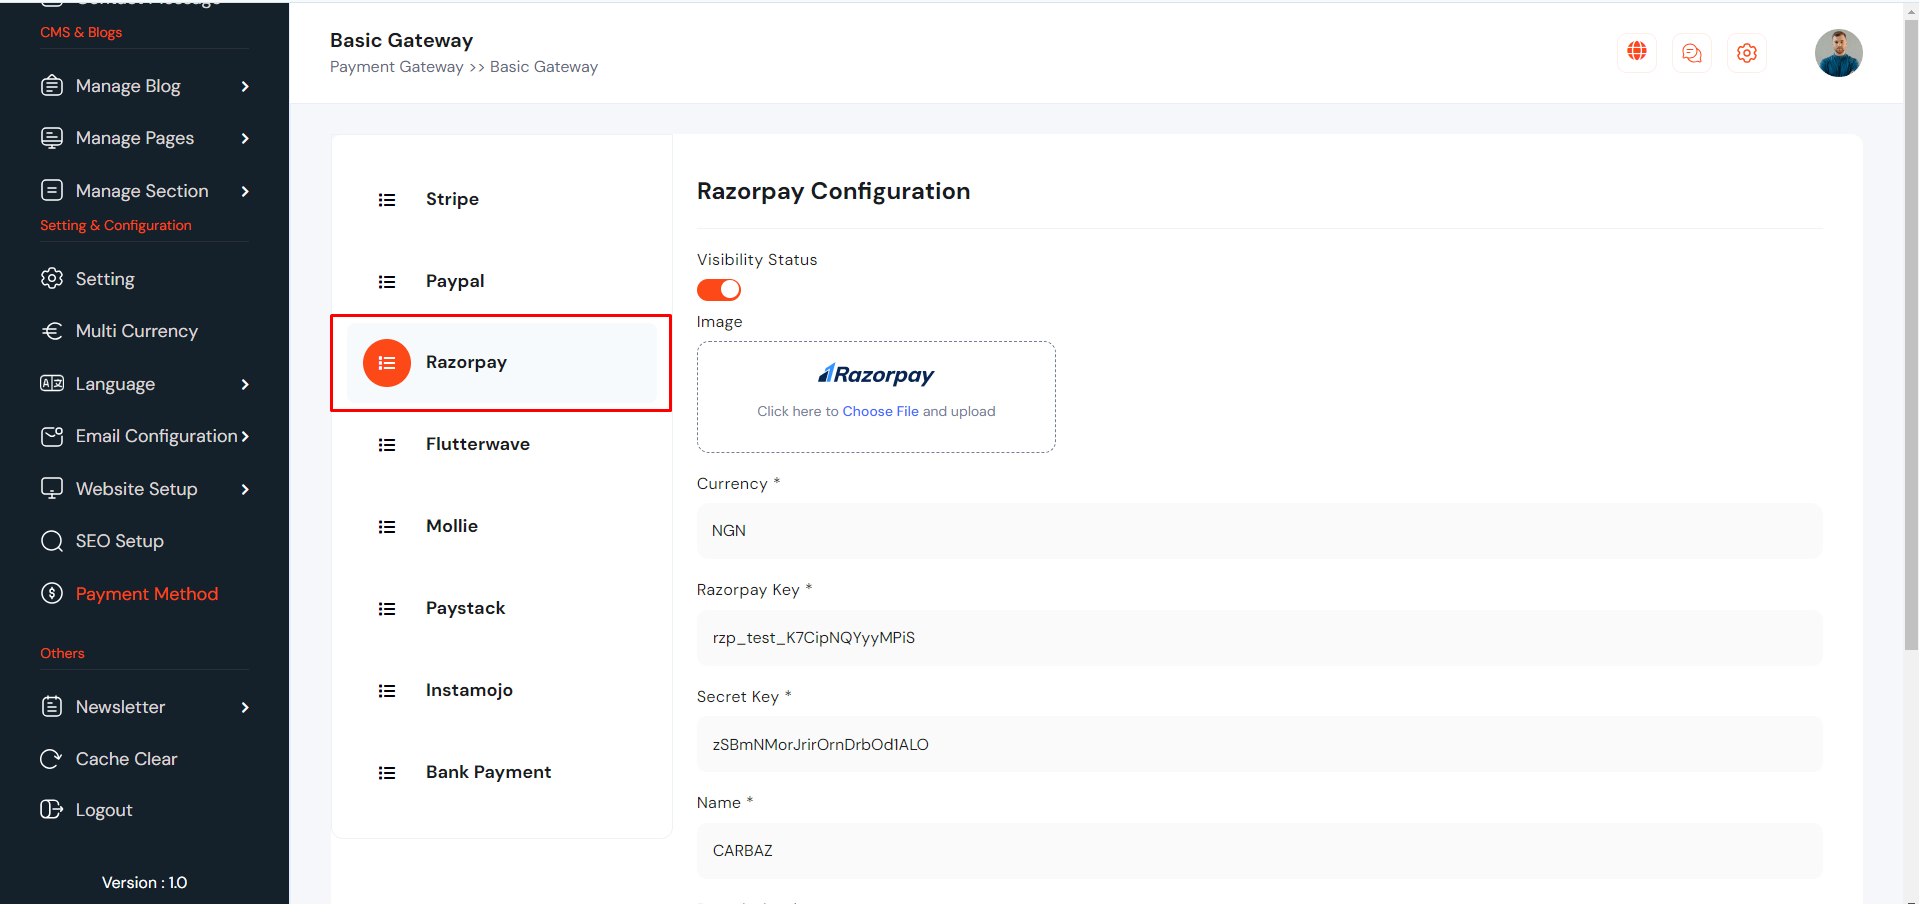
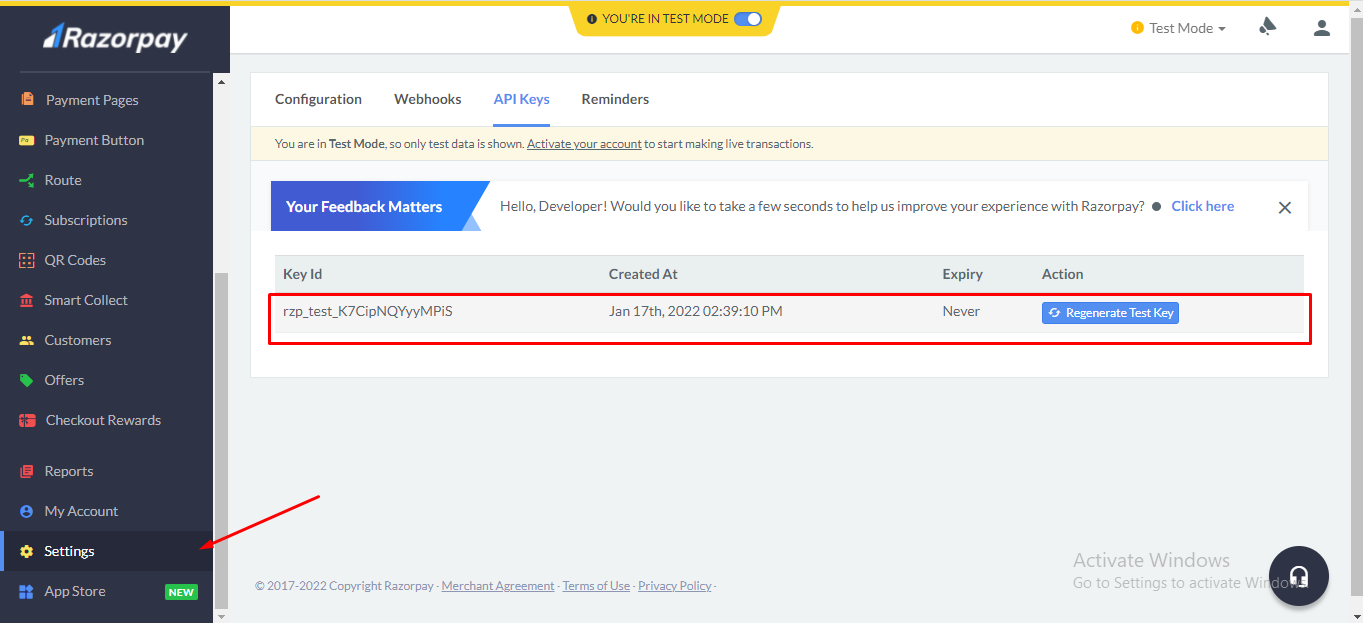
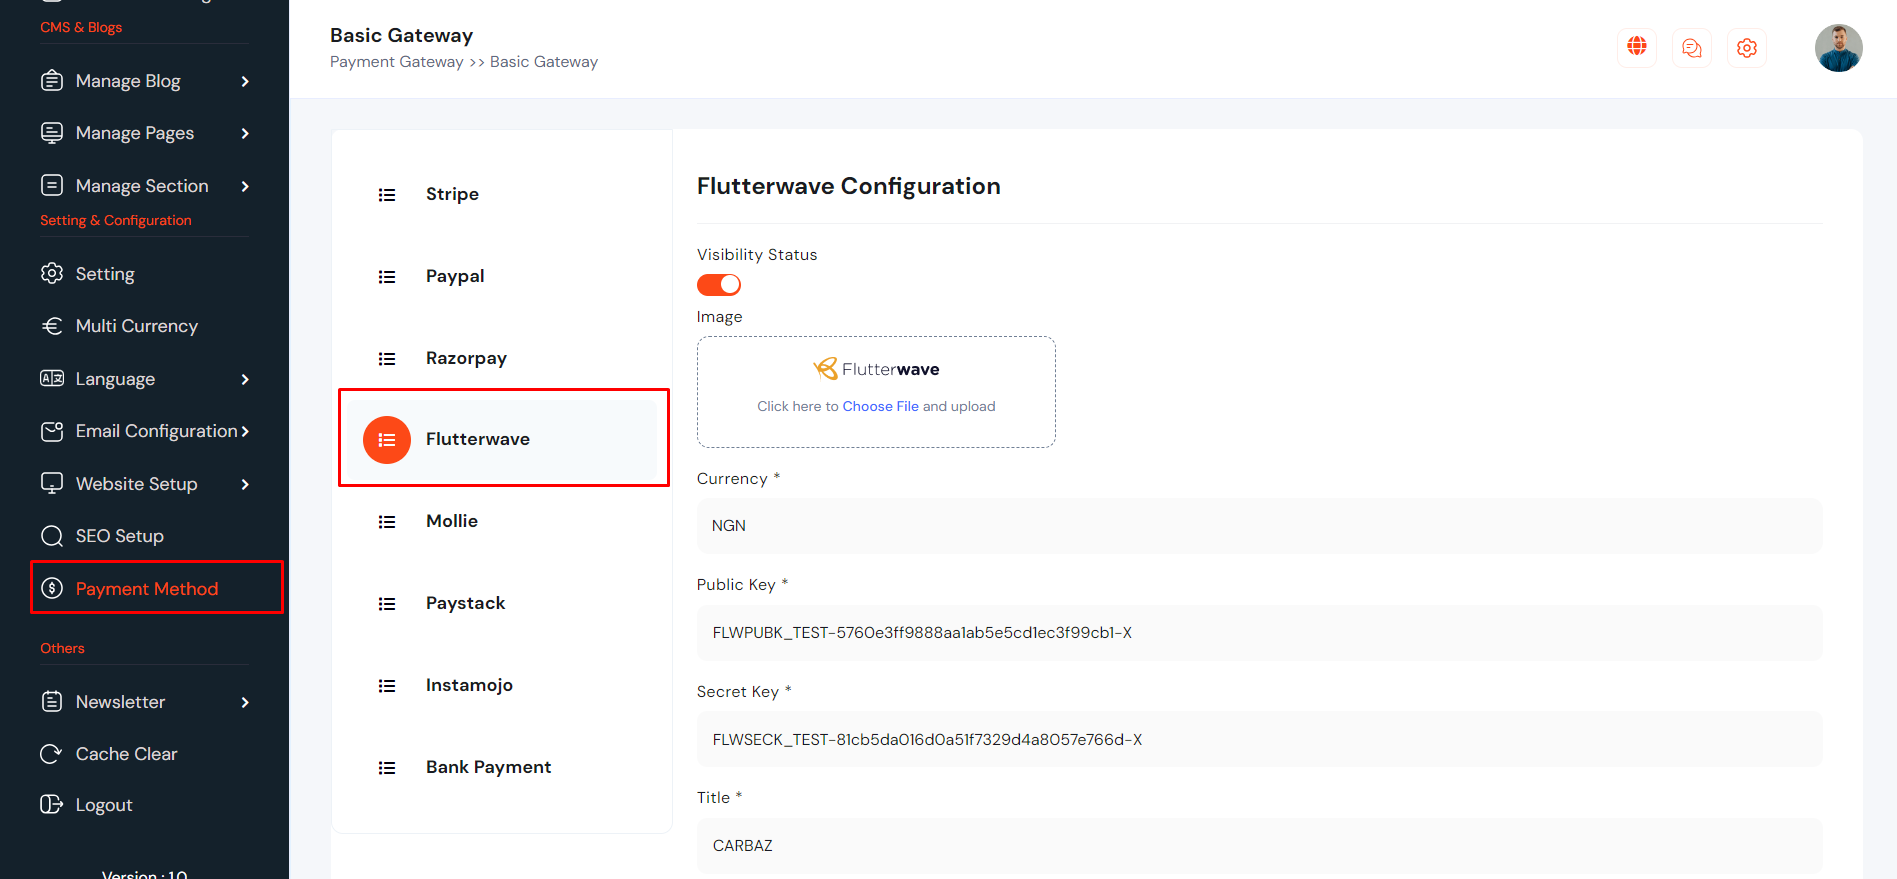
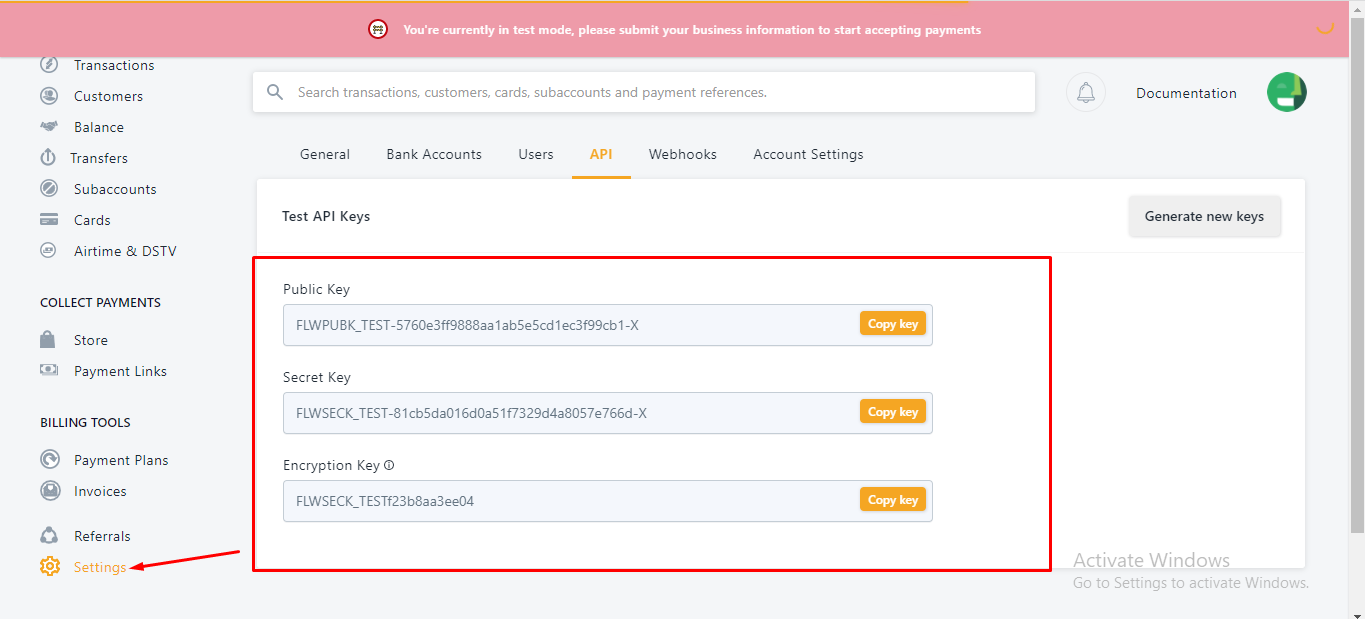
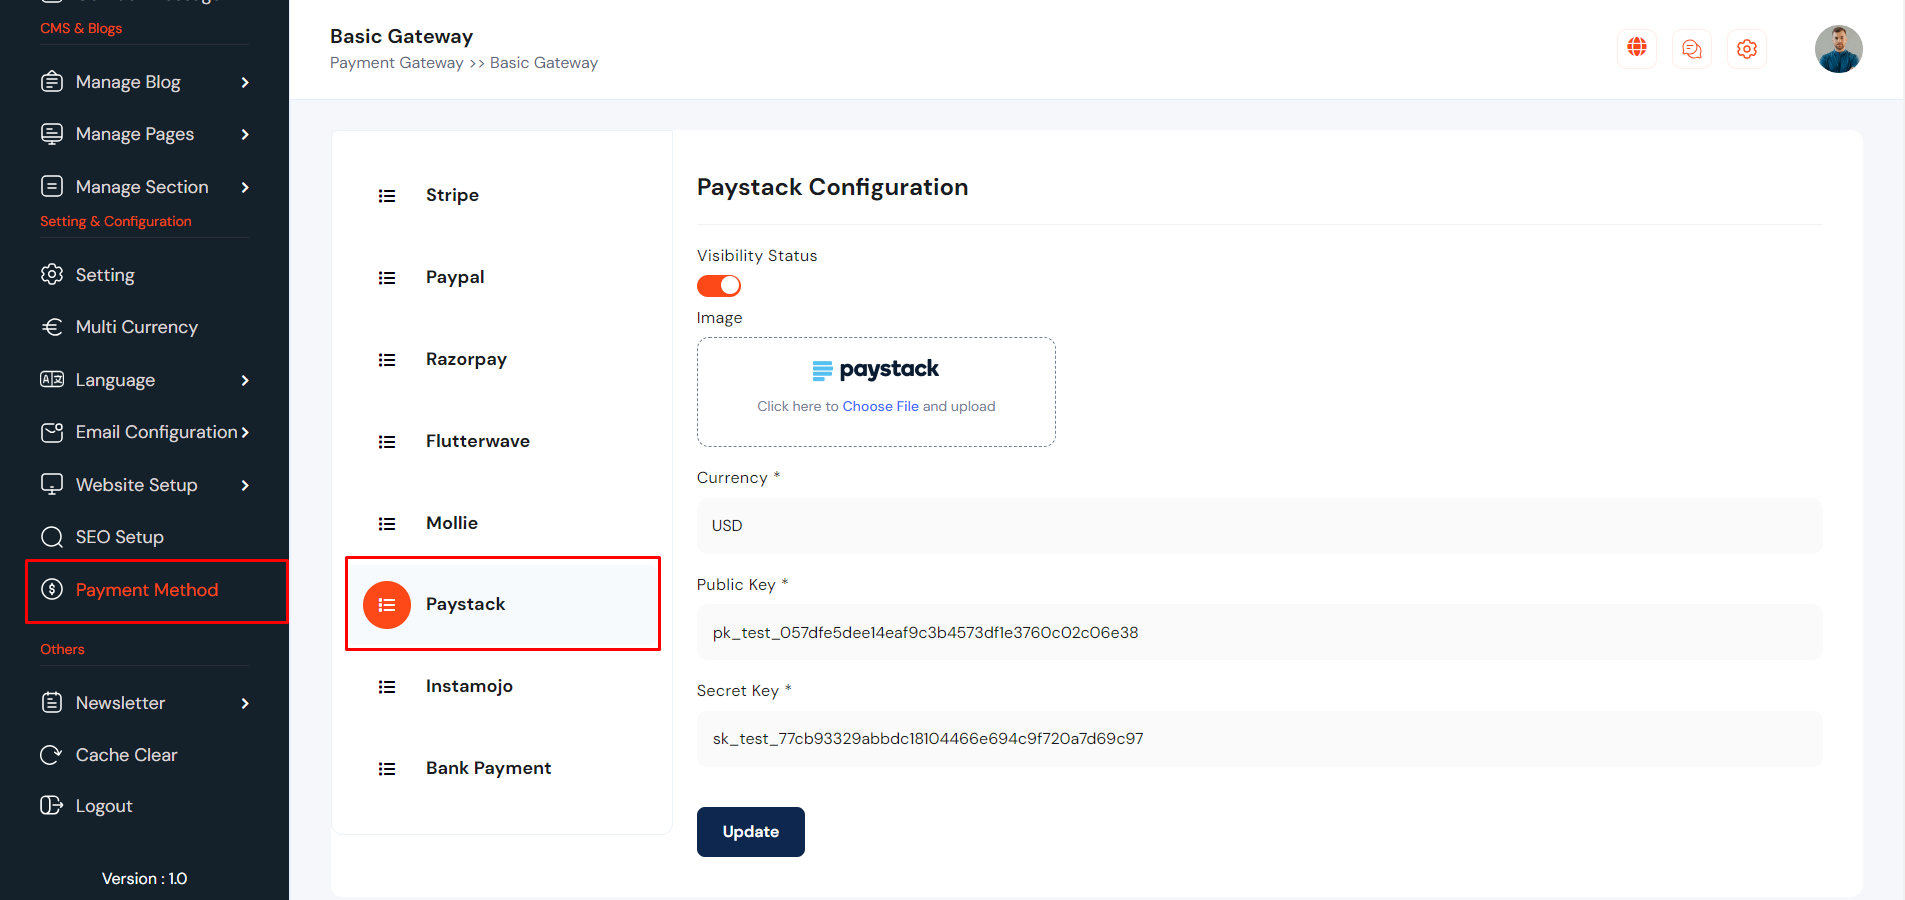
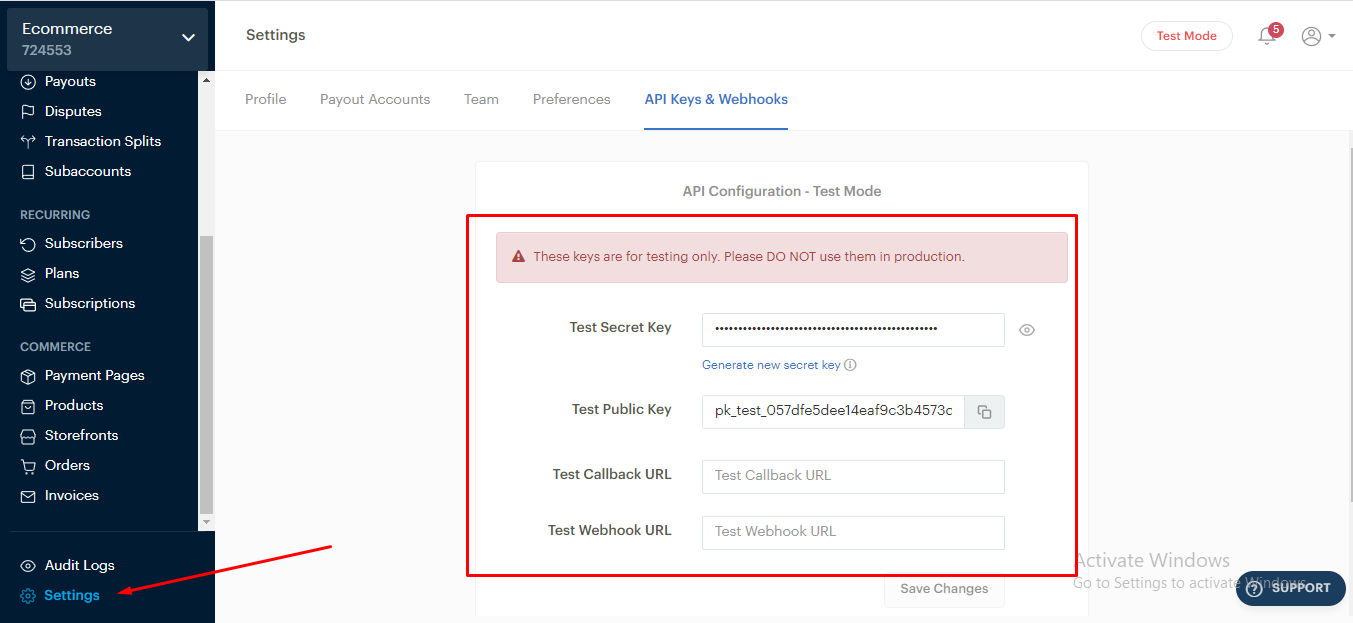
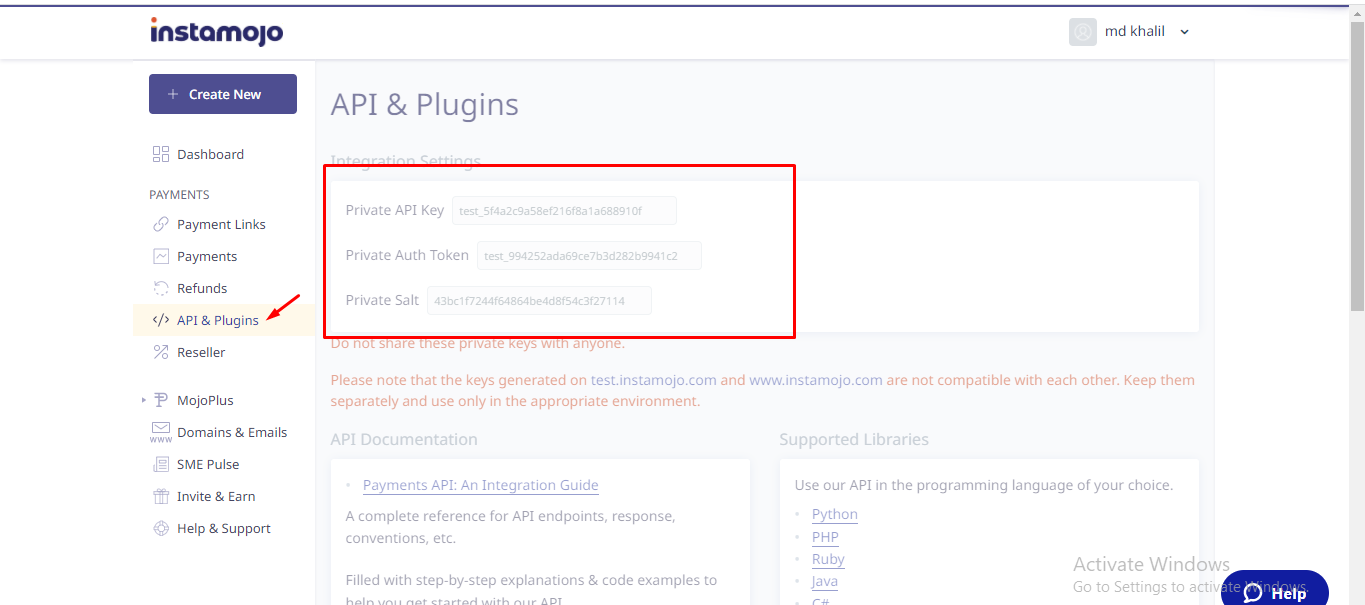
Payment Gateway
Payment Method can be set up from the admin panel. Go to "Payment Method" from sidebar. See:

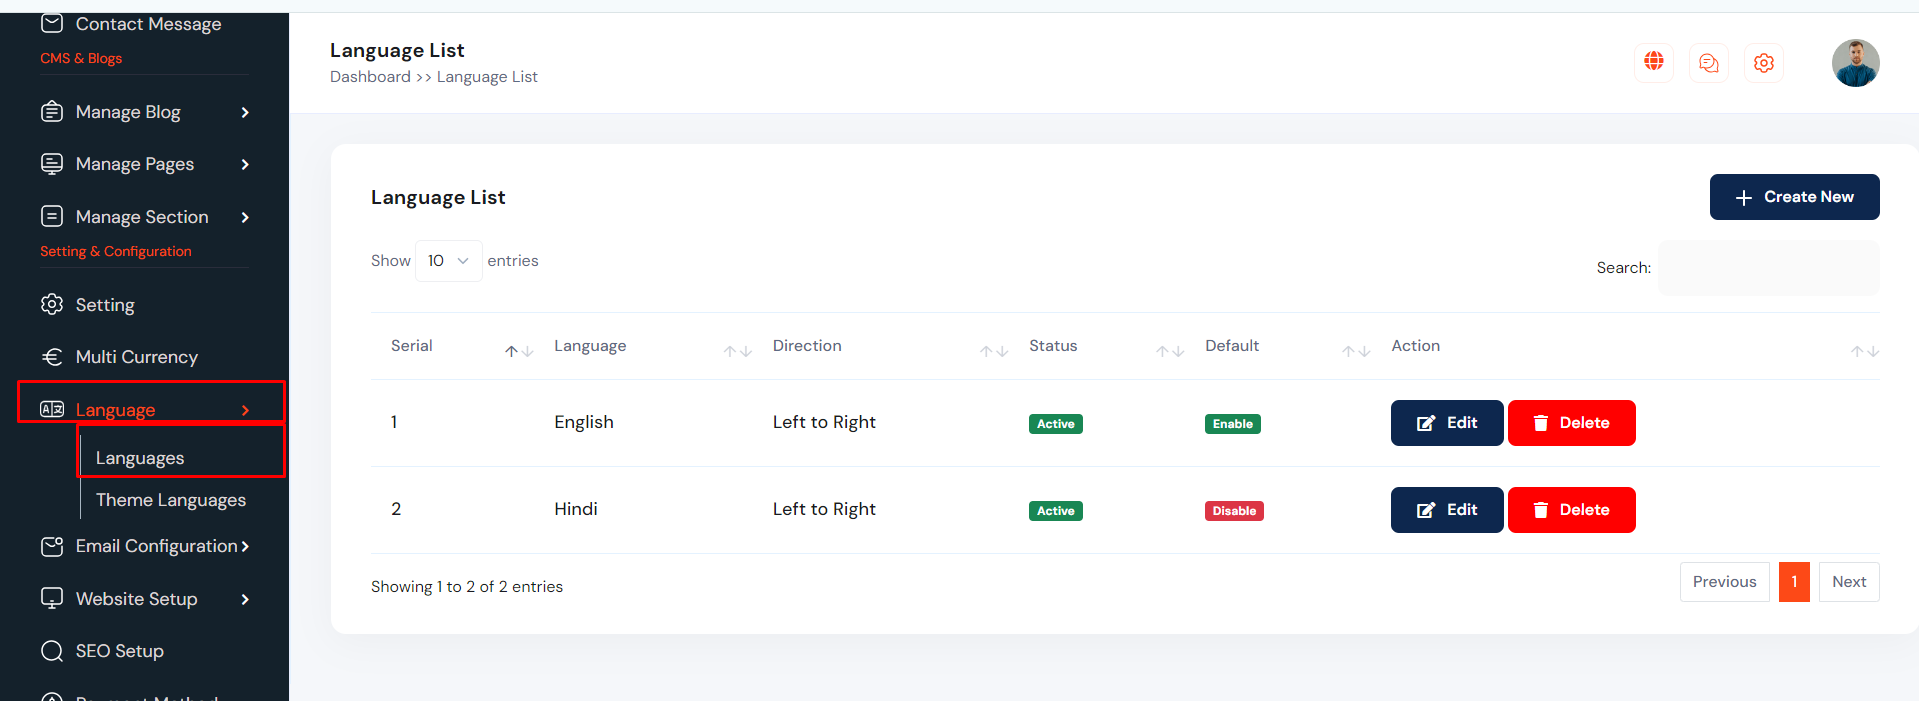
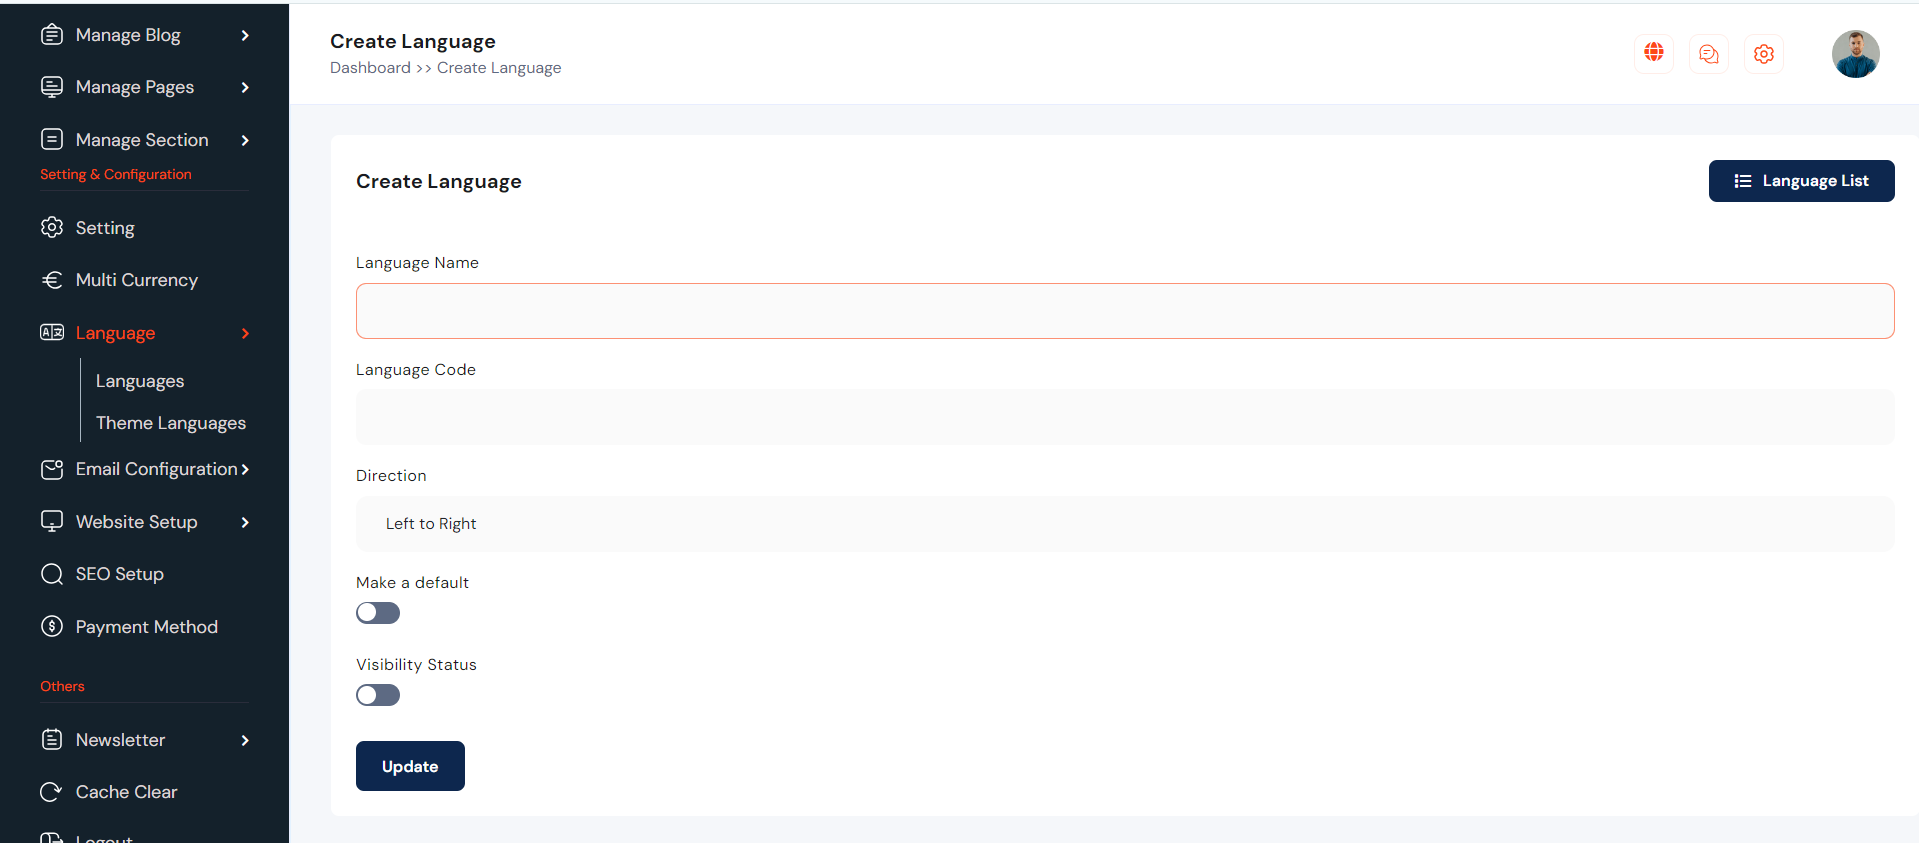
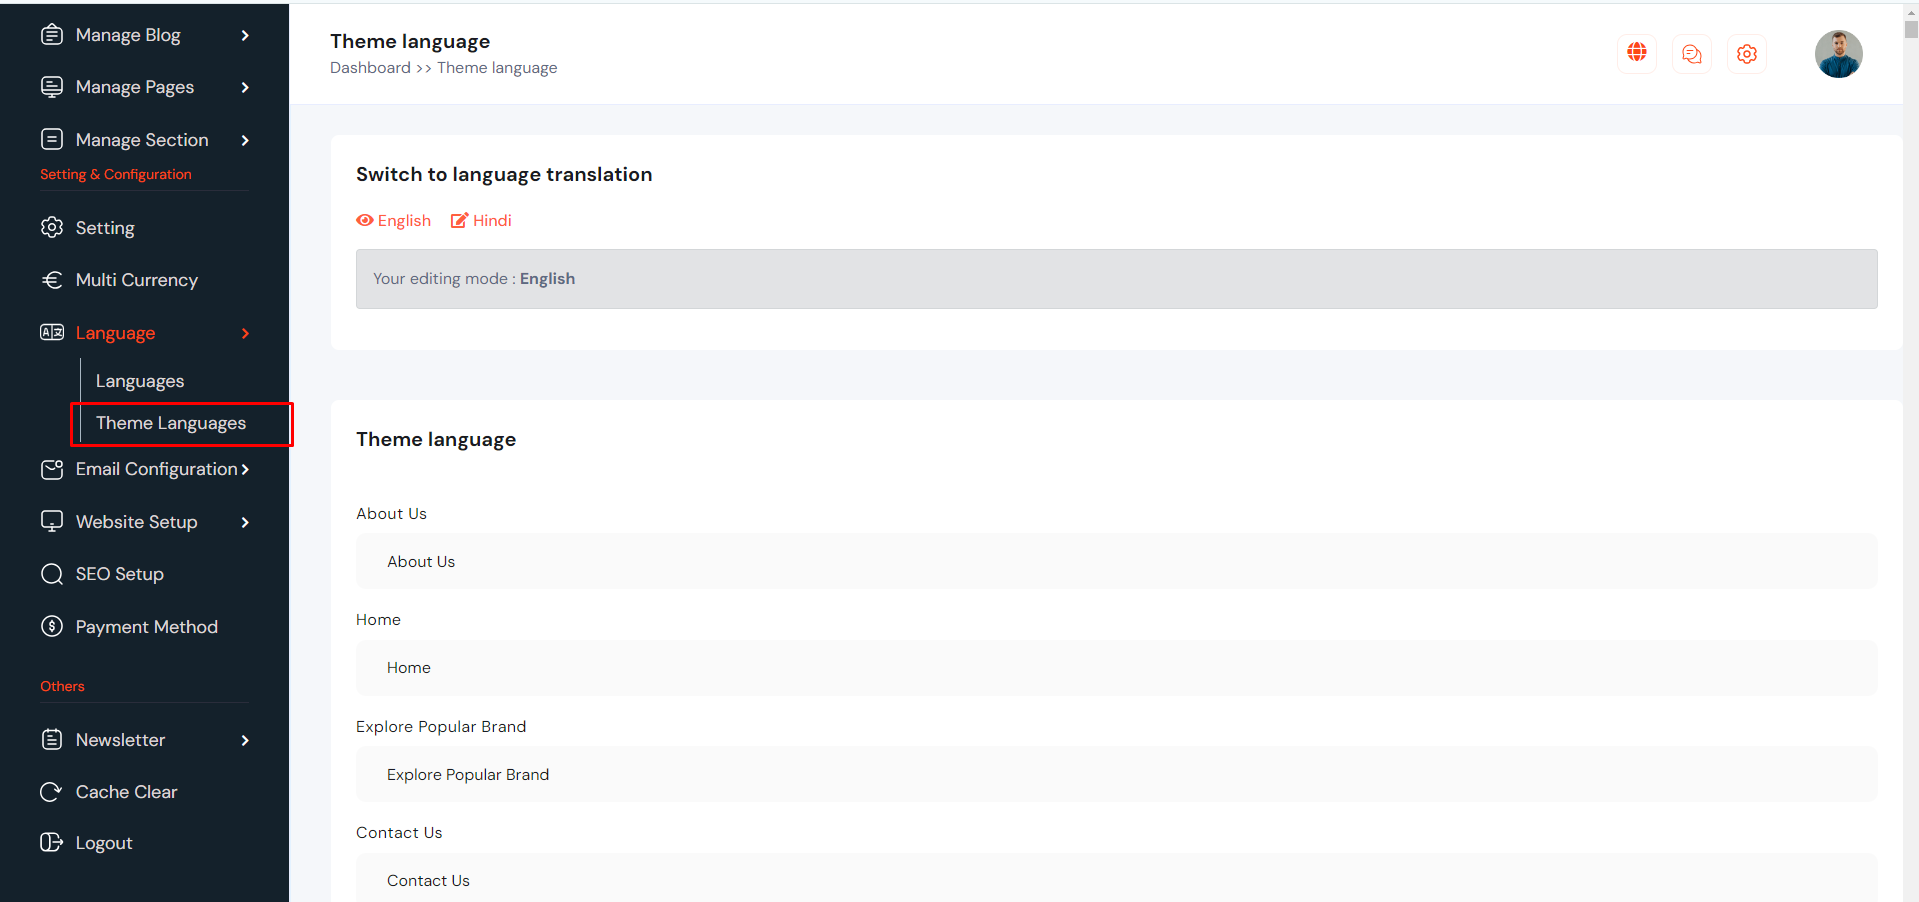
Website Language
In our system, we offer an unlimited multi-language feature. The administrator has the ability to create an unlimited number of languages and can translate everything word by word. When the administrator creates something new, we store all the information as the default language in the database. Simultaneously, we also assign similar content for other languages during the creation of something new. On the edit page, the administrator can translate the content language-wise. For create a new language go to "Language >> Language" from sidebar. See:

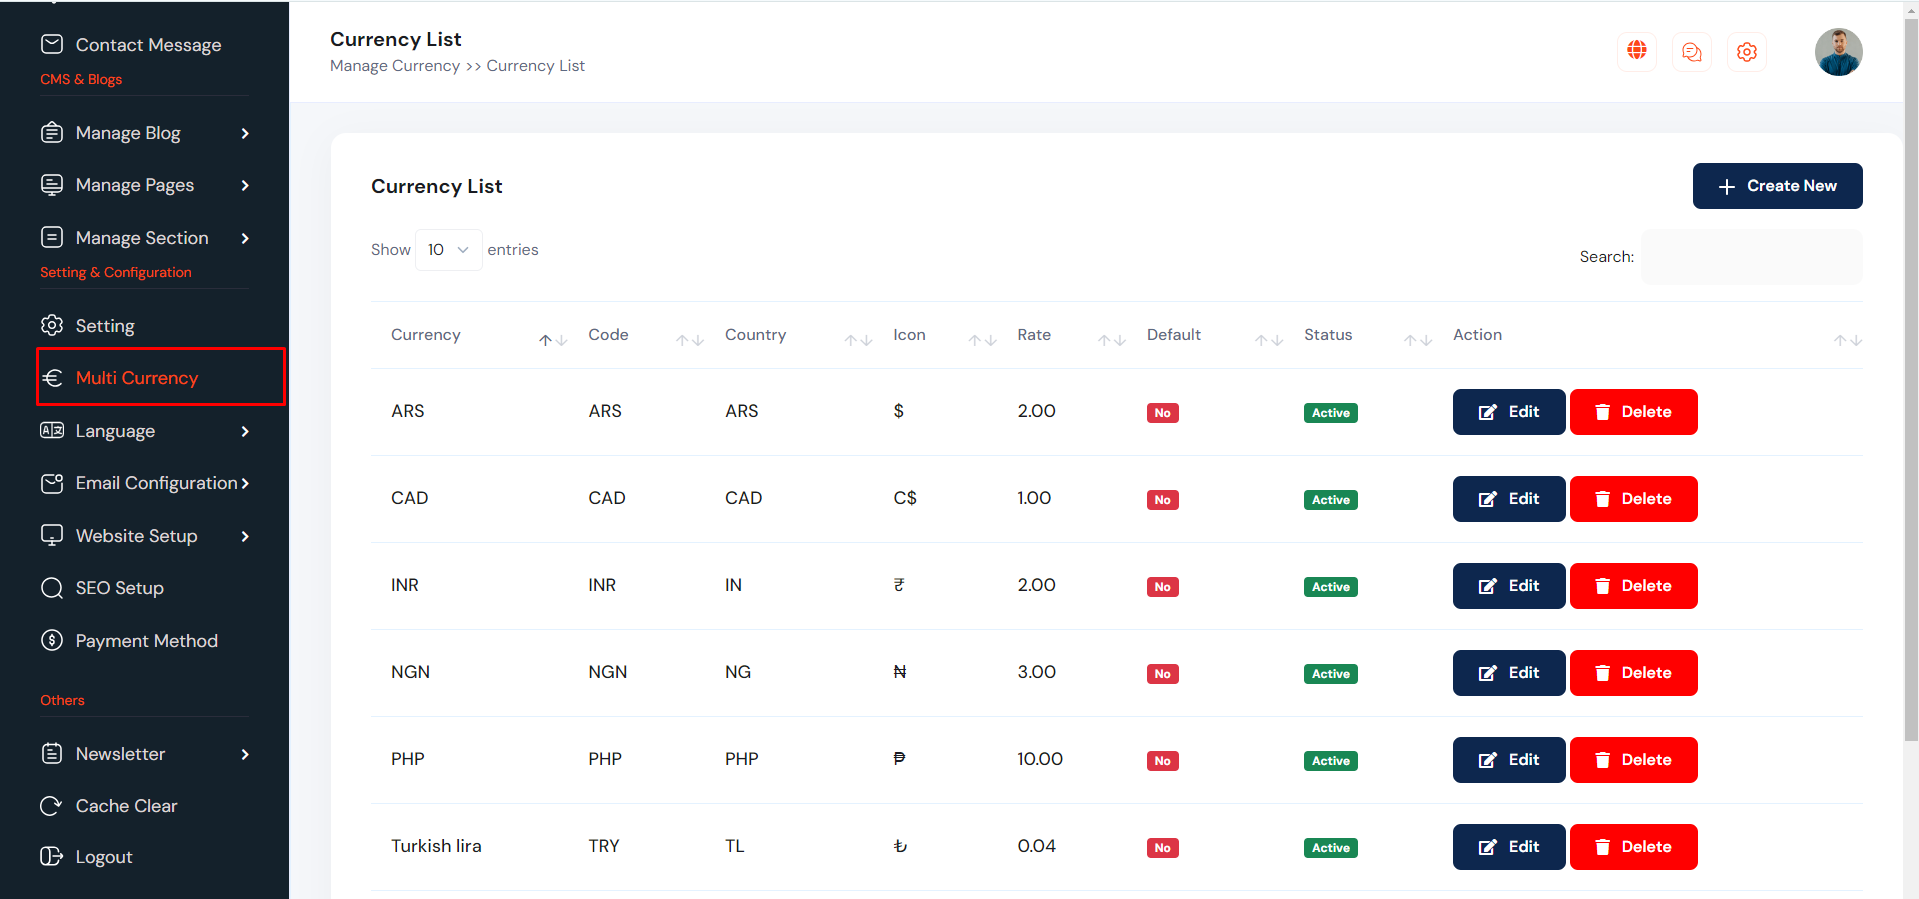
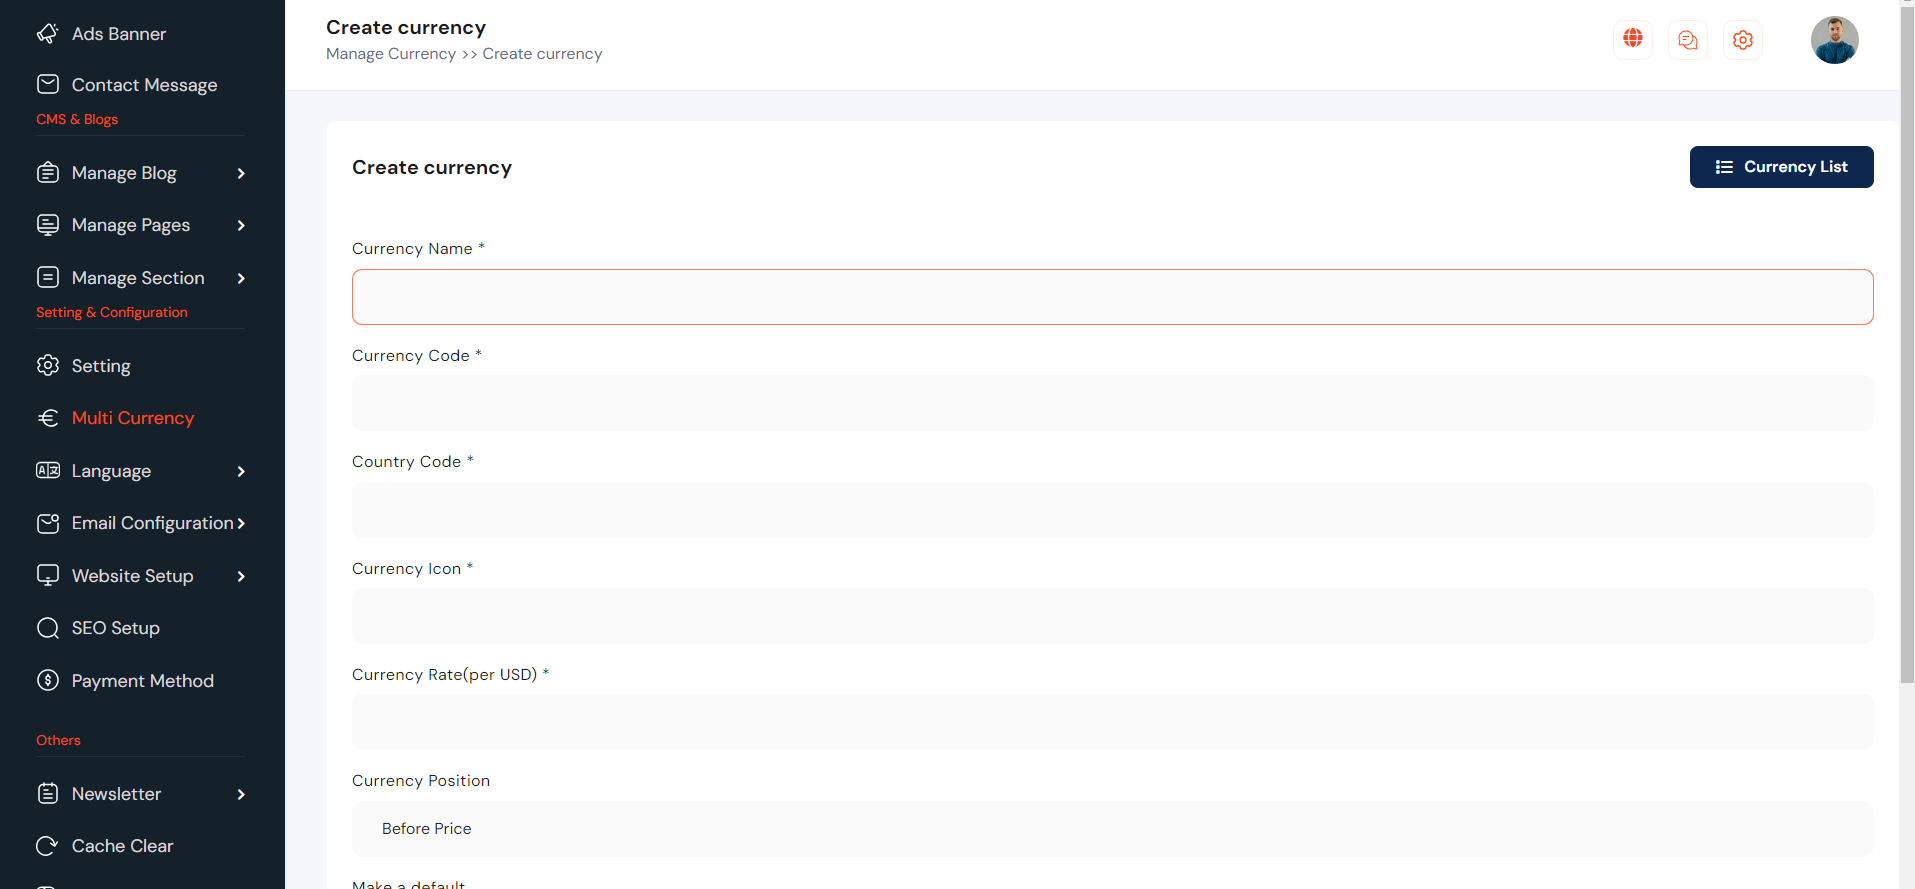
Multi Currency
Admin can be added unlimited currency with currency rate. he also able to add default currency. To create new currency go to "Multi Currency". see :
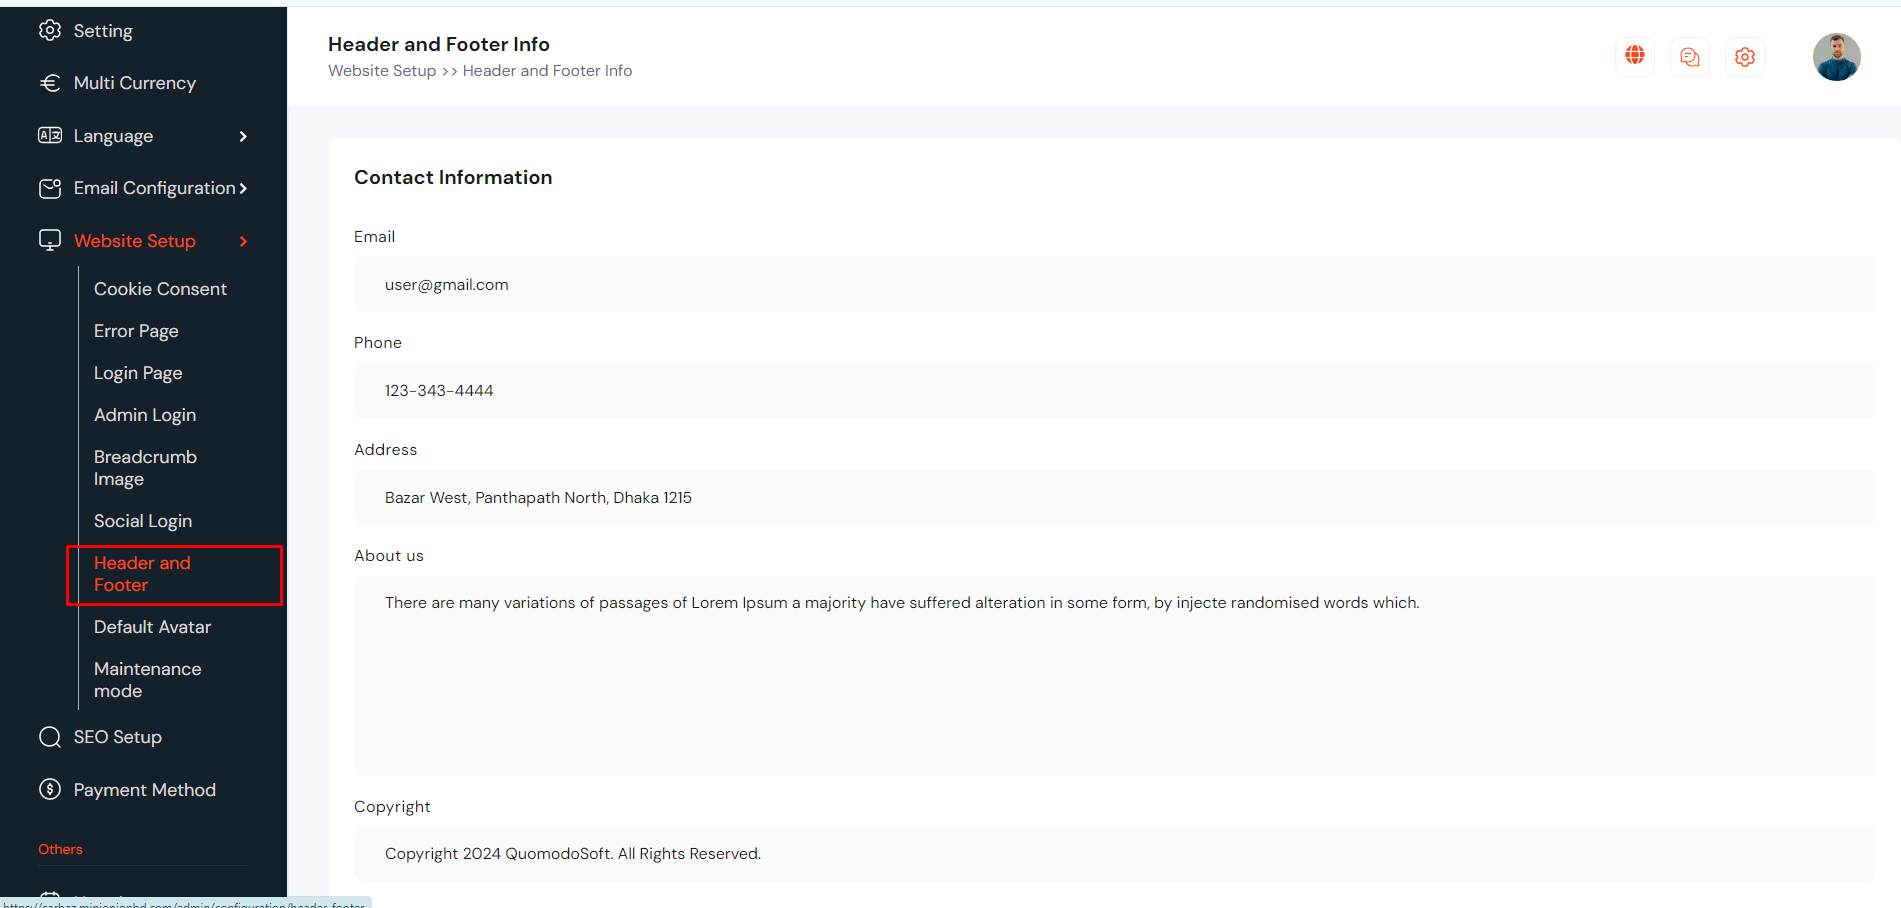
Website Header and Footer
Website Heaer and Footer information can be setup from here. Go to "Website Setup >> Header and Footer" from sidebar. See:
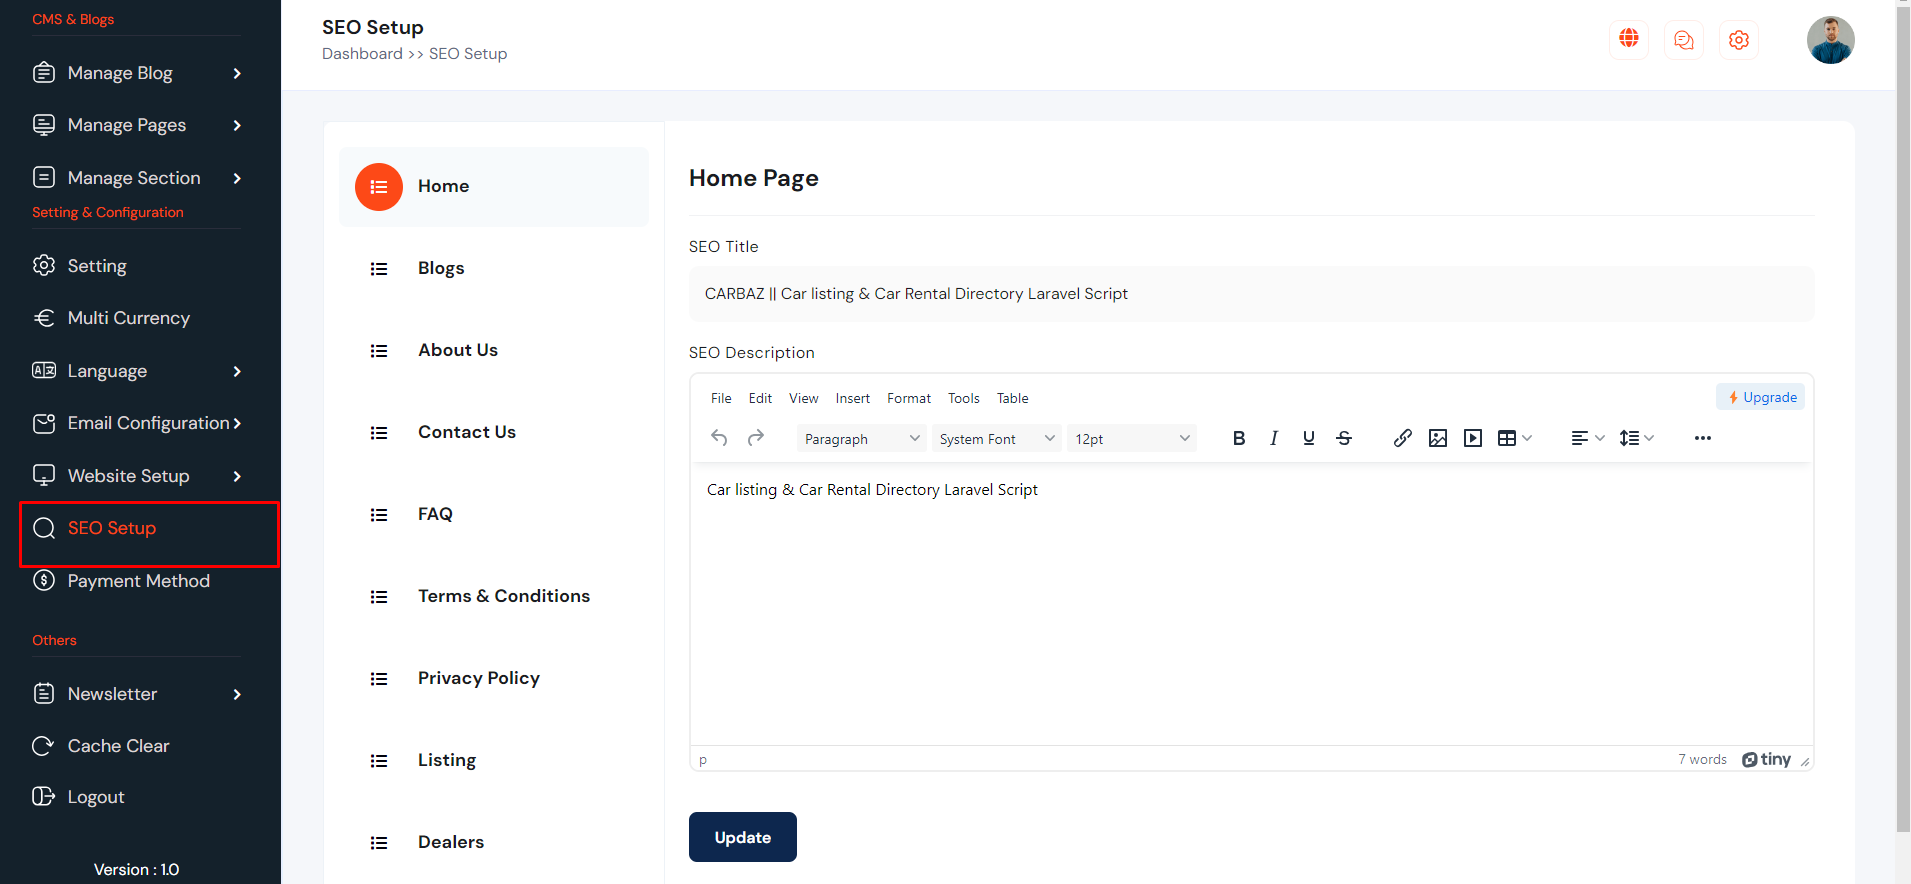
SEO Setup
SEO setting can be setup from the admin panel. Go to "SEO setup" from sidebar. See:
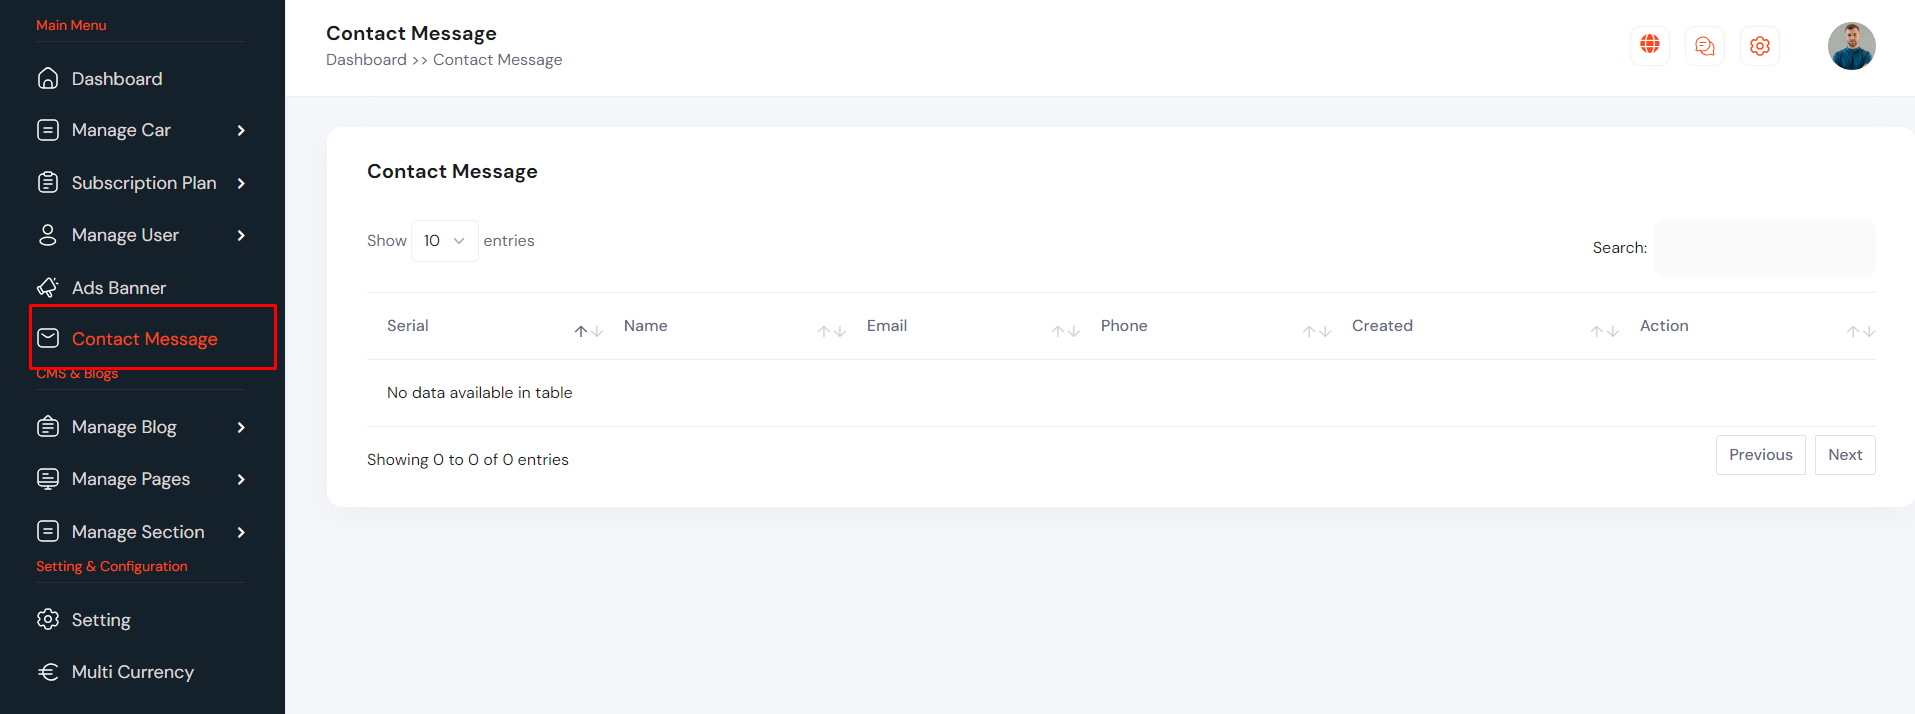
Contact Message
Contact Message can be manage from the admin panel. Go to "Contact Message" from sidebar. See:
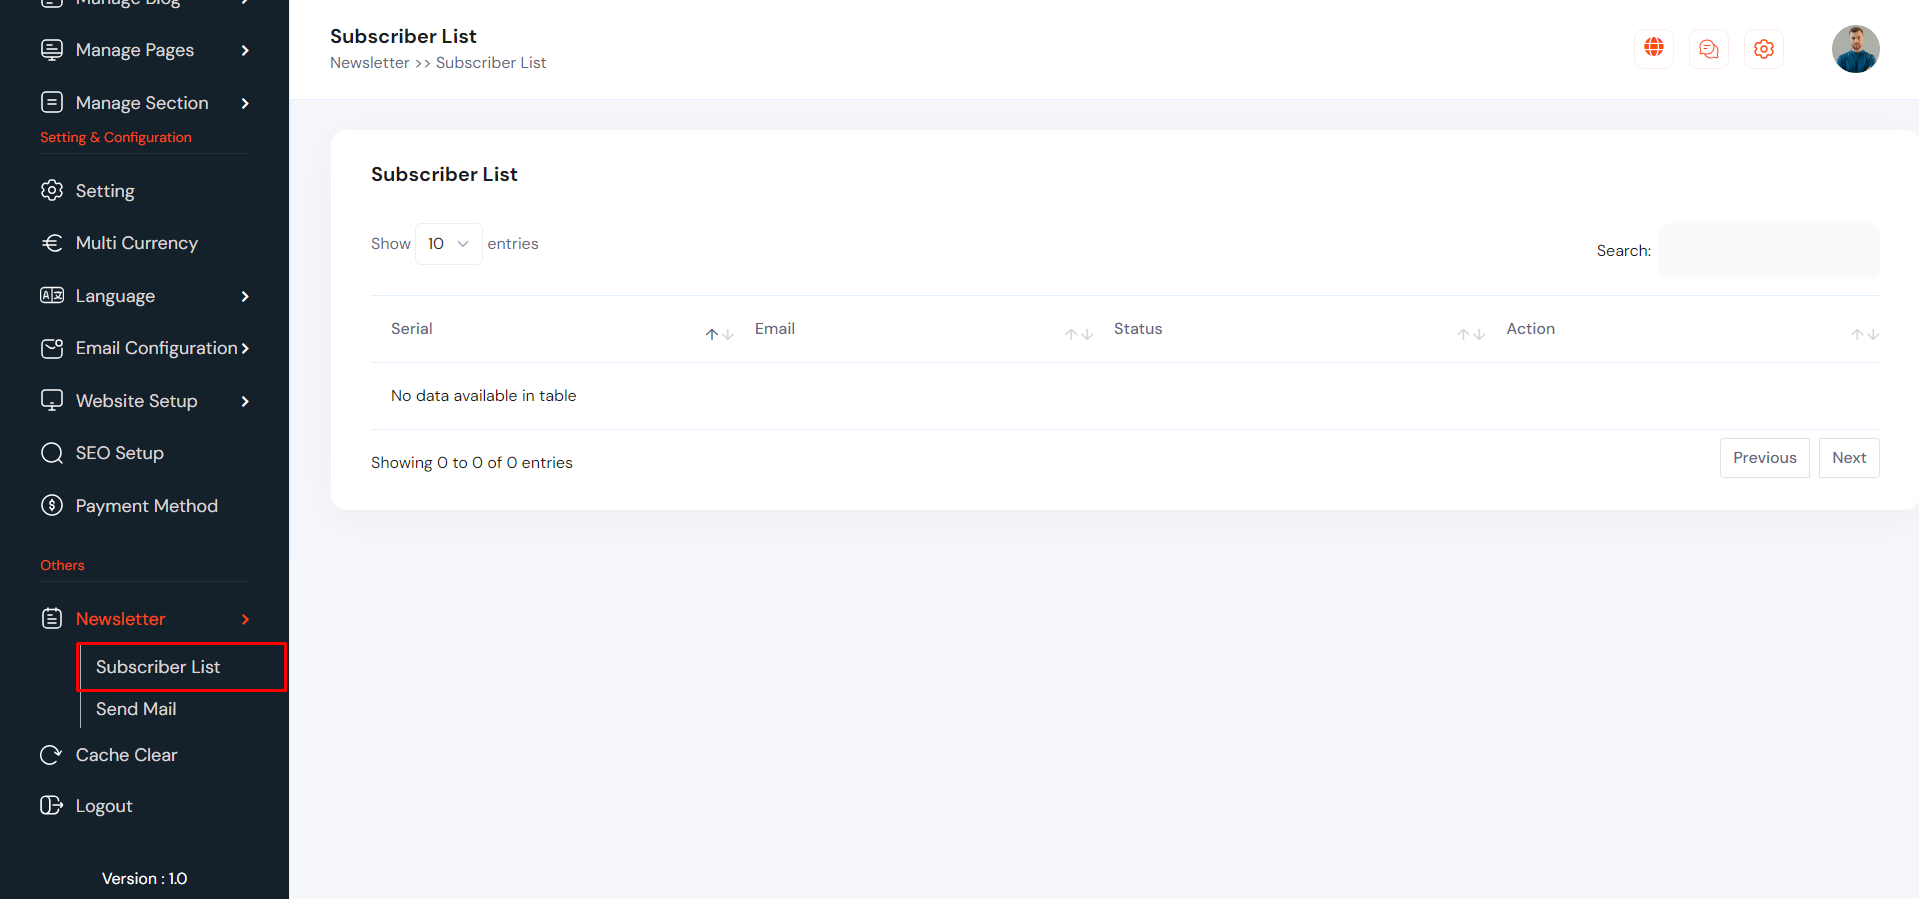
Newsletter
Newsletter email can be manage from the admin panel. Go to "Newsletter >> Suscriber List".See:
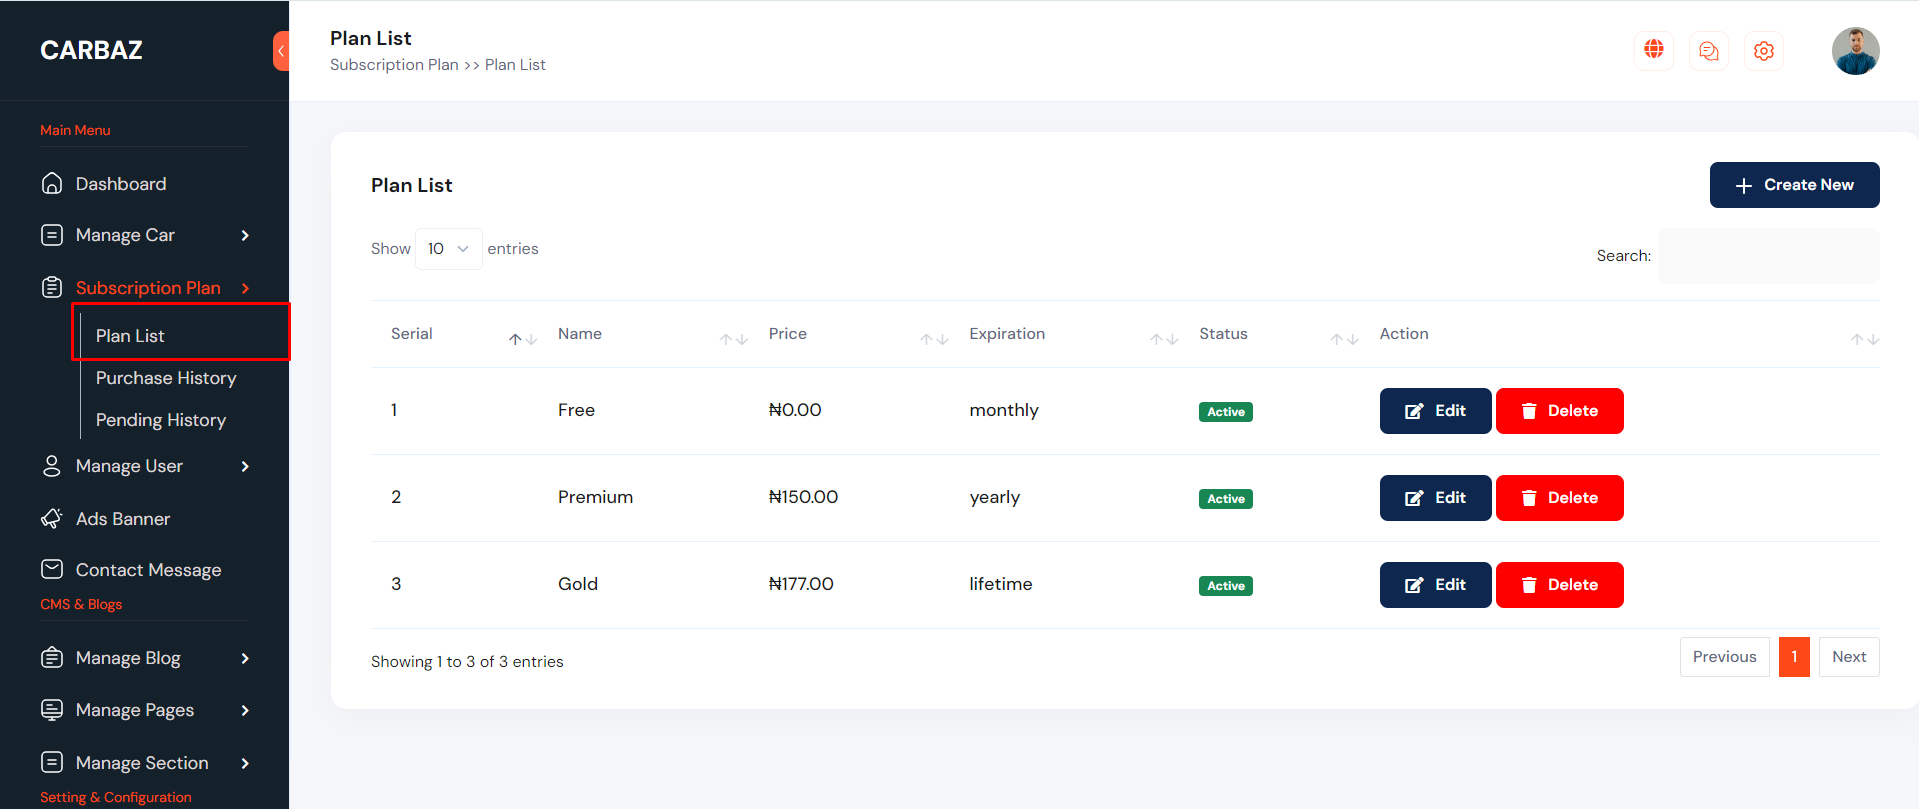
Subscription Plan
Admin can create unlimited subscription plan for dealer. To create new plan go to "Subscription Plan >> Plan List". See:

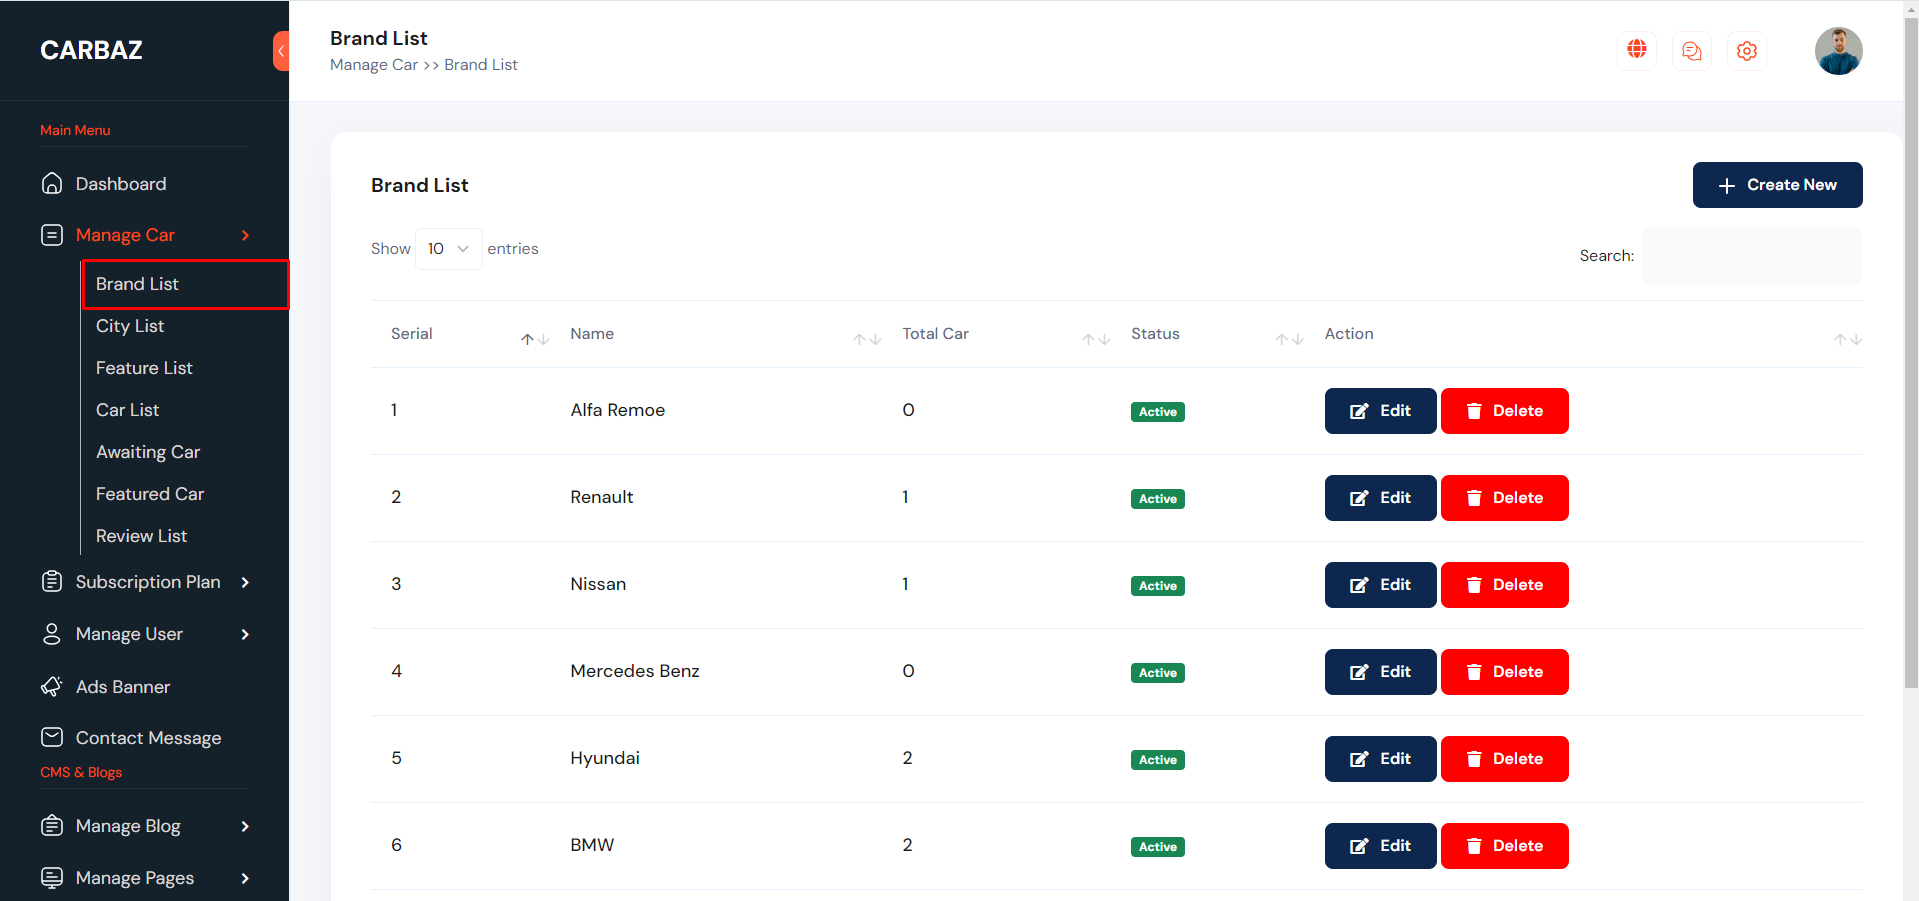
Car Brand
Car Brand can be manage from the admin panel. Go to "Manage Car >> Brand List". See:

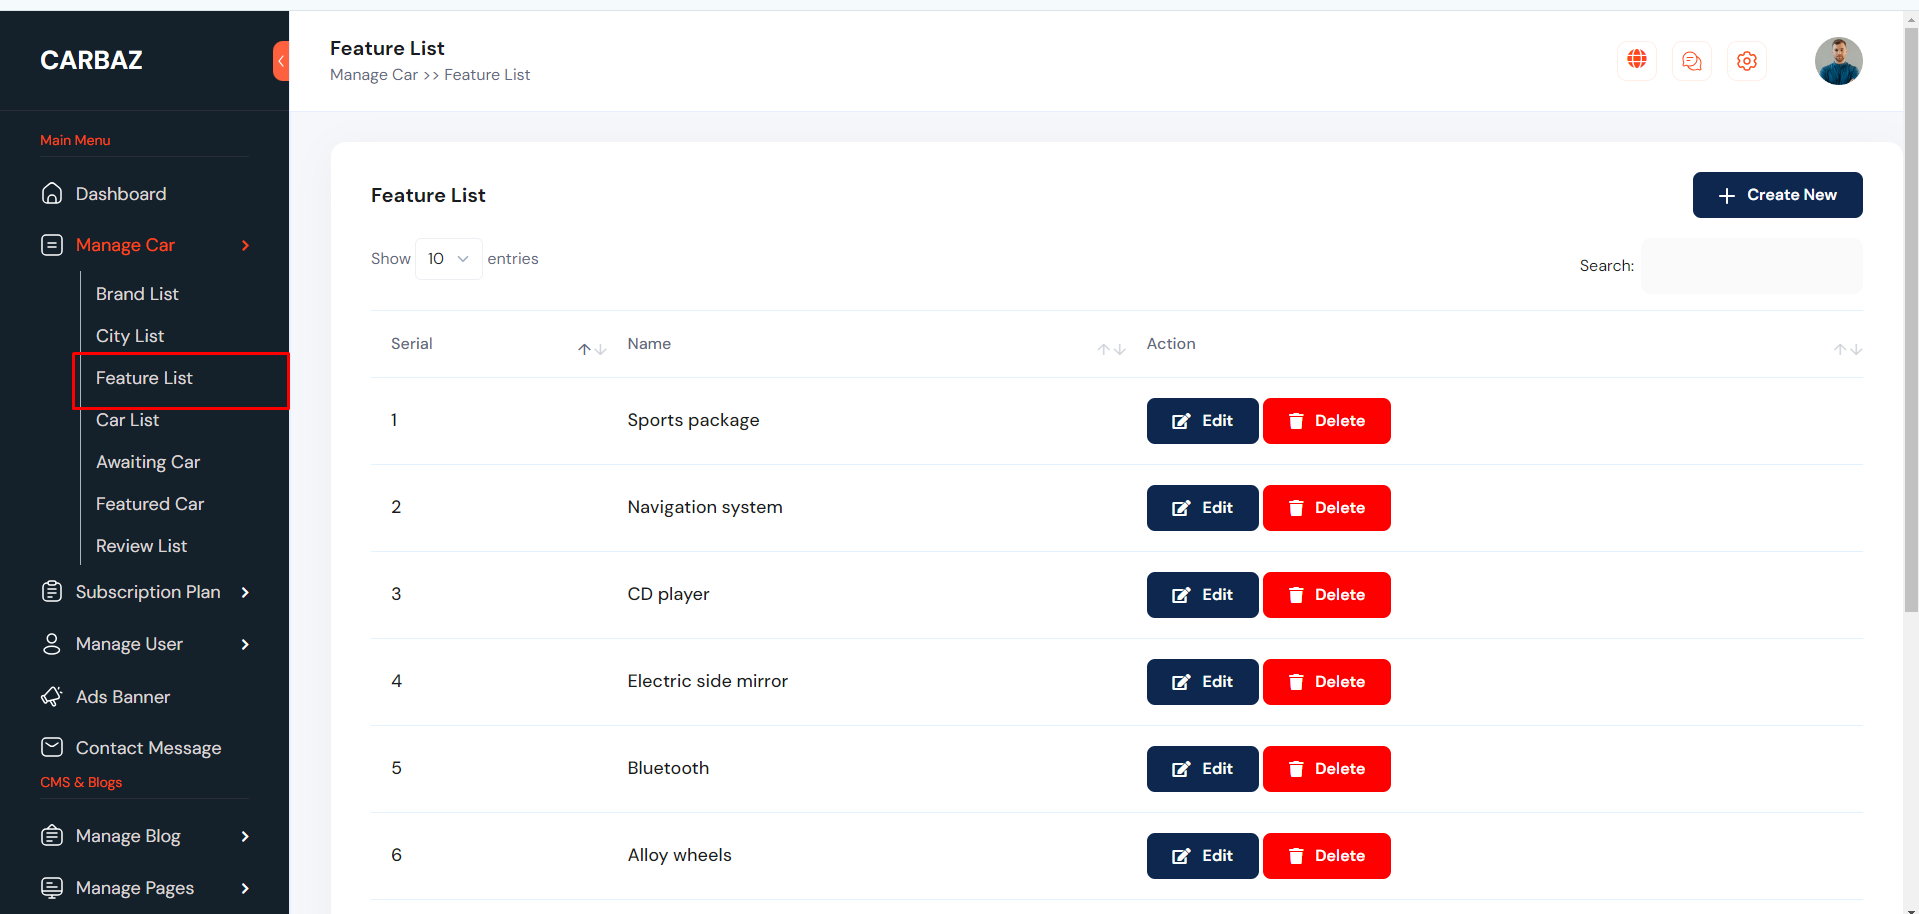
Car Features
Car Feature can be manage from the admin panel. Go to "Manage Car >> Feature List". See:

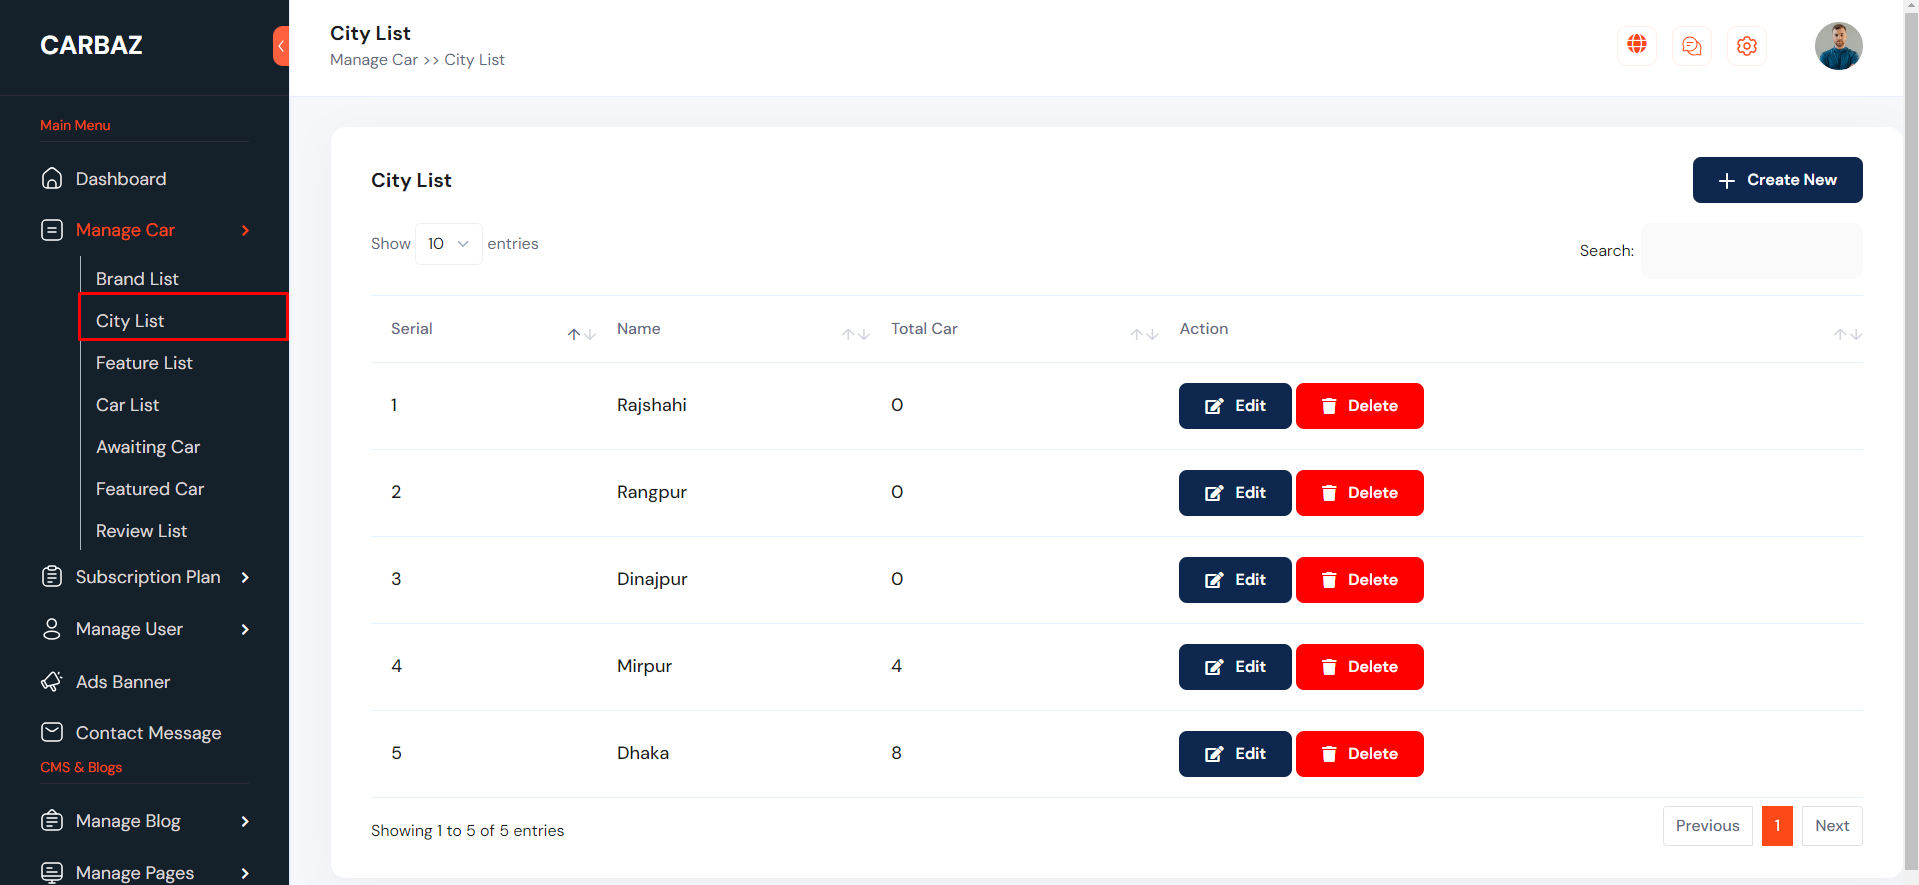
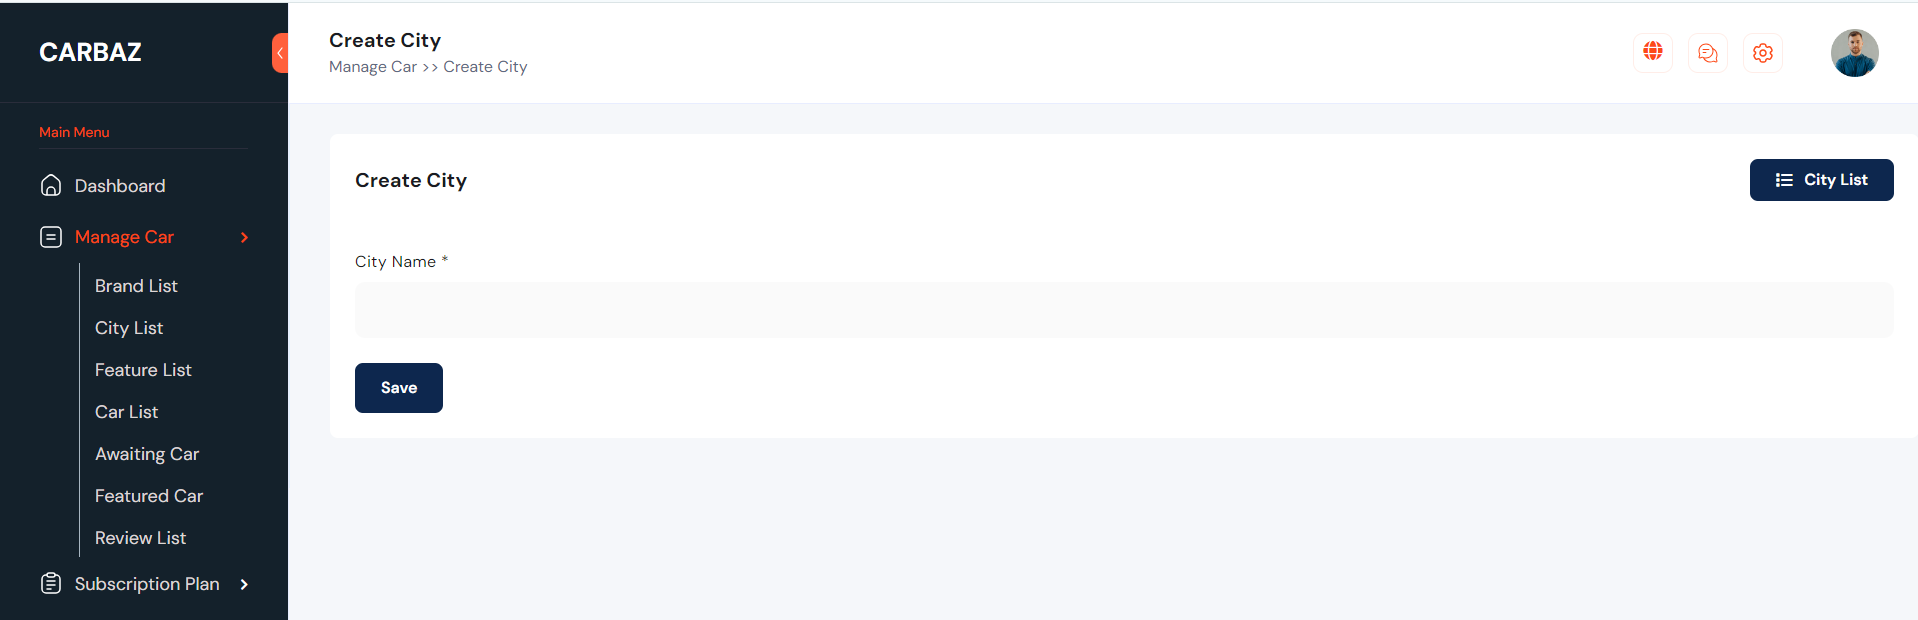
City / Location
City / Location can be manage from the admin panel. Go to "Manage Car >> City List". See:
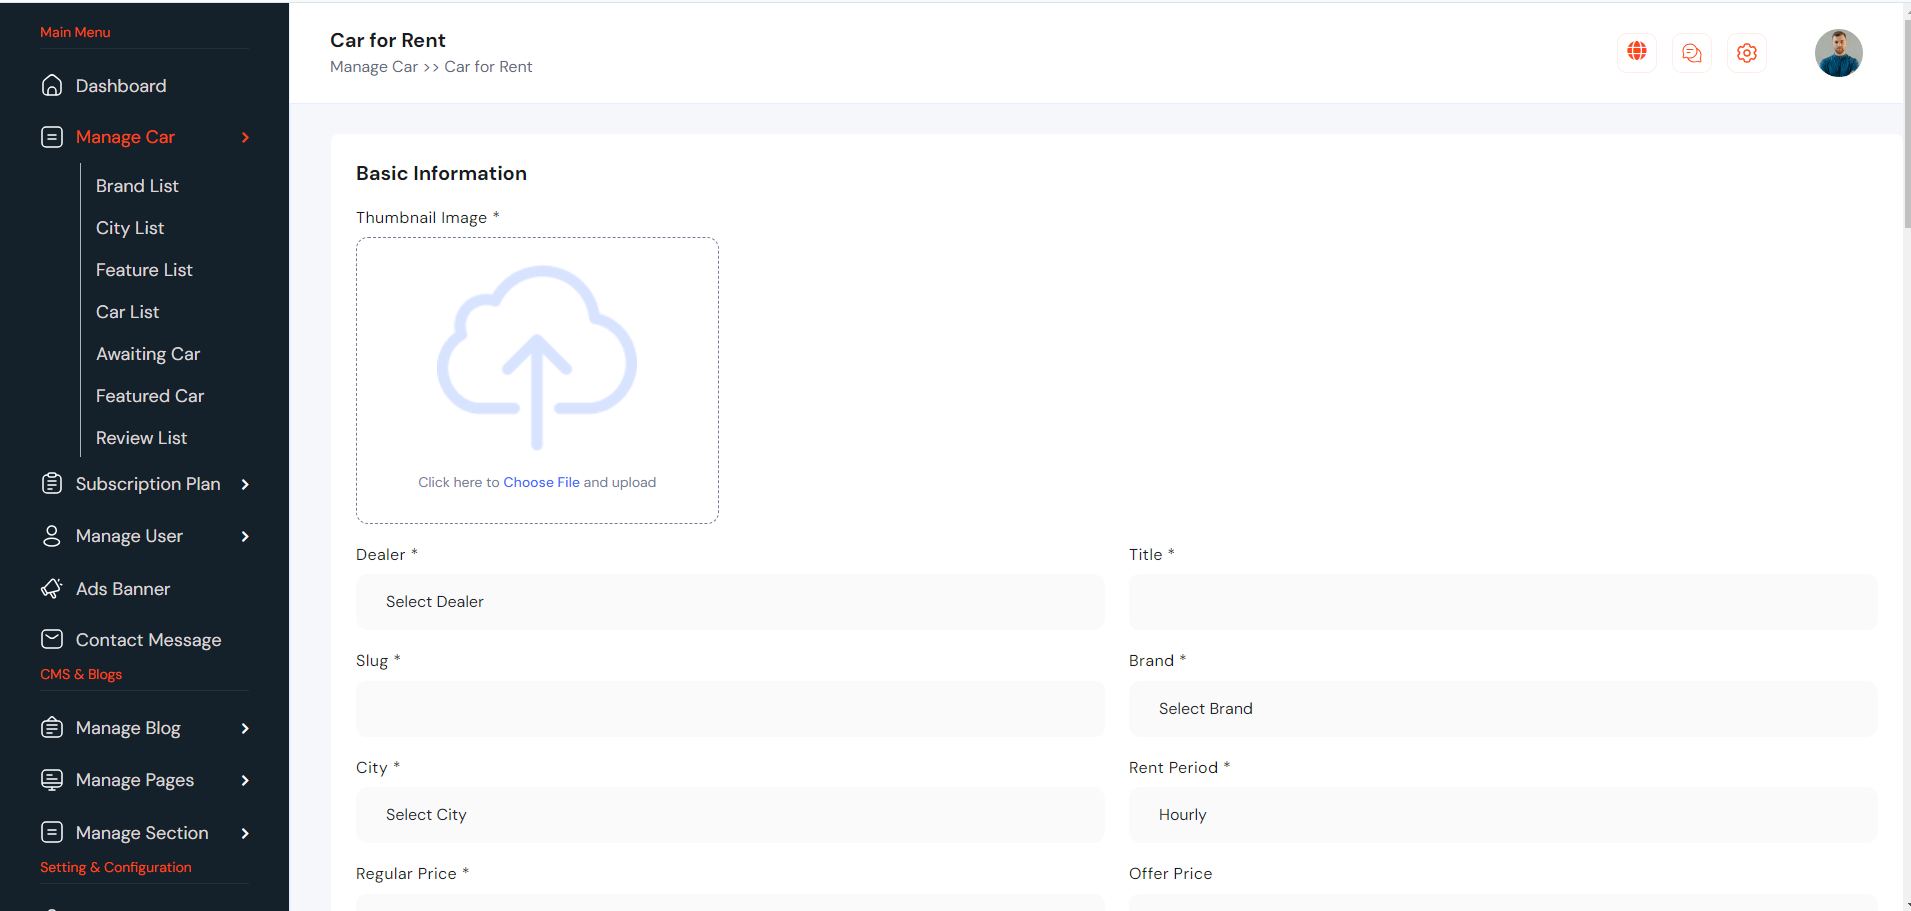
Manage Car
In this section admin can be manage the car. he can add new car for rent/sale, he can make featured car. He can also approval dealer car request. To create new car go to "Manage Car >> Car List". See:


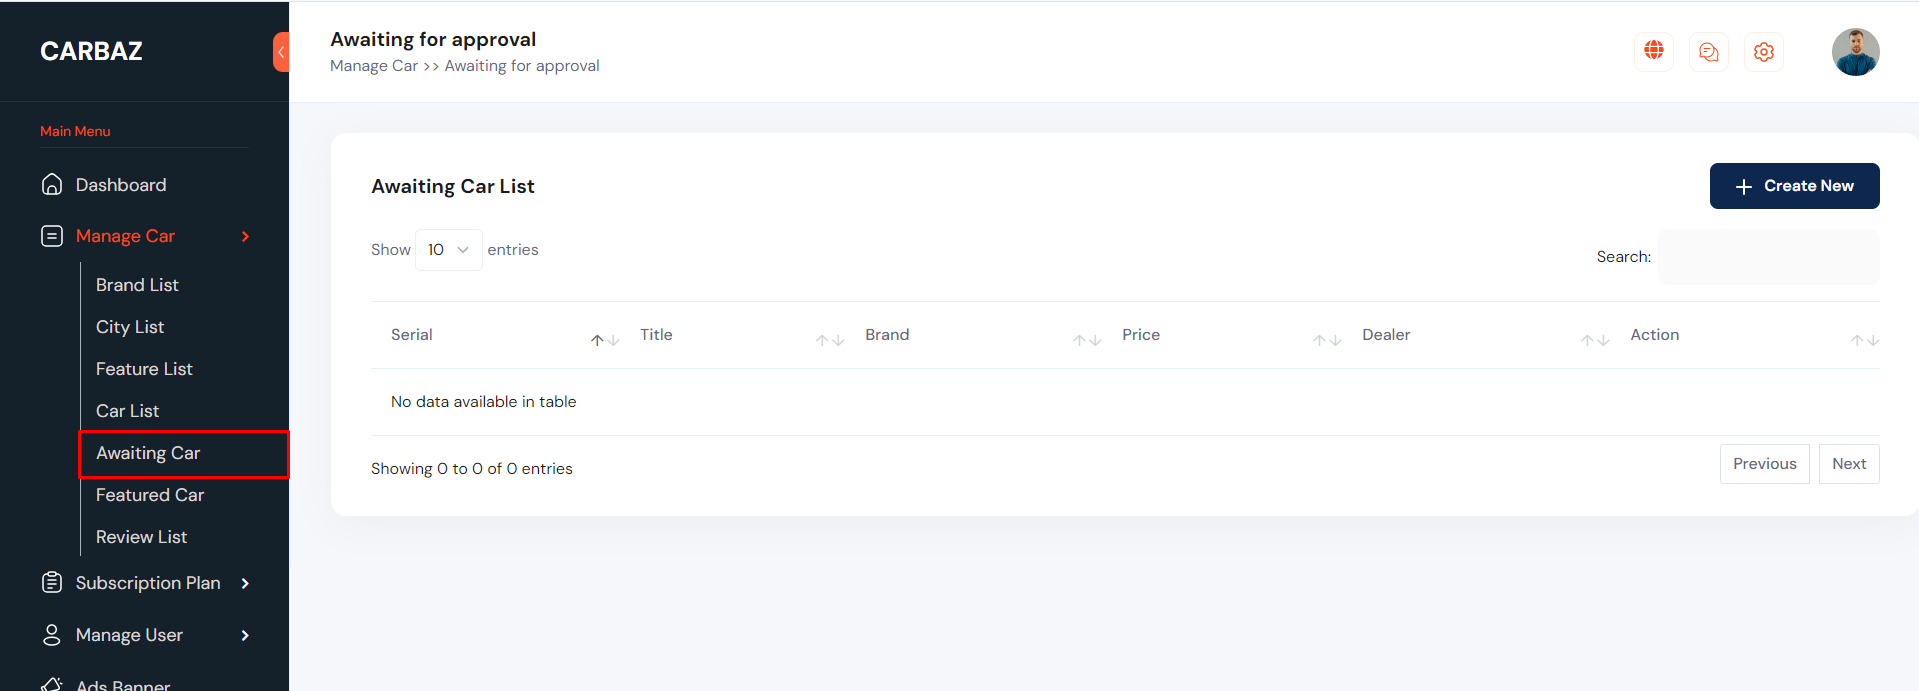
He can see the dealer car request list from here. see:
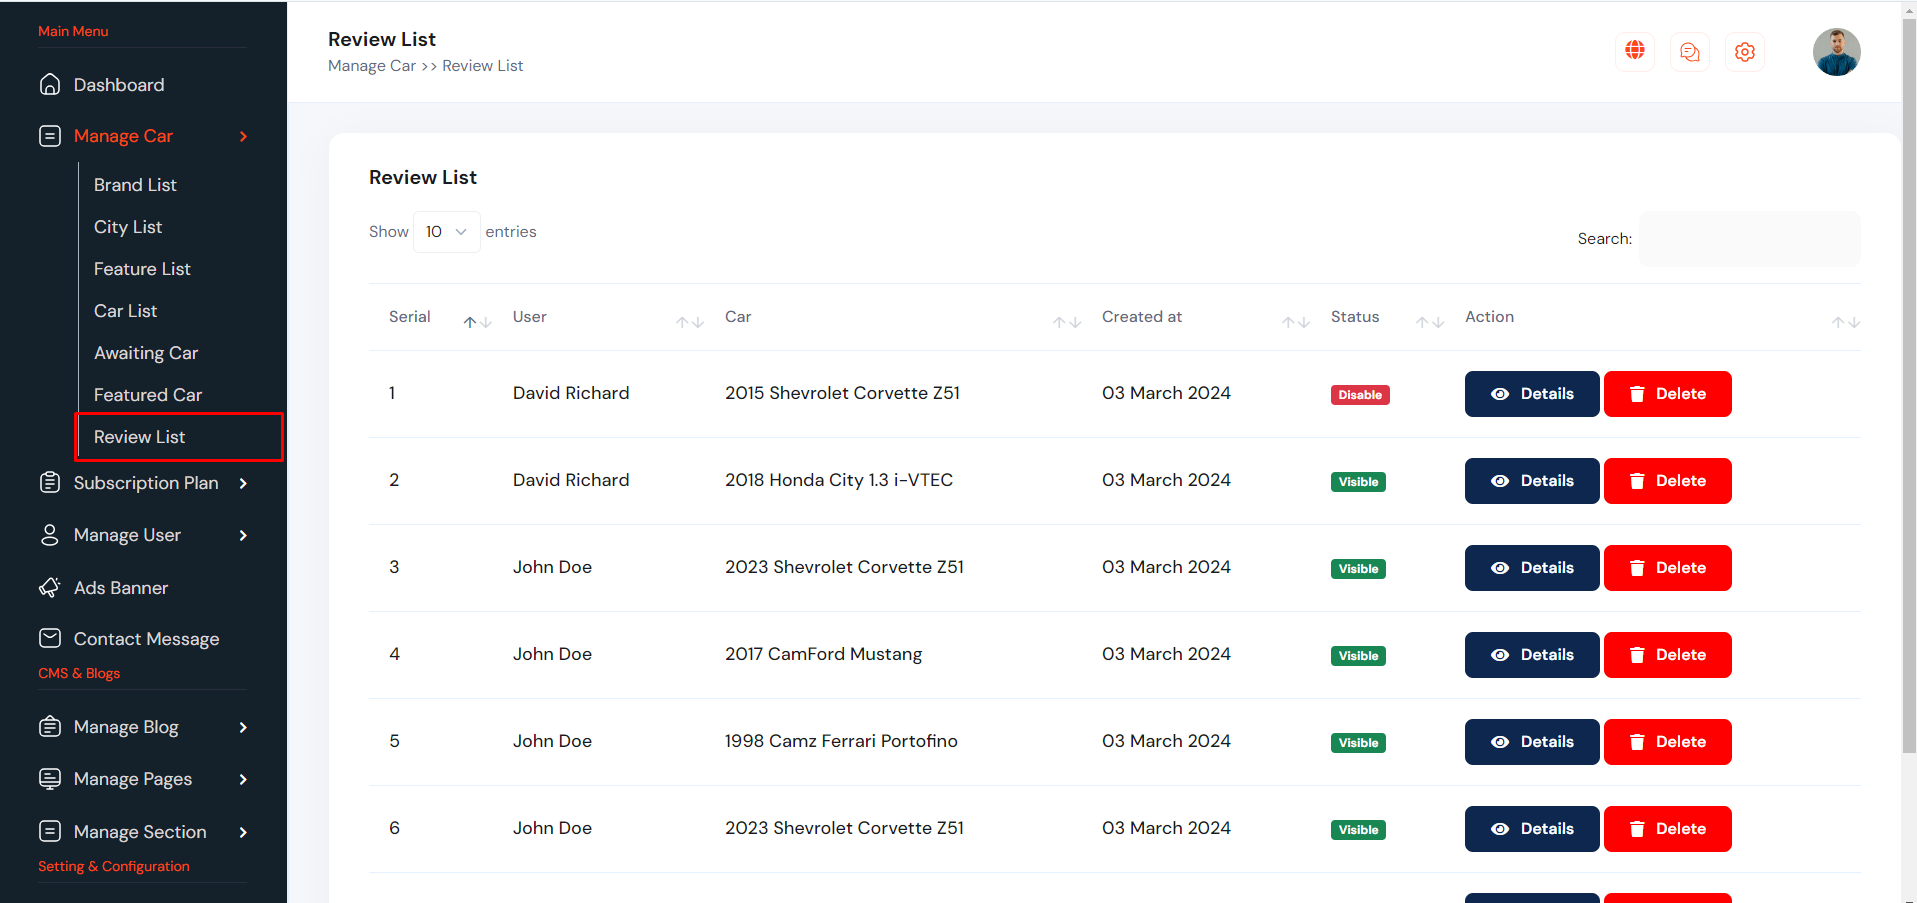
Car Review
Car Review can be manage from the admin panel. Go to "Manage Car >> Review List" from sidebar. See:
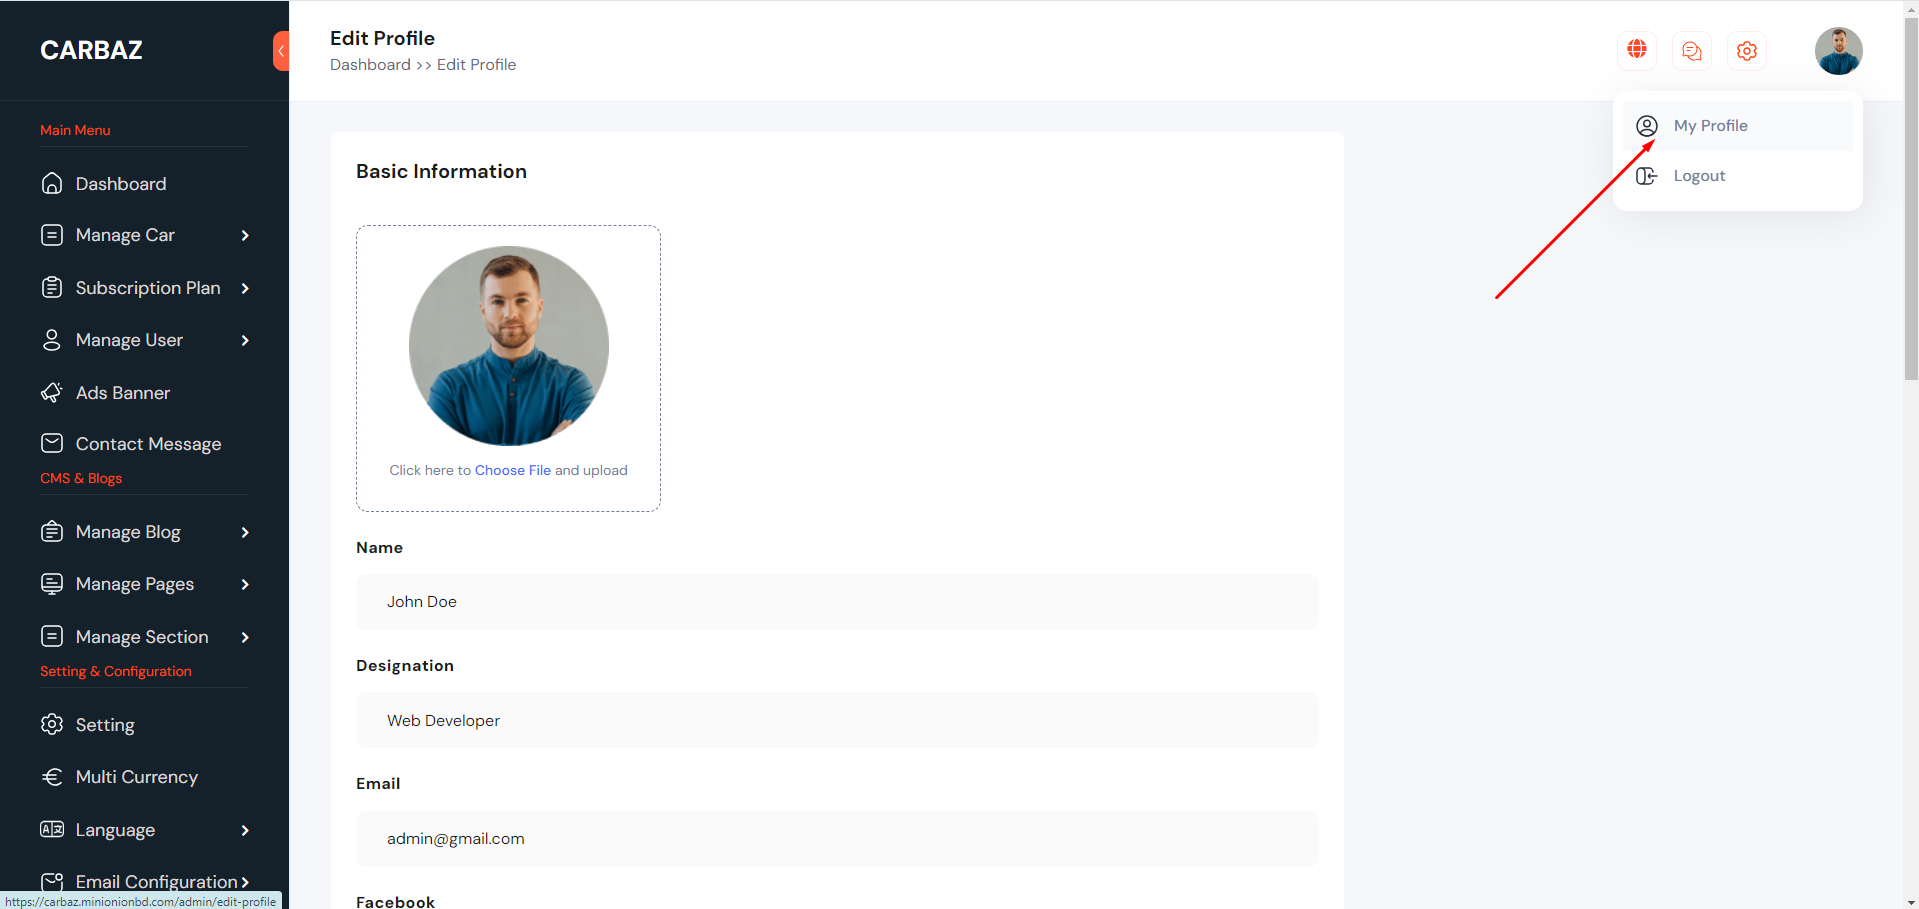
Admin Profile
Admin can change personal information and password from topbar. See:
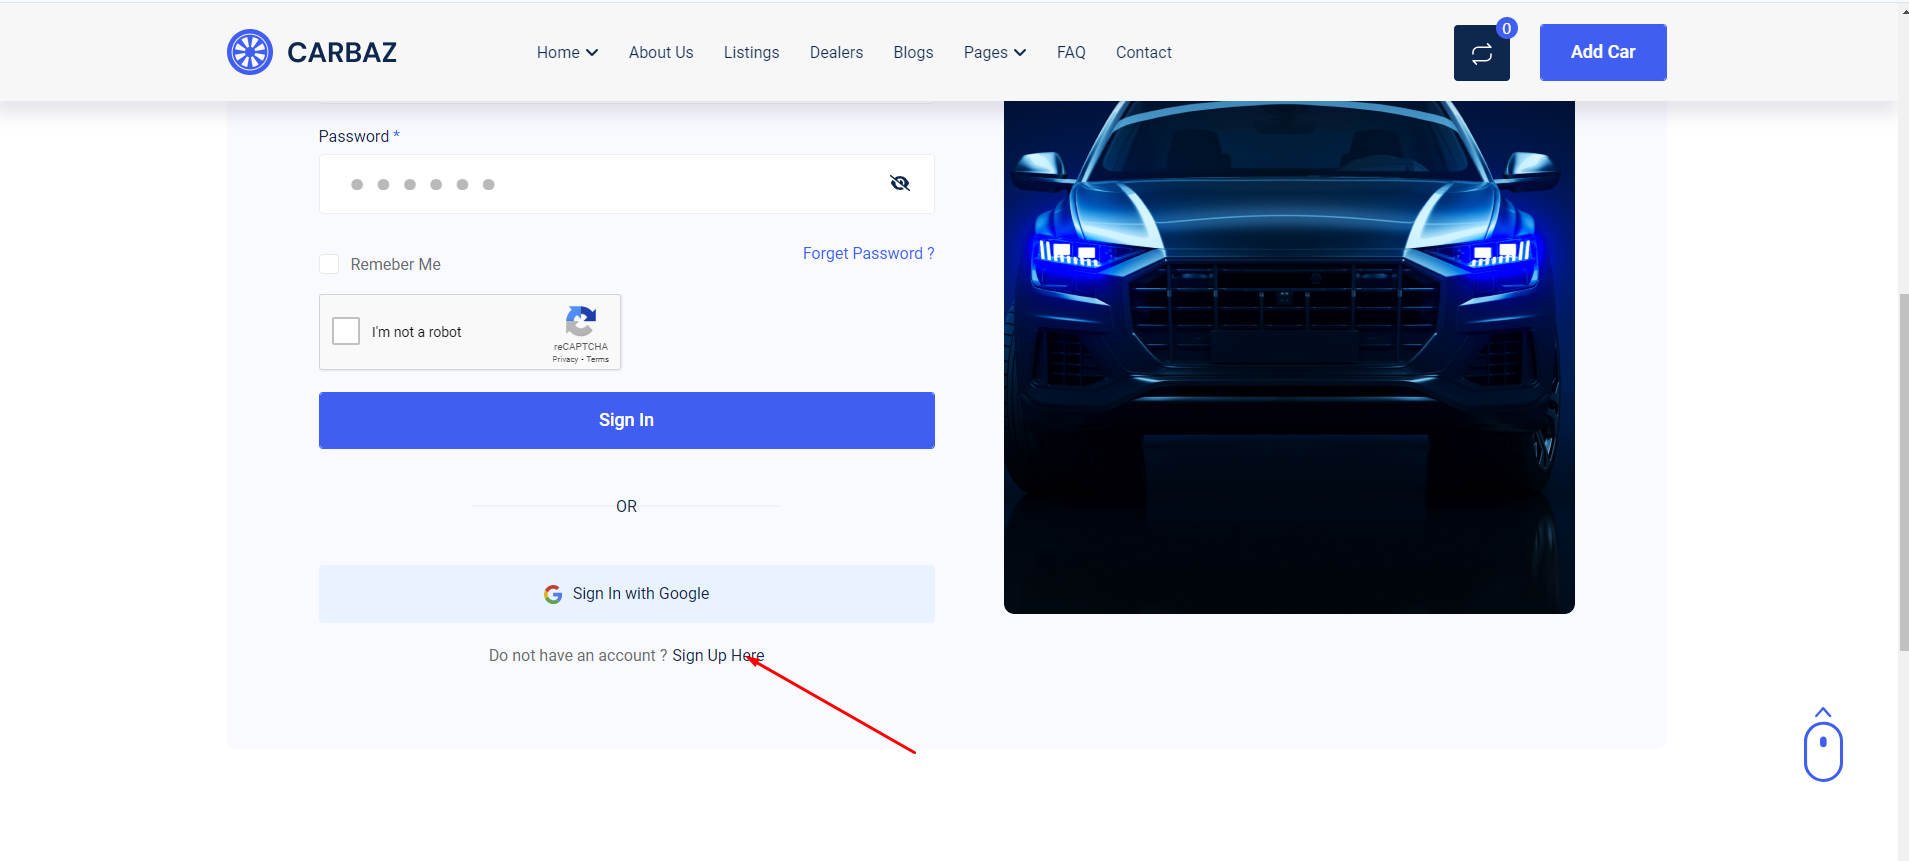
User/Dealer Registration
From the top menu, User can click on registration.
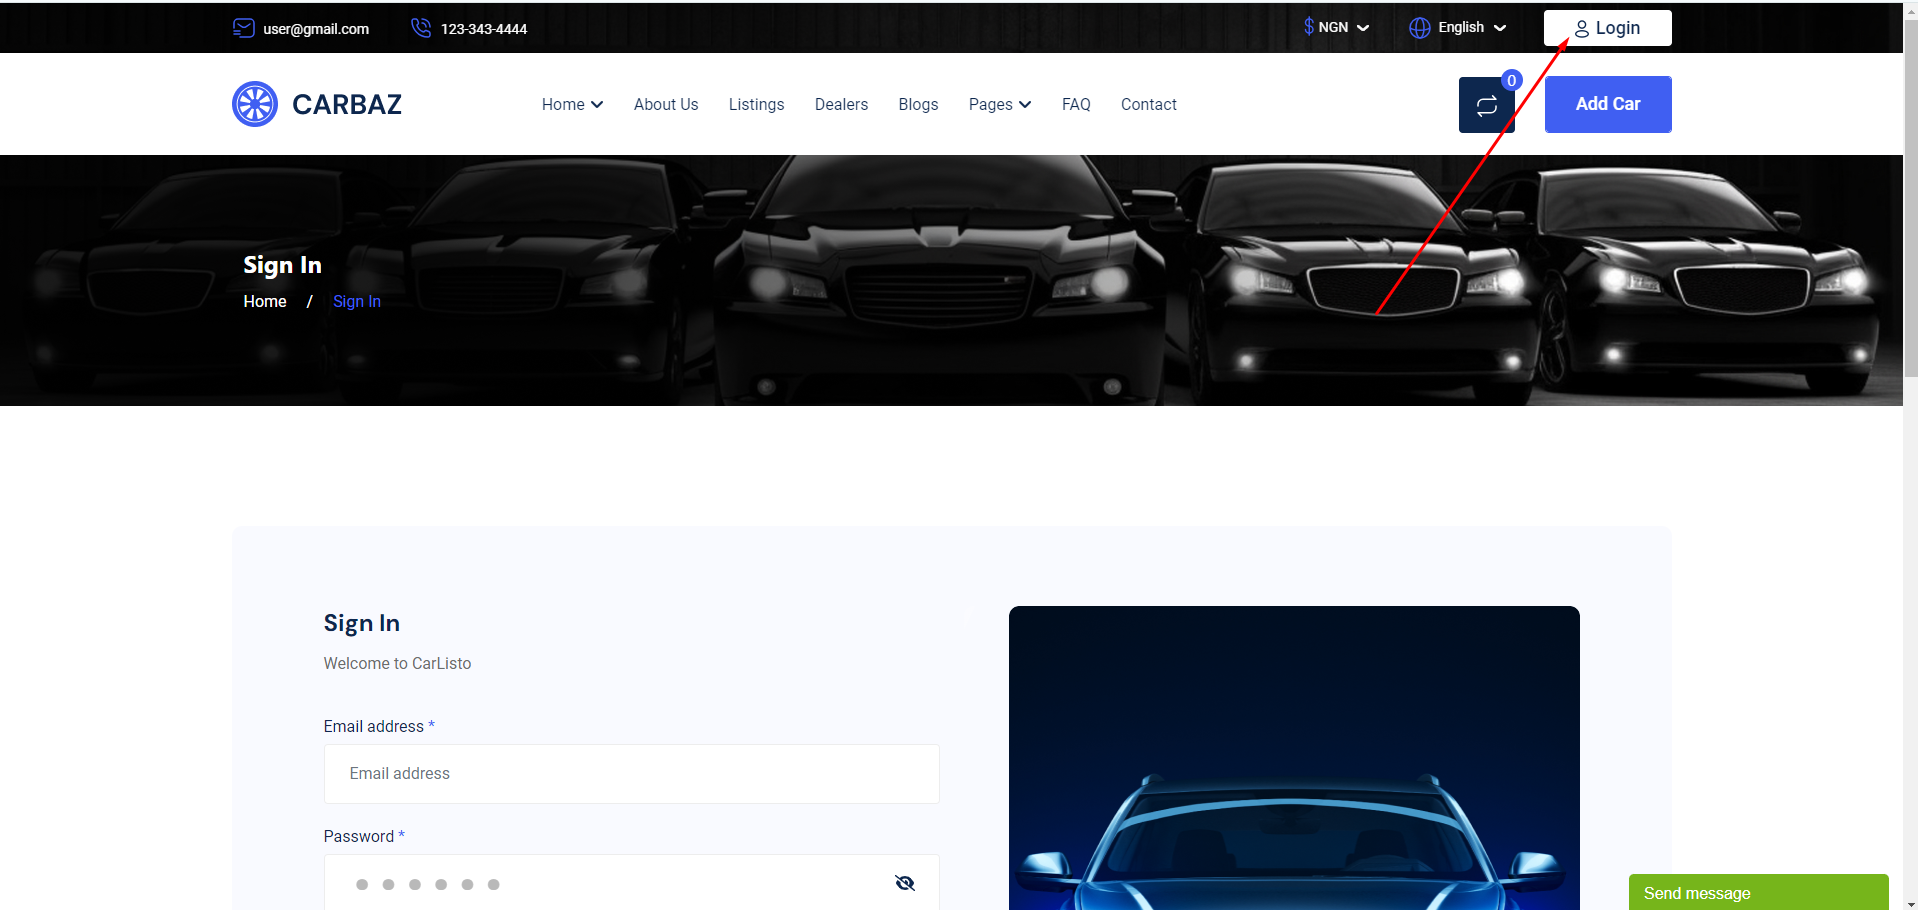

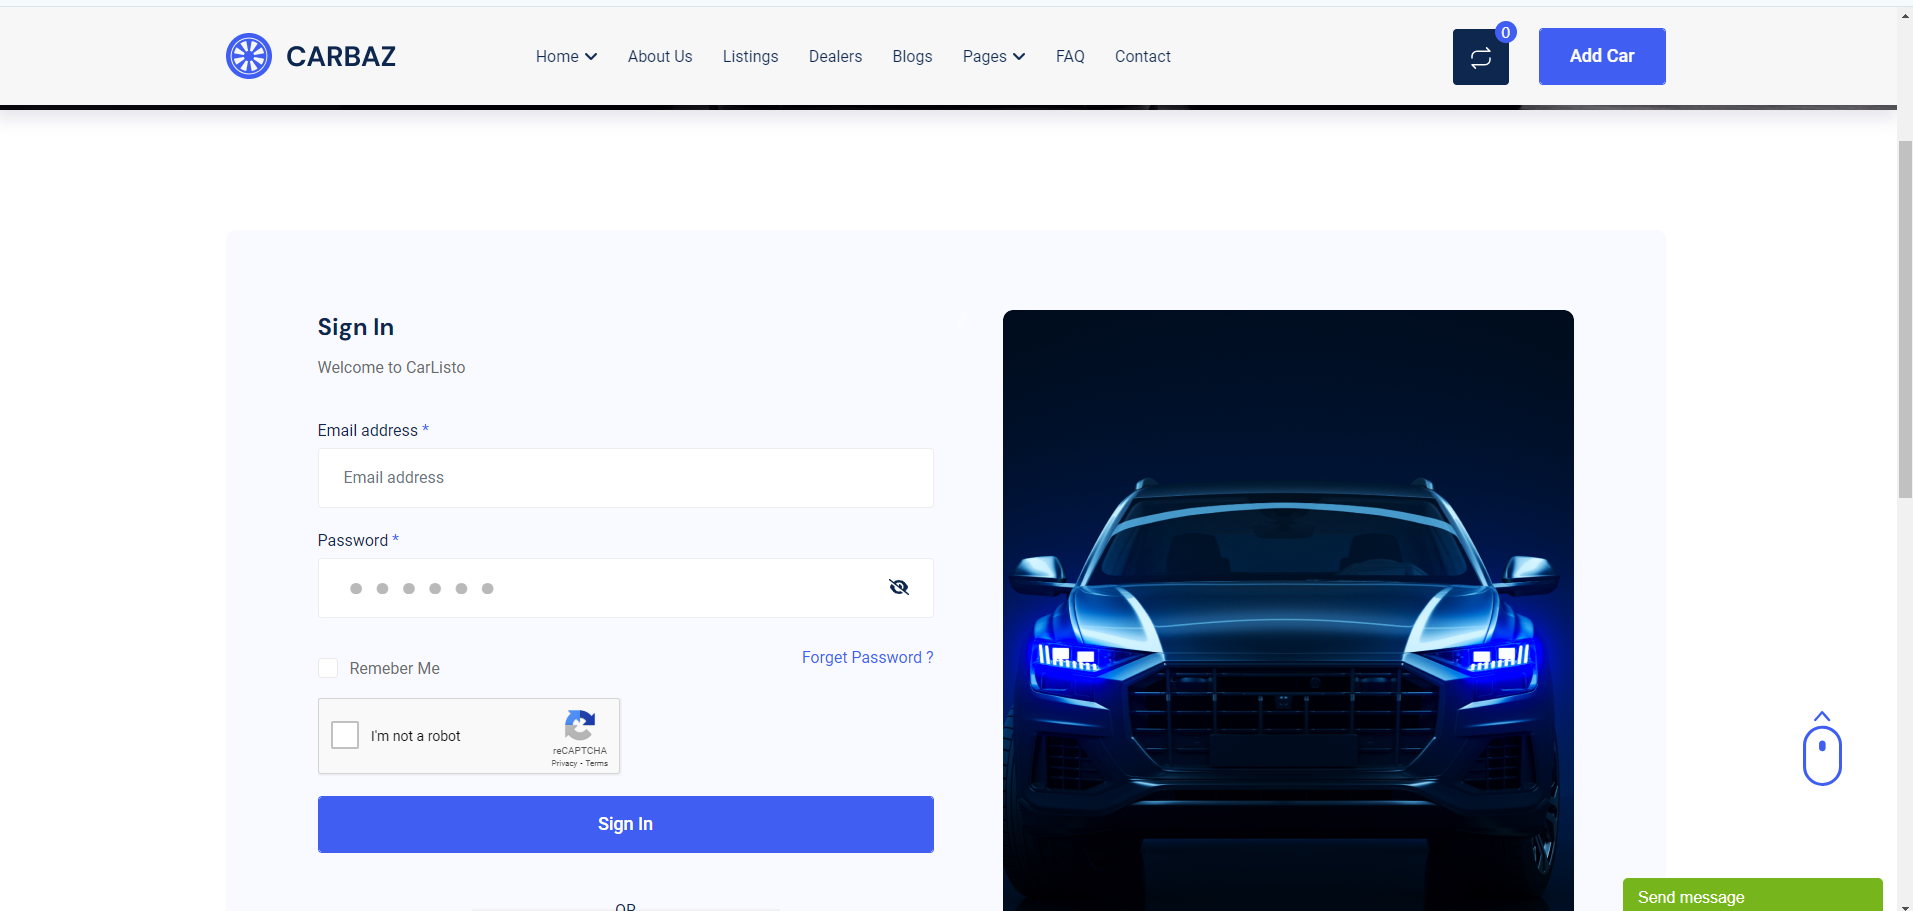
User/Dealer Login
From the top menu, User can click on Login.
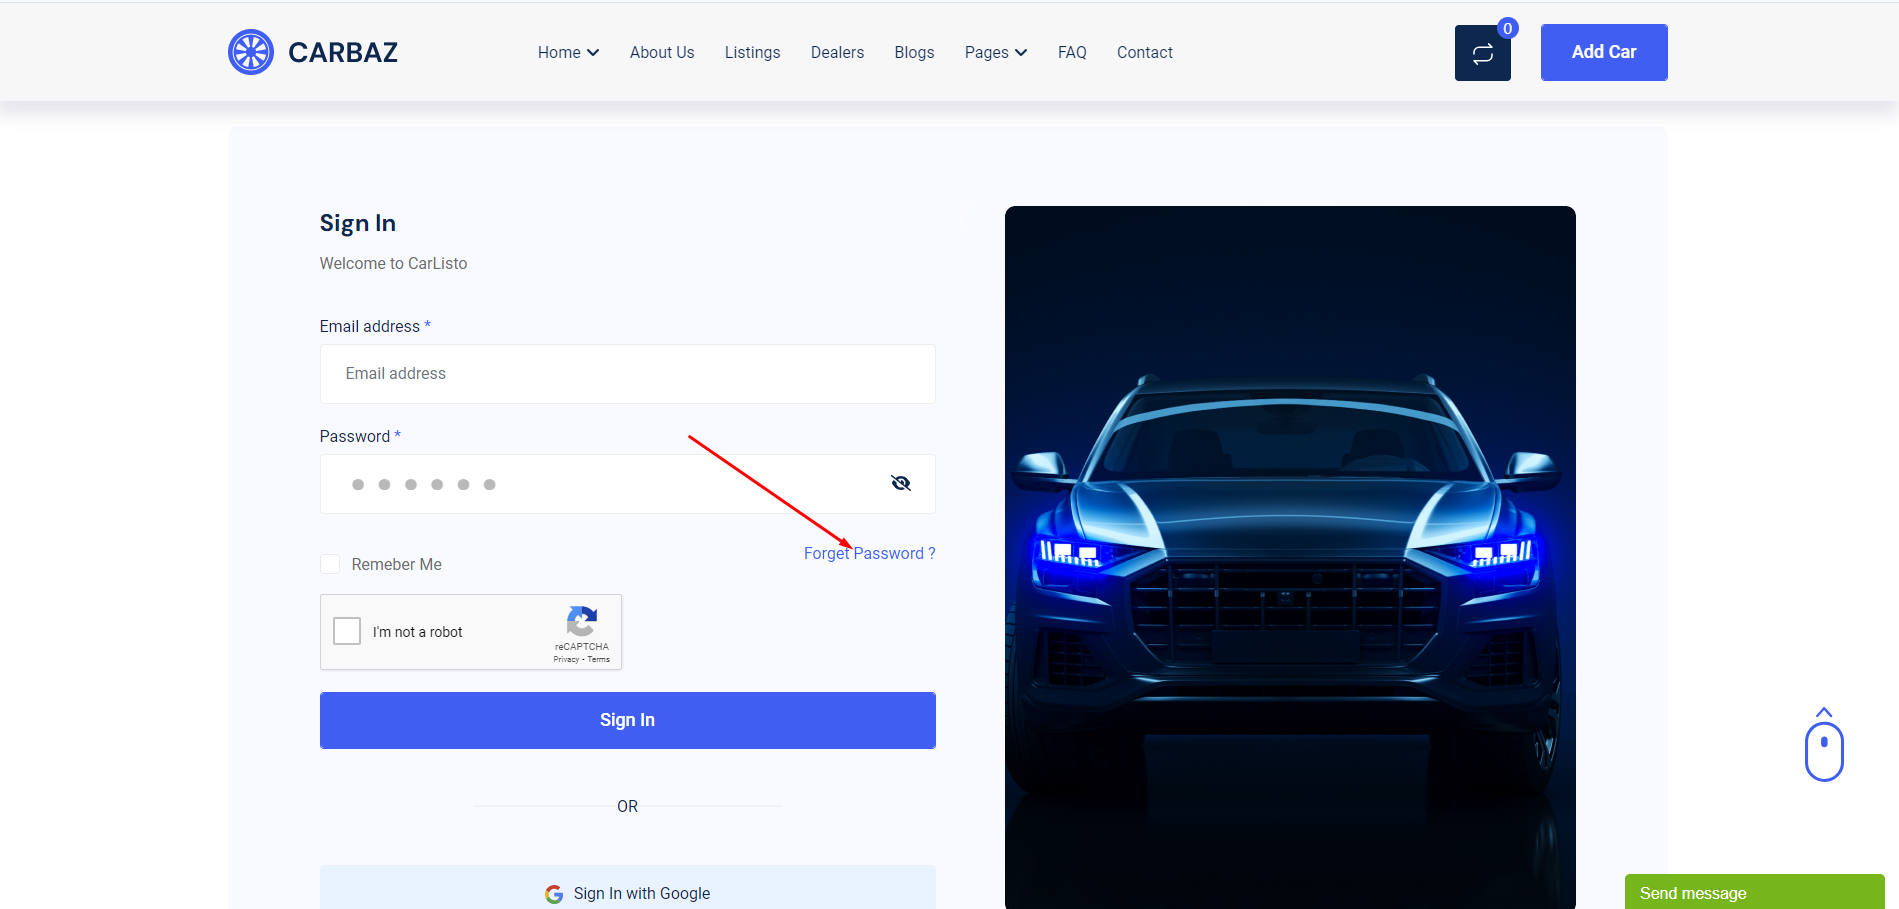
User Forget Password
In the login page, there is a link to reset the password if User forgets the existing password.
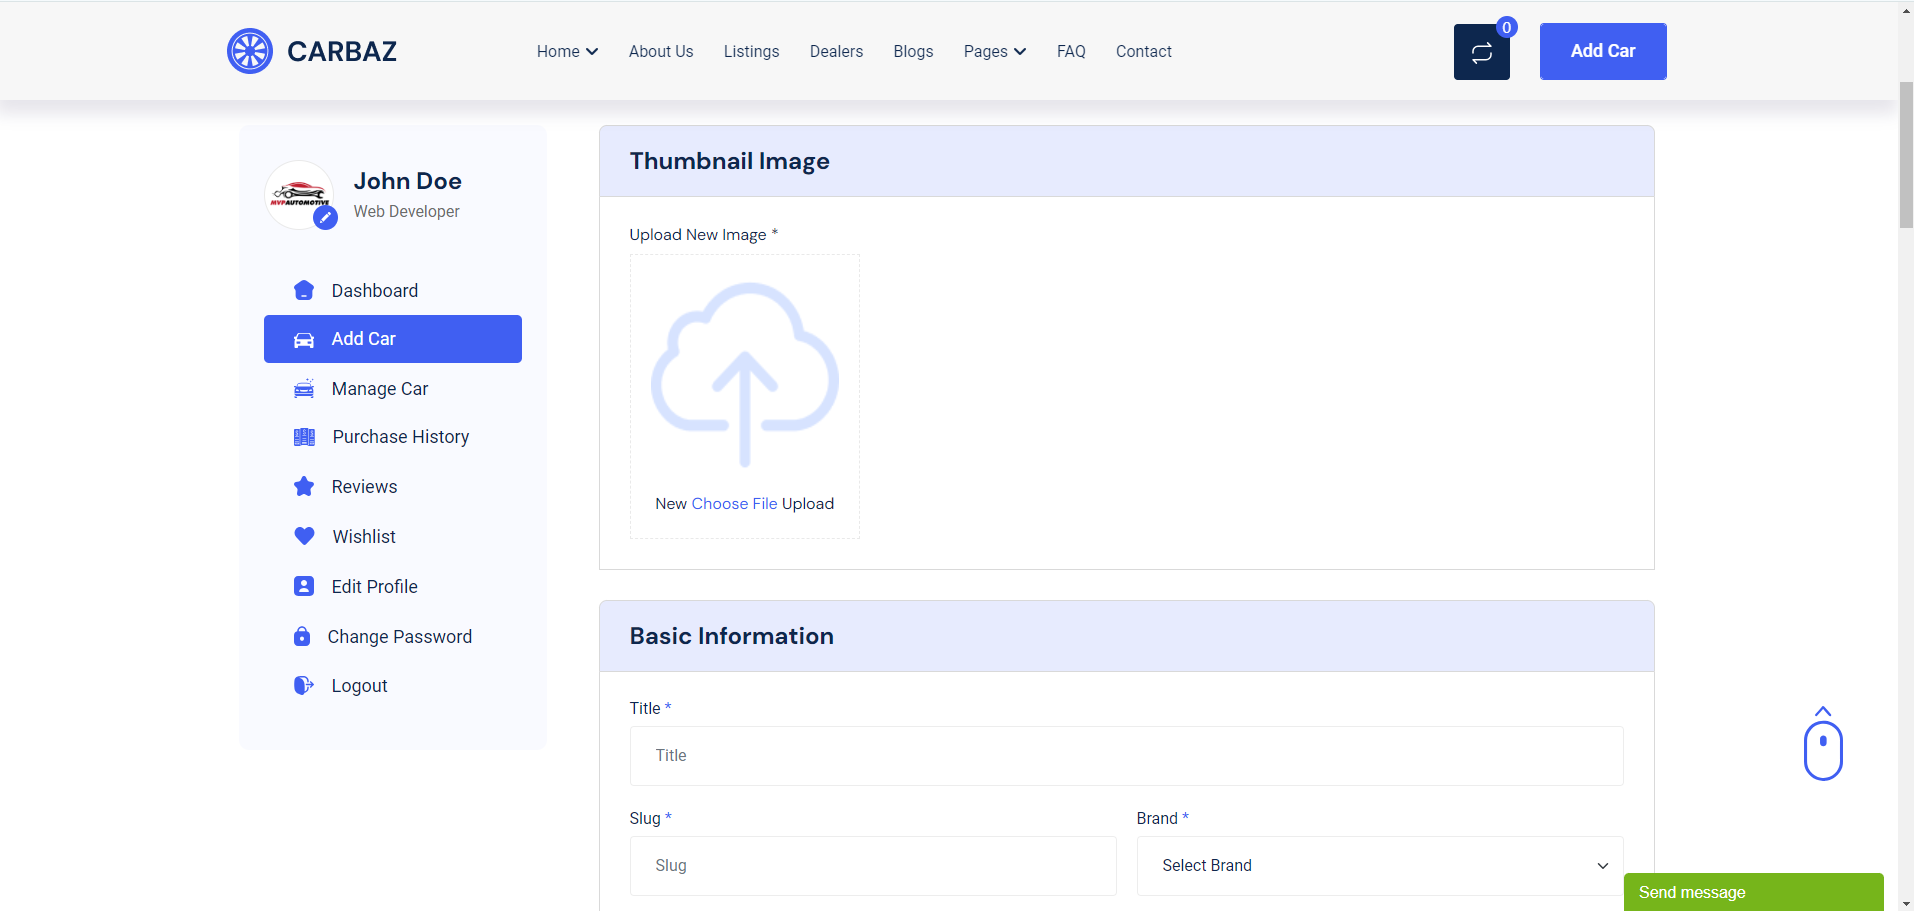
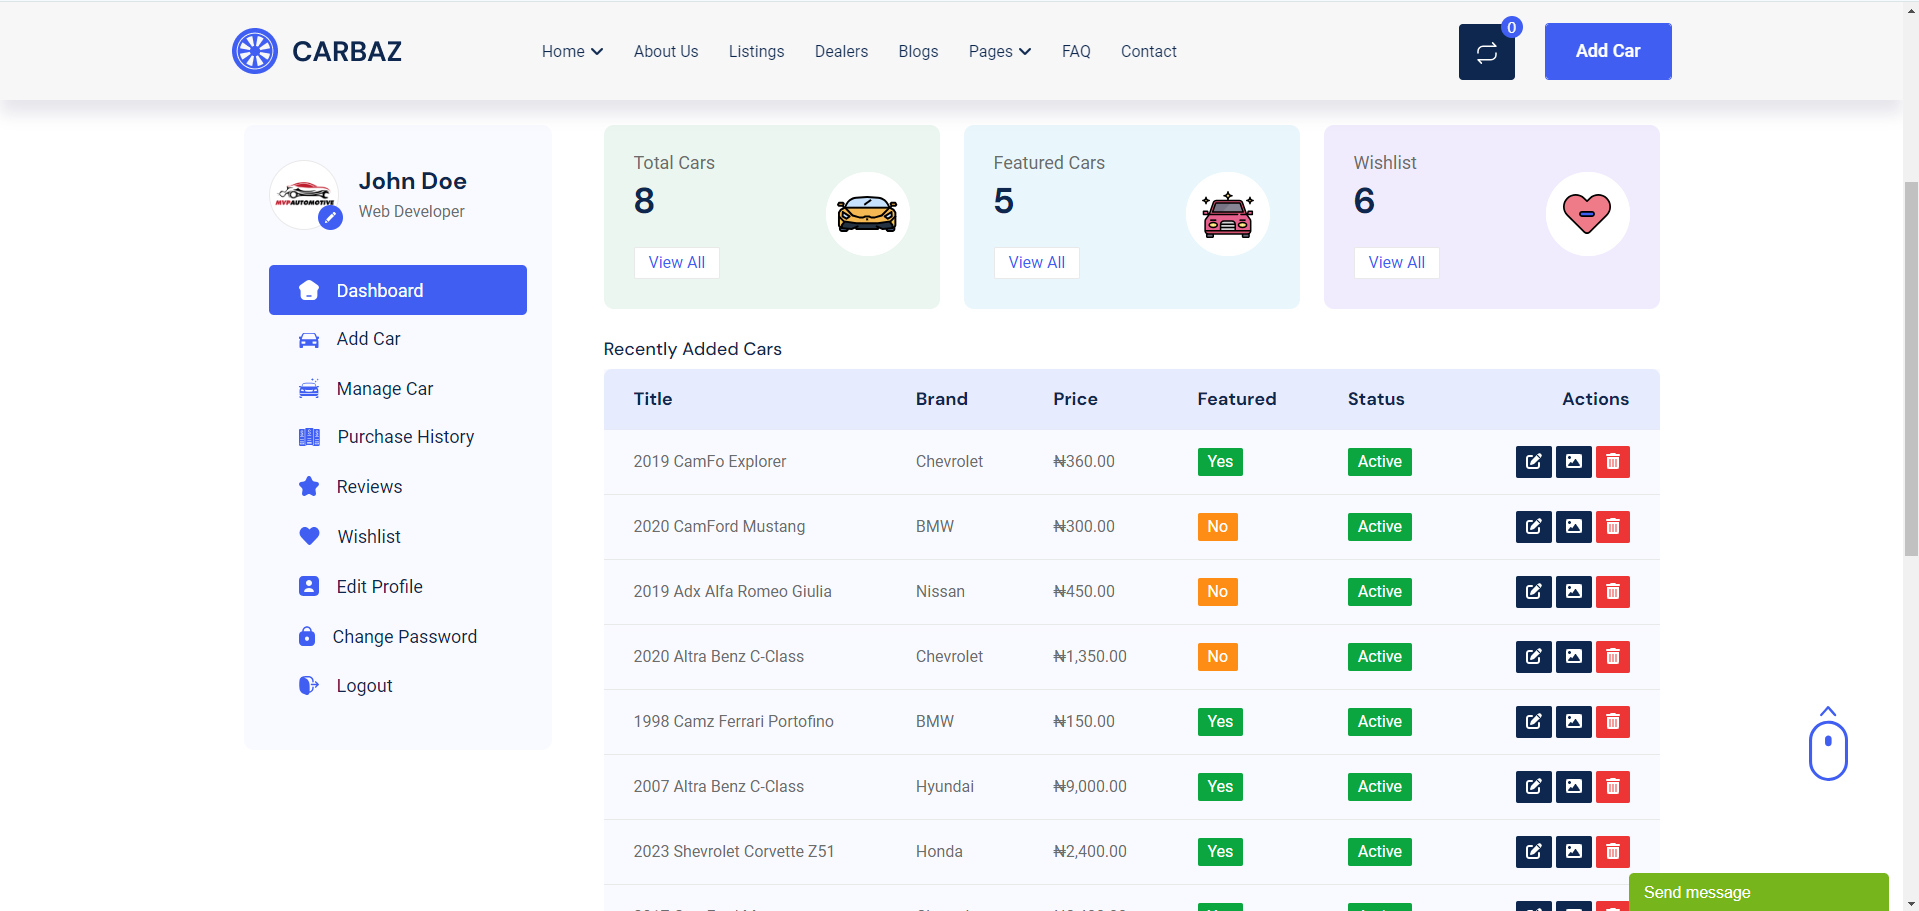
User/Dealer Dashboard
After login, User will see his dashboard. See:
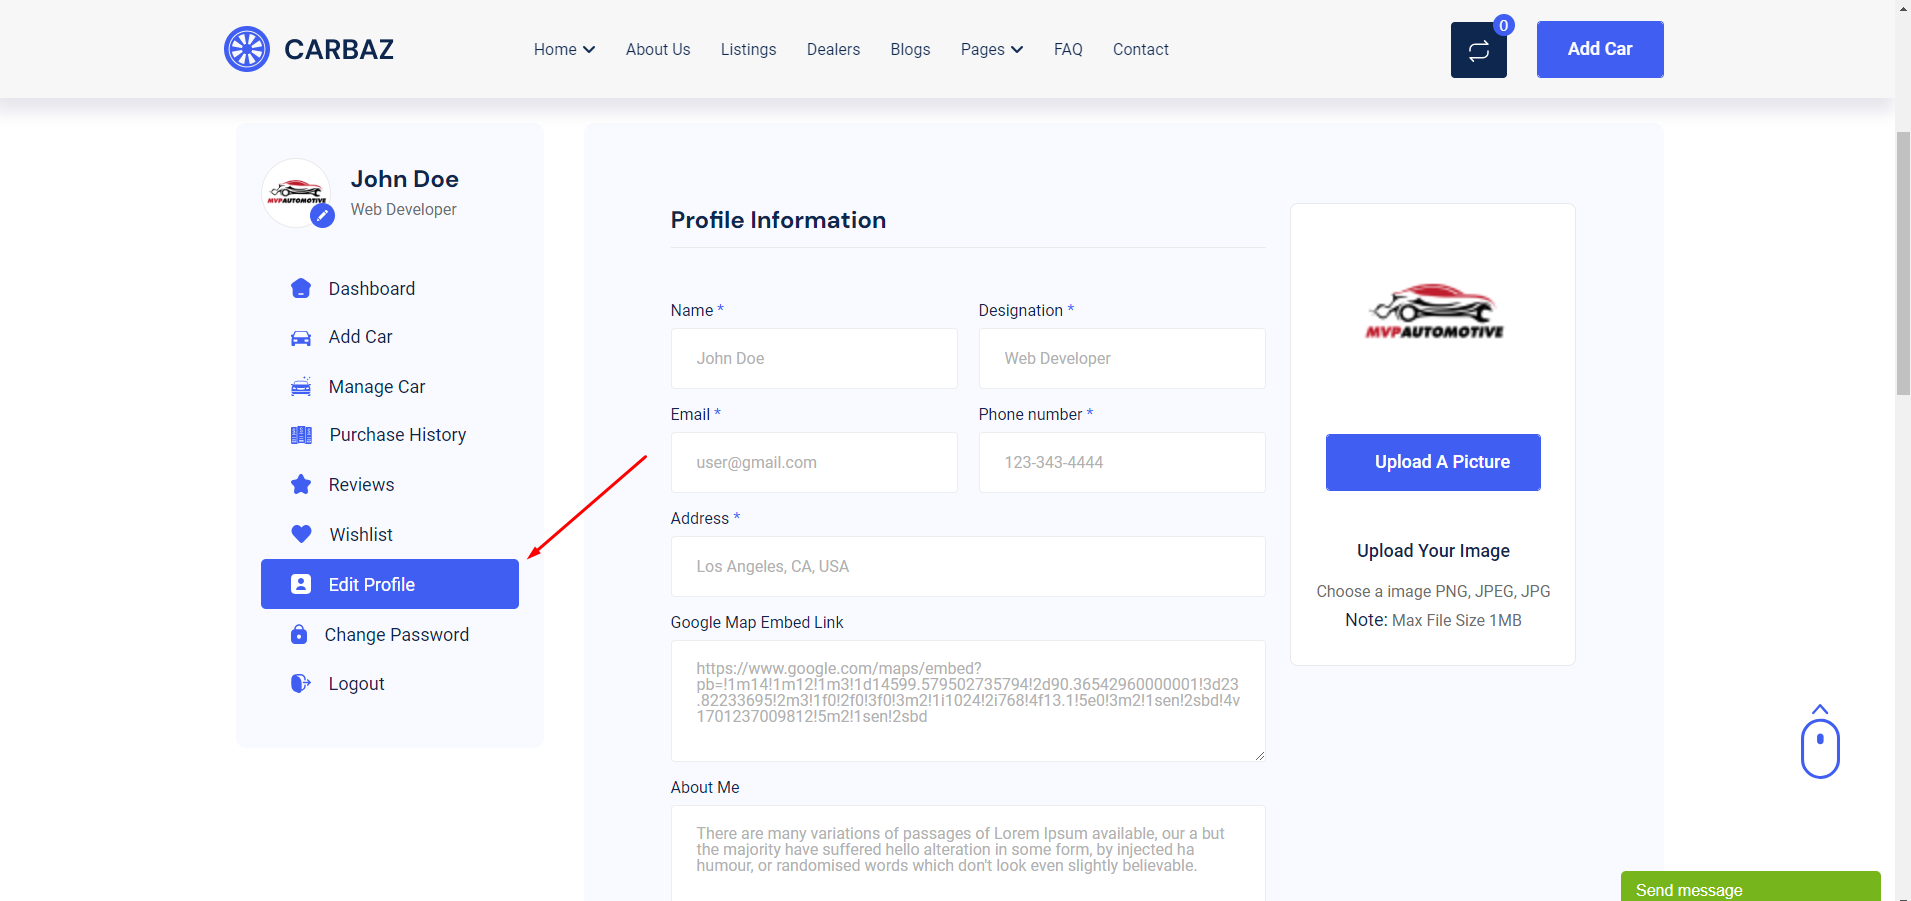
User Profile
User can edit his profile from click the "Edit Profile" Tab. See..
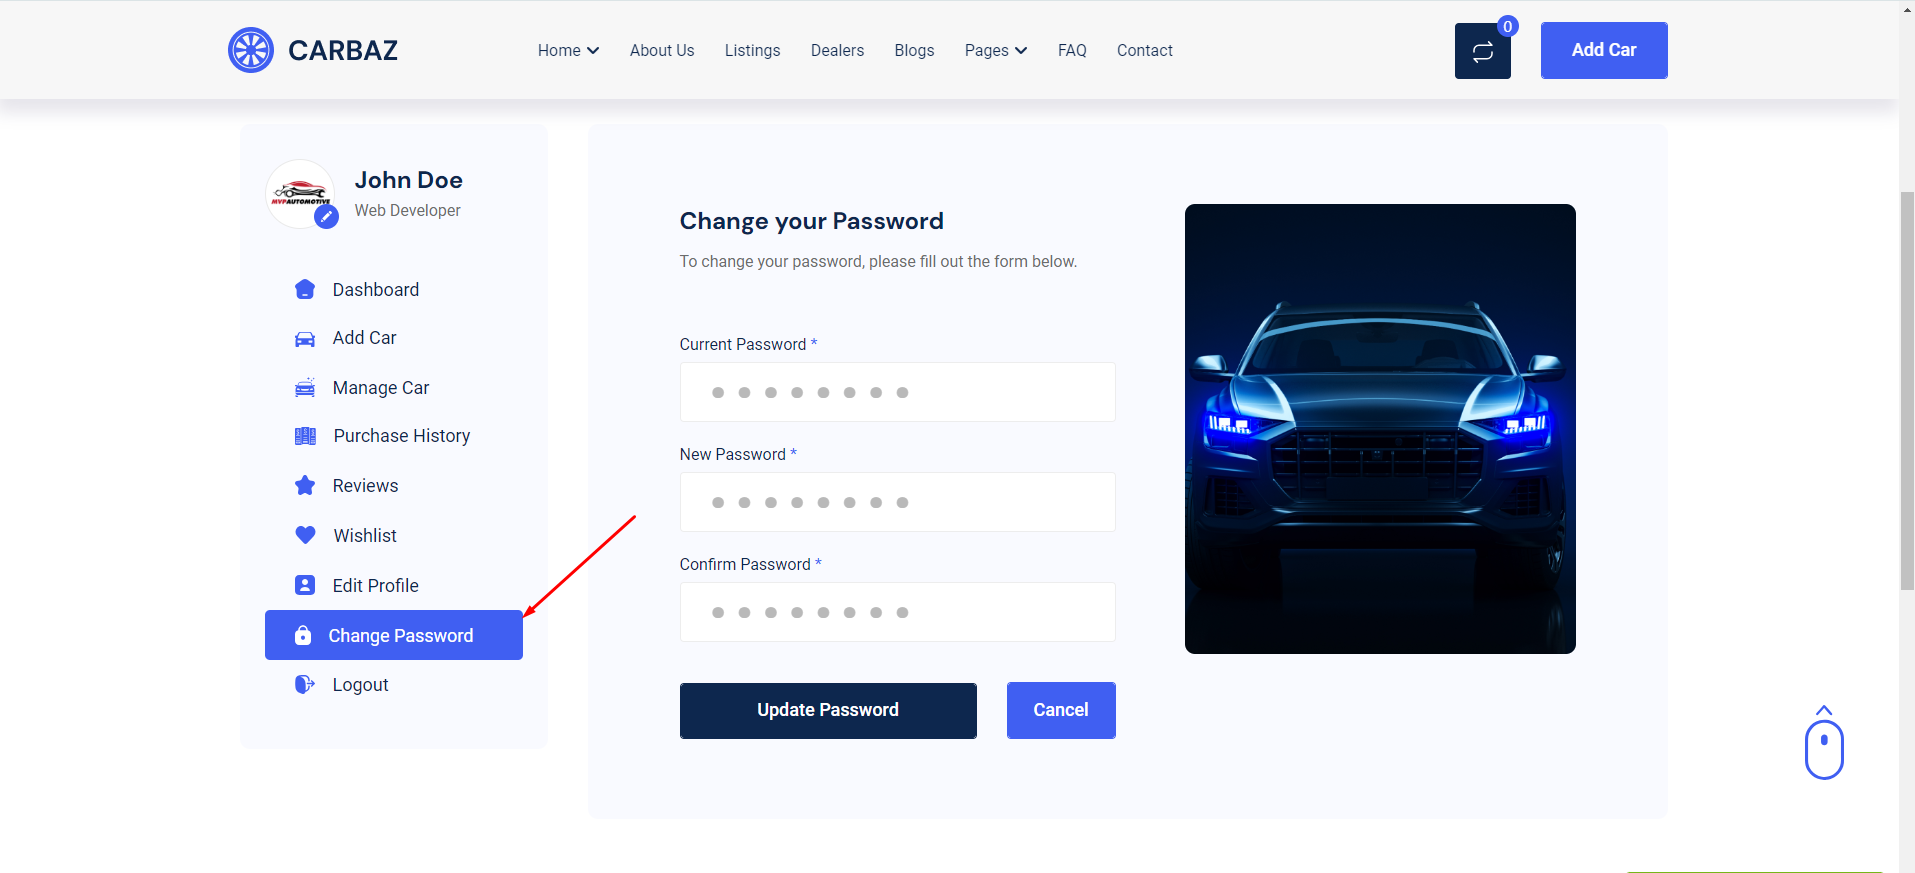
User password
User can edit his password to click the "Change Password" tab. See...
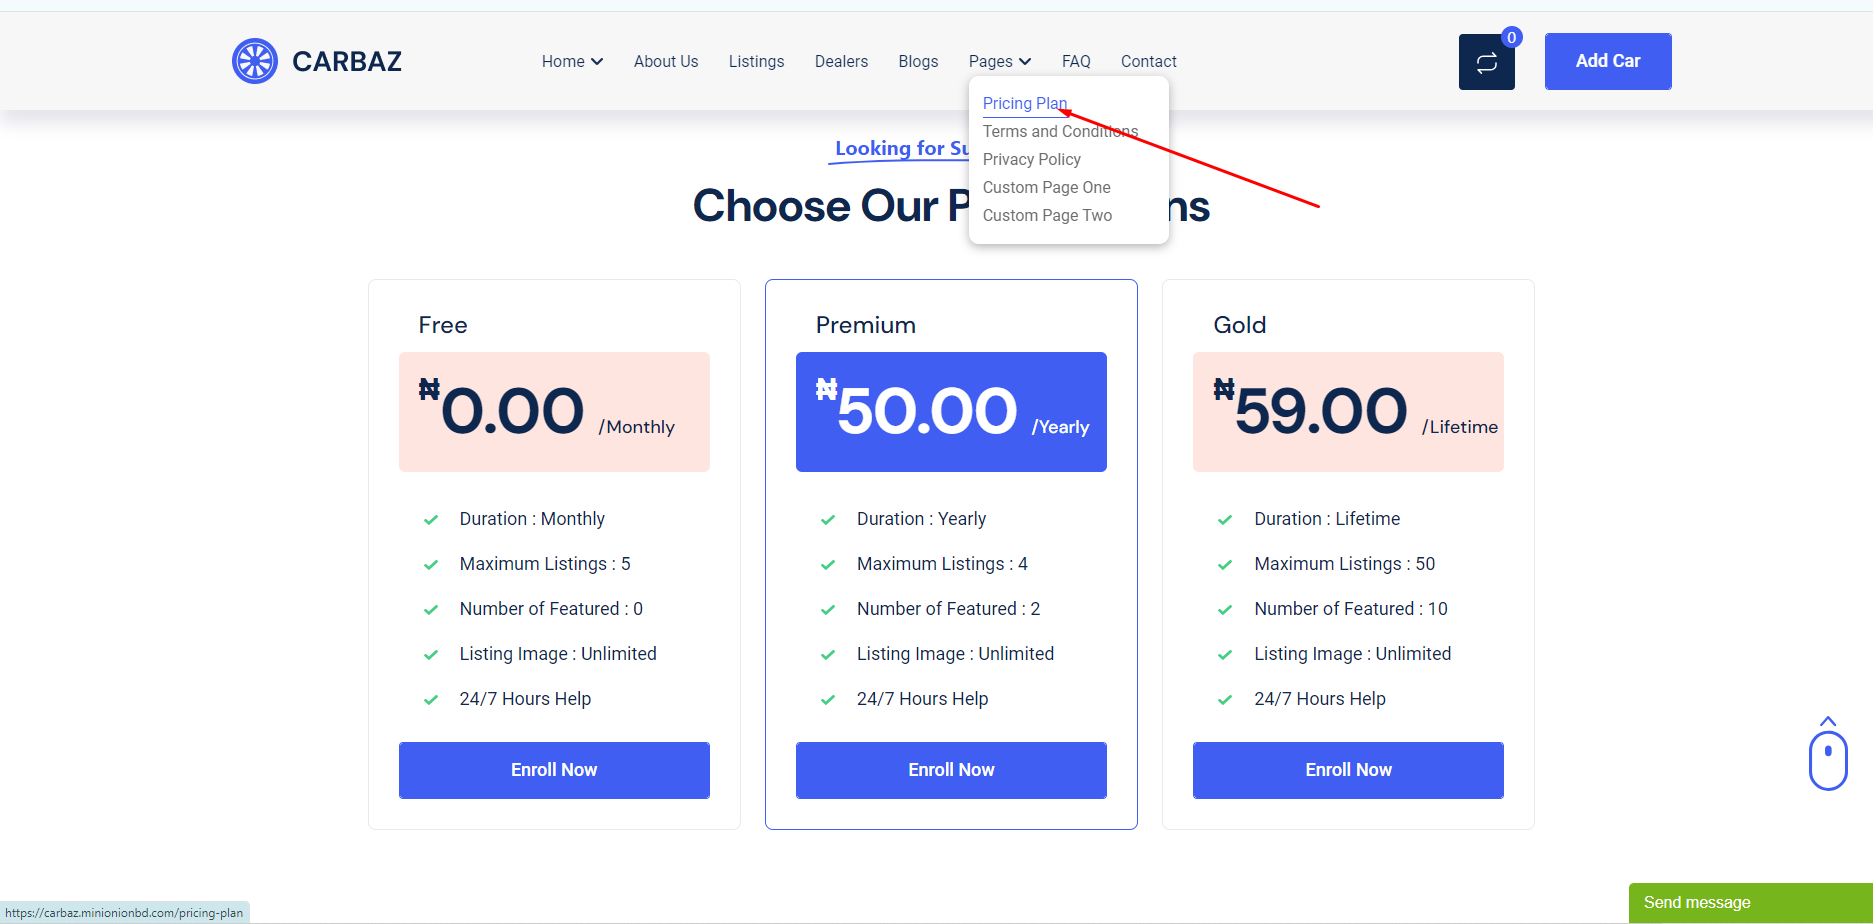
Subscription Plan(SAAS)
To create a new car the dealer have to purchase a plan. To purchase SAAS plan go to "Pages >> Pricing Plan" from menu bar. See:

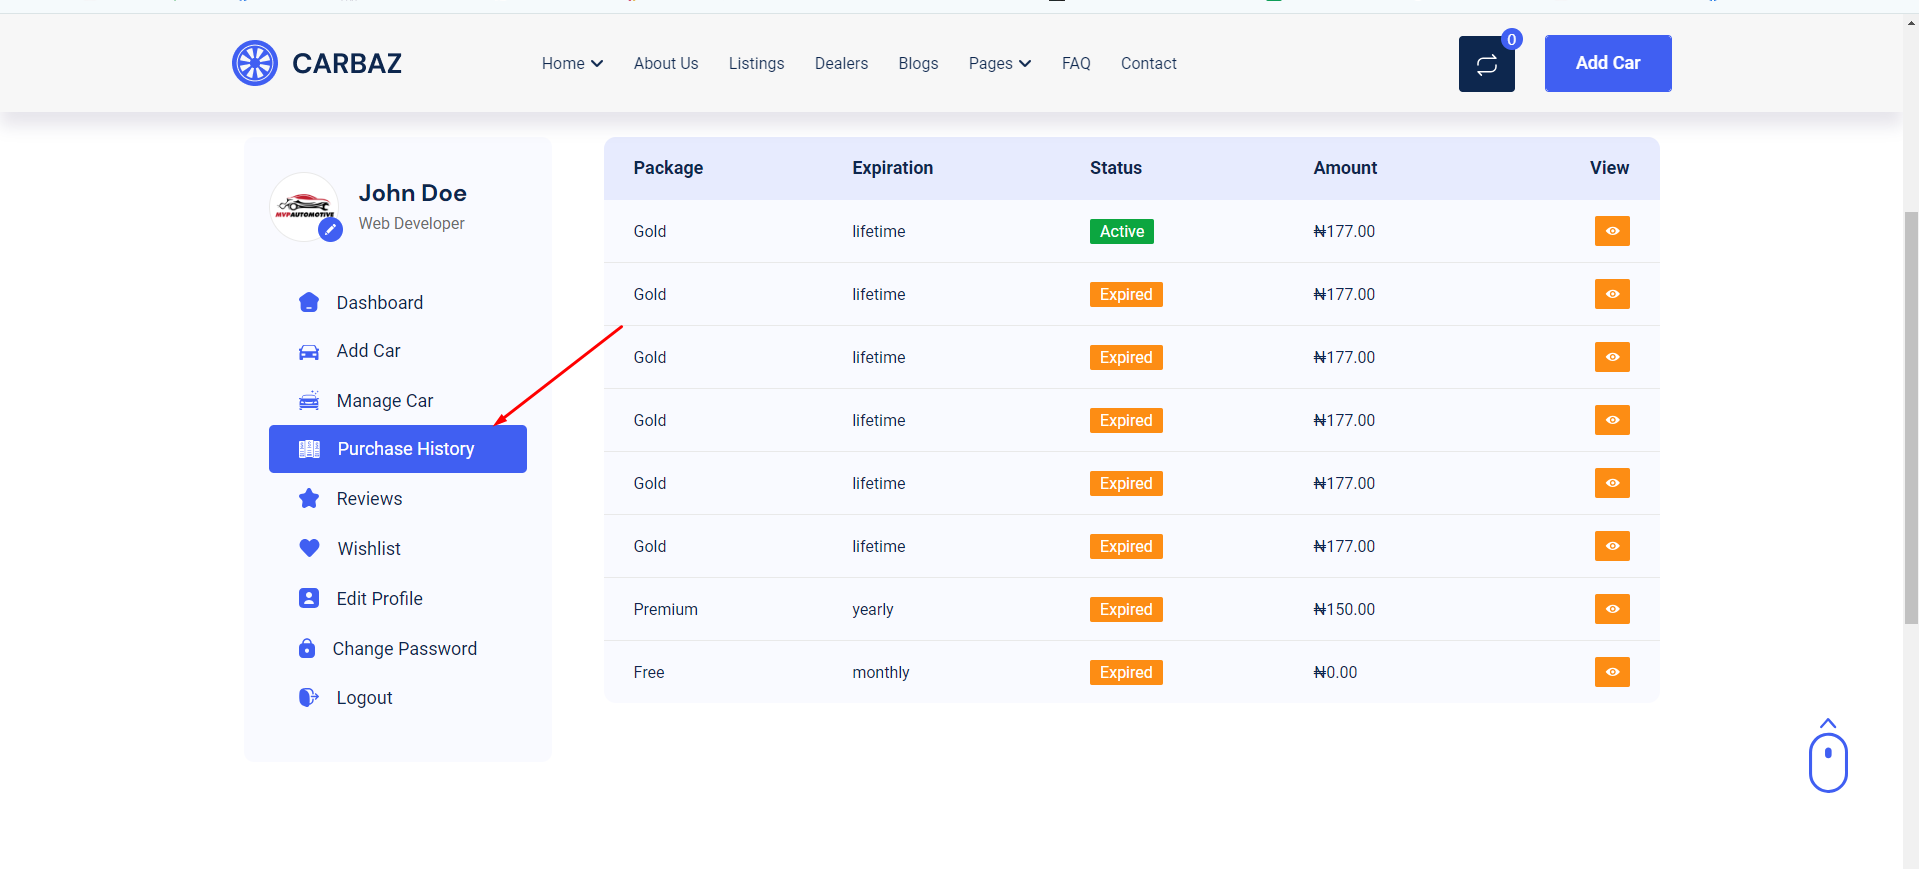
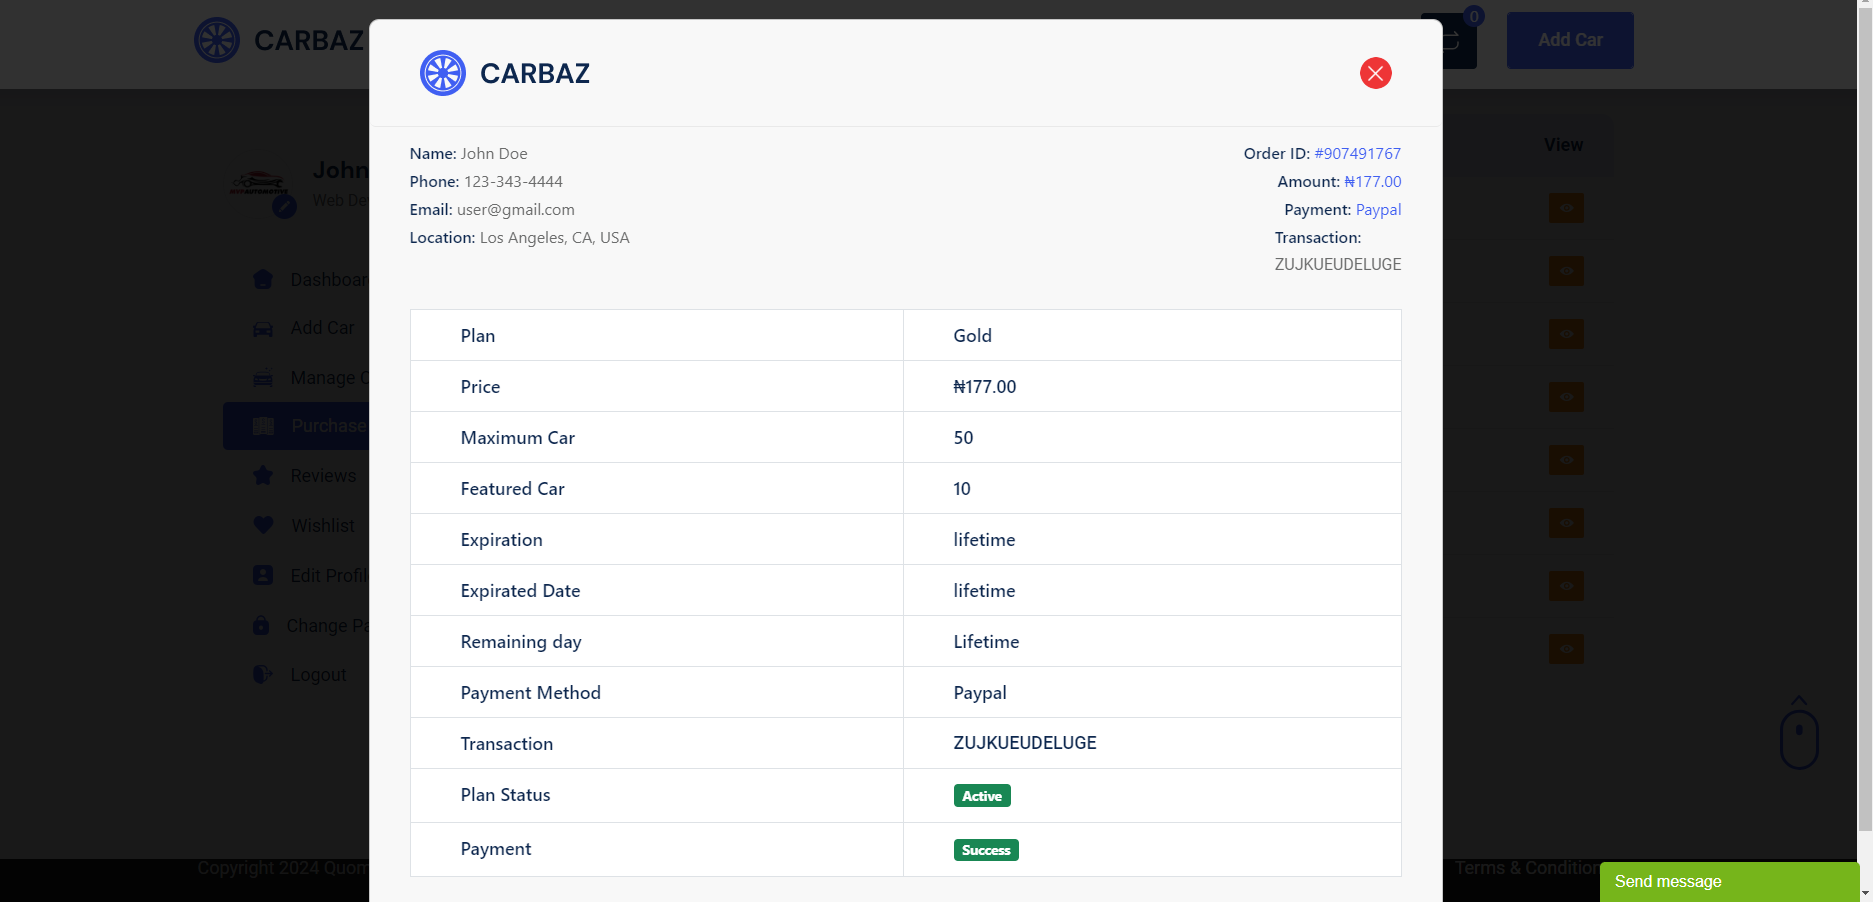
Purchase History
User can see his purchase history from this tab. See:
Manage Car
User can create/edit/delete his car listig from this tab. see: